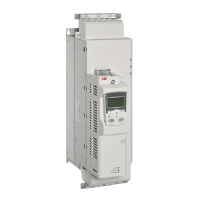
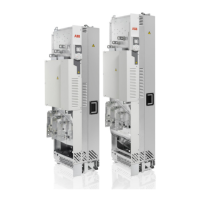
1. Stop the drive and do the steps in section Electrical safety precautions (page 21)
before you start the work.
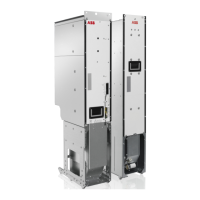
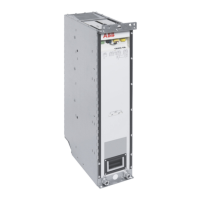
2. Undo the fastening screws to remove the left-hand side upper and lower front
covers of the drive module. M4×10 combi screws, 2 N·m (18 lbf·in).
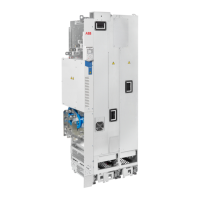
3. Disconnect the drive module busbars from the input cabling panel. Combi screw
M12, 70 N·m (52 lbf·ft).
4. Disconnect the drive module busbars from the output cabling panel. Combi screw
M12, 70 N·m (52 lbf·ft).
5. Undo the screws that attach the drive module to the cabinet at the top (a) and
behind the front support legs (b).
6. Remove the front air baffle.
7. Attach the extraction/installation ramp to the cabinet base with two screws.
8. Disconnect the power supply cables, STO cables and the fiber optic cables from
the external control unit and wind them on the top of the drive module. Remove
the middle front cover of the drive module to be able to disconnect the cables. 2
× combi screws M4×8 T20, 2 N·m (18 lbf·in).
9. To prevent the drive module from falling, attach its top lifting lugs with chains to
the cabinet frame.
10. Pull the drive module carefully out of the cabinet, preferably with help from another
person.
11. Install the new module in reverse order to the above.
174 Maintenance
 Loading...