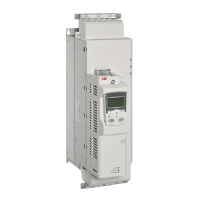
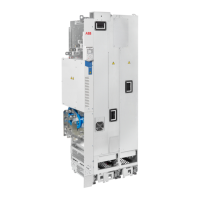
■ Planning the layout of the cabinet
Plan a spacious layout for easy installation and maintenance. Sufficient cooling air
flow, mandatory clearances, cables and cable support structures all require space.
Place the control unit(s) away from:
• main circuit components such as contactors, switches and power cables
• hot parts (heatsink, air outlet of the drive module).
■ Grounding of mounting structures
Arrange the grounding of the module by leaving the contact surfaces of the fastening
points unpainted (bare metal-to-metal contact). The module frame is grounded to
the PE busbar of the cabinet via the attaching surfaces, screws and the cabinet frame.
Alternatively, use a separate grounding conductor between the PE terminal of the
module and the PE busbar of the cabinet.
Ground also the other components in the cabinet according to the principle above.
■ Busbar material and joints
ABB recommends tin-plated copper, but bare copper and aluminum can also be used.
Before joining aluminum busbars, remove the oxide layer and apply suitable
anti-oxidant joint compound.
■ Shrouds
The installation of shrouds (touch protection) to fulfill applicable safety regulations
is the responsibility of the drive system builder.
Ready-made shrouding parts are available from ABB for some cabinet designs, see
the ordering information.
■ Tightening torques
Unless a tightening torque is specified in the text, the following torques can be used.
Electrical connections
Strength classTorqueSize
4.6...8.80.5 N·m (4.4 lbf·in)M3
4.6...8.81 N·m (9 lbf·in)M4
8.84 N·m (35 lbf·in)M5
8.89 N·m (6.6 lbf·ft)M6
8.822 N·m (16 lbf·ft)M8
8.842 N·m (31 lbf·ft)M10
8.870 N·m (52 lbf·ft)M12
8.8120 N·m (90 lbf·ft)M16
Mechanical connections
Strength classMax. torqueSize
8.86 N·m (53 lbf·in)M5
8.810 N·m (7.4 lbf·ft)M6
44 Generic cabinet planning instructions
 Loading...