Overall flowchart of the installation process
For instructions, seeTaskStep
Installing the mechanical accessories into the
enclosure (page 123) and Step-by-step
drawings for installing full cabling panels
(option +H381) in a Rittal VX25 400 mm wide
enclosure (page 293)
Install the Rittal parts and drive module
mechanical accessories into the enclosure
1
Connecting the power cables (page 123)Connect the power cables to the cabling
panels
2
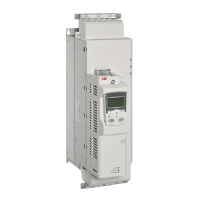
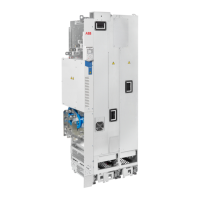
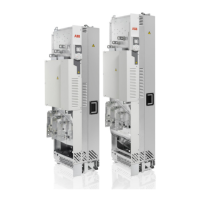
Installing the drive module into the
enclosure (page 125)
Install the drive module into the enclosure3
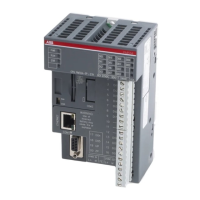
Installation procedure (page 151)Install the external control unit4
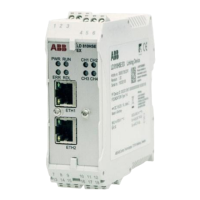
Connecting the control unit to the drive
module (page 155)
Connect the control cables5
The component manufacturer’s instructionsInstall the remaining parts, for example
enclosure doors, side plates, air baffles, etc.
6
Air baffles for option +H381 in Rittal VX25
400 mm wide enclosure installation (page 217)
Installing the mechanical accessories into the enclosure
Install the mechanical accessories into the enclosure as shown in Step-by-step drawings
for installing full cabling panels (option +H381) in a Rittal VX25 400 mm wide
enclosure (page 293)
If you do not use Rittal support rails on the bottom of the enclosure but use a custom
bottom plate instead, see the dimension drawings for the correct dimensions of the
bottom plate.
If the thickness of the bottom plate is not 2.5 mm (0.1 in), adjust the dimensions
accordingly.
Connecting the power cables
■ Power cable connection procedure
WARNING!
Obey the safety instructions of the drive. If you ignore them, injury or
death, or damage to the equipment can occur.
1. Run the motor cables from the motor to the enclosure. Ground the cable shields
360° at the entry plate.
2. Twist the cable shields of the motor cables into bundles and connect them and
any separate ground conductors or cables to the ground terminal of the drive
module or to the enclosure ground bar.
3. Connect the phase conductors of the motor cables to terminals T1/U2, T2/V2 and
T3/W2 of the drive module. For the tightening torques, see the technical data.
4. Drive modules with option +D150: Run the power cables from the brake resistor
to the cabinet. Ground the cable shield (if present) 360° at the entry plate. Connect
Installation example with full cabling panels (option +H381) 123
 Loading...