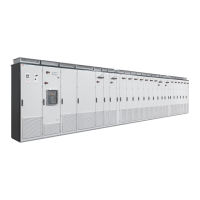
10. Connect the wiring and fiber optic cables to the terminals on the front of the
module.
11. Repeat the procedure for the other inverter modules.
12. Reinstall the shroud near the top of the cubicle.
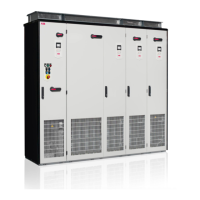
Activating the reduced run function of the inverter unit
A “reduced run” function is available for inverter units consisting of parallel-connected
inverter modules. The function makes it possible to continue operation with limited
current even if one (or more) module is out of service, for example, because of
maintenance work. In principle, reduced run is possible with only one module, but the
physical requirements of operating the motor still apply; for example, the modules
remaining in use must be able to provide the motor with enough magnetizing current.
WARNING!
Obey the safety instructions of the drive. If you ignore them, injury or
death, or damage to the equipment can occur.
Refer to the drawing below.
1. Stop the drive and do the steps in section Electrical safety precautions (page 44)
before you start the work.
2. Remove the shrouding above the module bay (in front of the DC fuses).
3. Remove the DC fuses and the busbar assembly connecting the fuses to the inverter
module. Store these parts – they are to be reinstalled only with the inverter module.
Make note of the order of washers.
4. Remove the faulty module from its bay. See the module replacement instructions.
5. Install the air baffle (included) to the underside of the top module guide:
Maintenance 133
 Loading...