6243/44 DC Voltage Current Source/Monitor Operation Manual
1.5 Operational Check
1-11
4. Set the POWER switch on the front panel to ON.
After all the indicators light up, the 6243/44 performs a self test. (Duration:
approx. 20 sec. Refer to Figure 1-6)
If the Start-up test finishes correctly, the model name, ROM version, line fre-
quency, and GPIB address appear on the display. (Refer to Figure 1-7) Then the
start-up screen appears. (Refer to Figure 1-8)
NOTE:
1. Depending on the model and the preset conditions, the displayed contents may dif-
fer from those shown in Figure 1-8.
2. If an error occurs, an error message appears on the screen. Refer to the list of
error messages and take the relevant action as required. (Refer to Chapter A.2)
5. For 60 Hz regions, switch the line frequency setting (refer to Section 1.6, “Setting
the Line Frequency”) and perform the check.
6. Press the VM/IM key.
This initiates the voltage measurement function. (Refer to Figure 1-9)
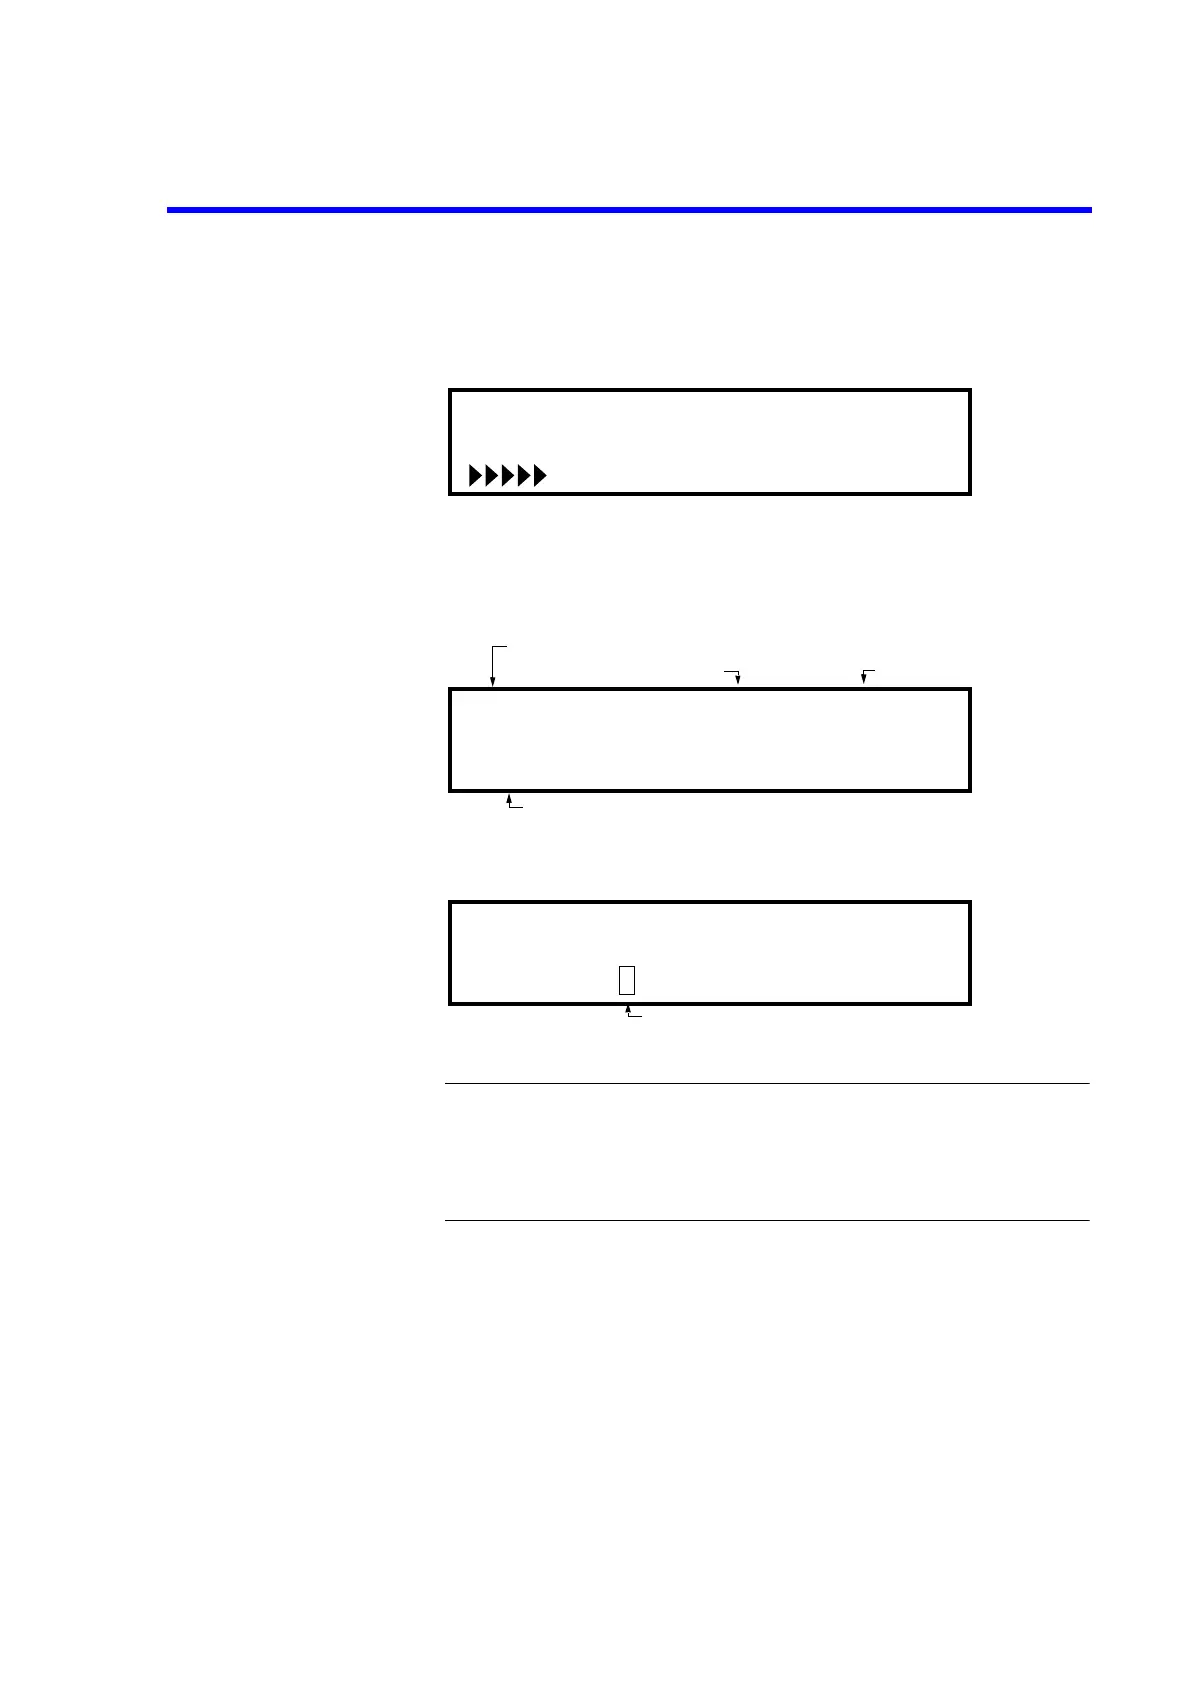
Self Test
Figure 1-6 Display during Self test
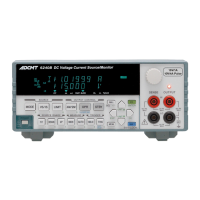
AZERO
R6243 B00 50Hz
HA - 01
GPIB header ON/OFF, available address is indicated.
Figure 1-7 Display when Self test is Completed
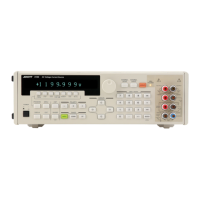
AZERO
IM
VS:+000.00mV L: 0500.0mA *DC
Blinks
Figure 1-8 Start-up Screen
Model name
ROM revision Line frequency