Maintenance 161
4510001 REV B - 220620
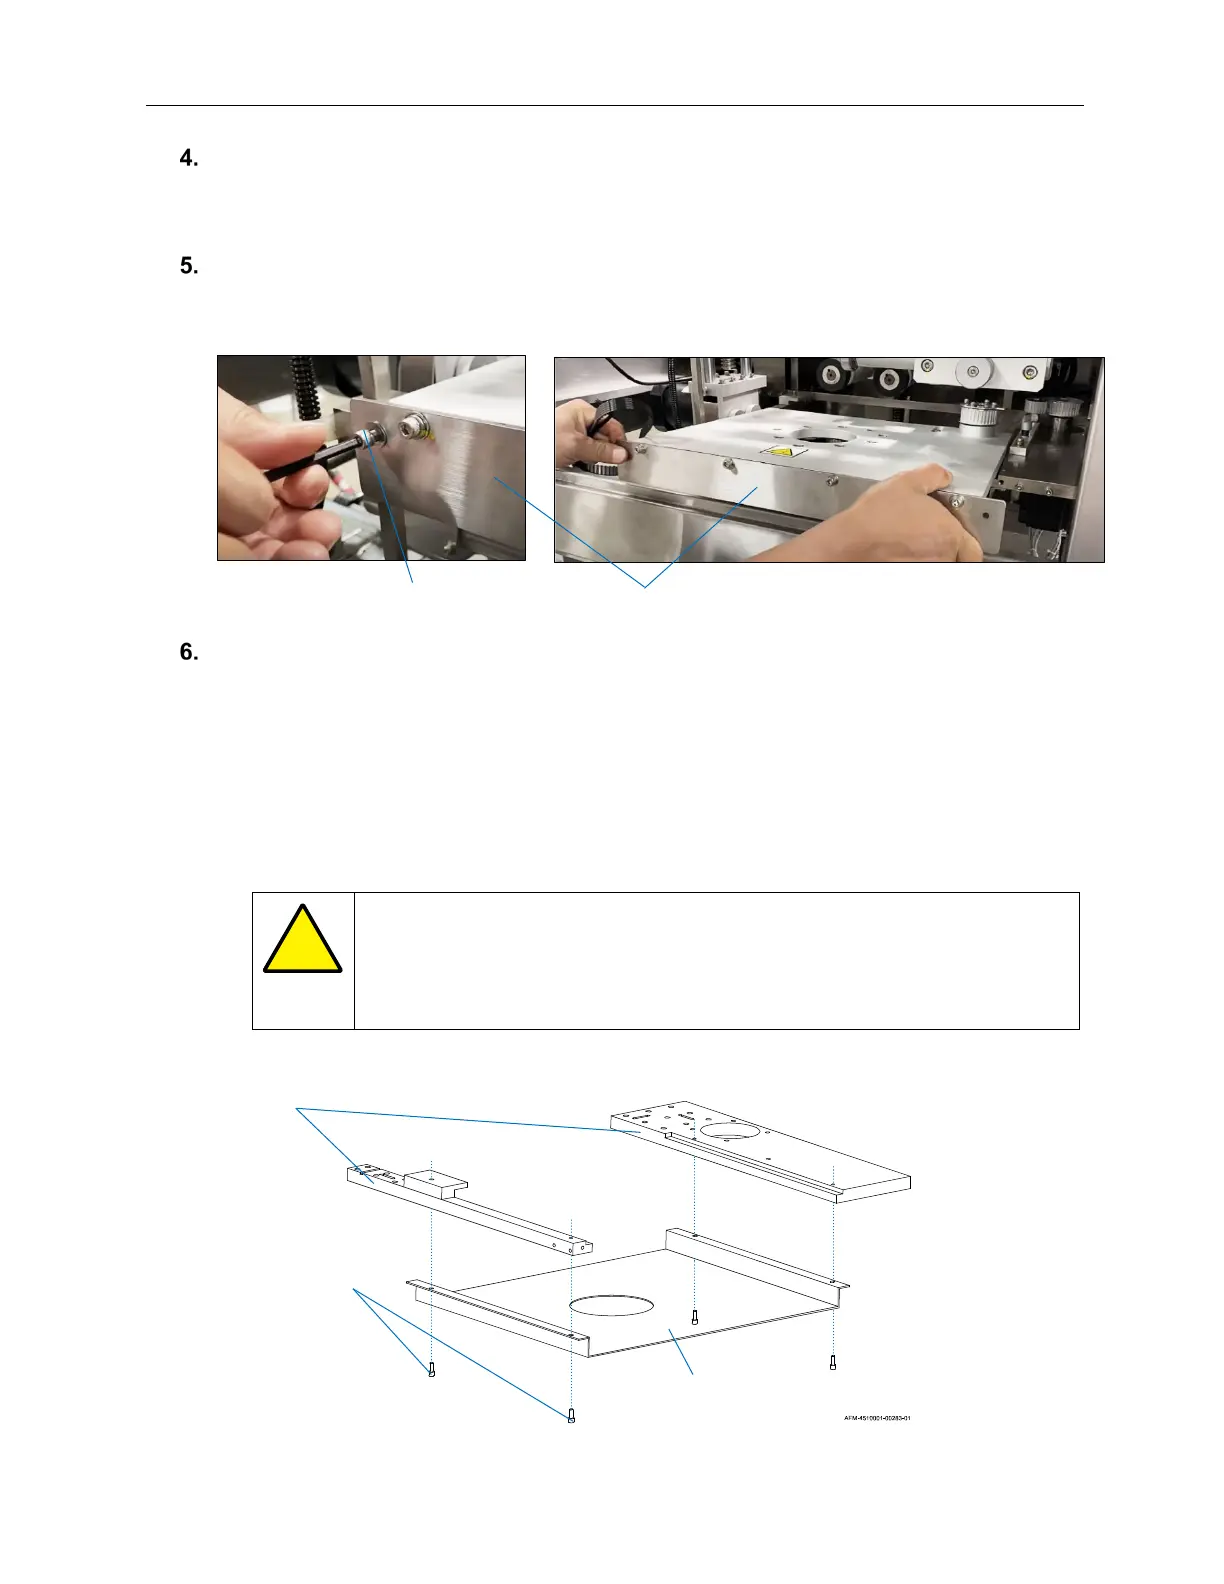
Using the Allen Wrench, remove the outermost Screws from the front of the Cutter
Assembly.
Pull the Cutter Assembly straight out from the Cutter Support Arms like a drawer.
Extra Step (not normally needed):
If removing the Cutter Assembly to replace it with a different sized one, remove the
Cutter Guard:
a. Support the Cutter Guard with a hand from beneath.
b. Remove the 4 Screws holding it to the Cutter Support Arms.
c. Store the Cutter Guard with its Cutter Assembly.
d. Set aside the Screws to attach the new Cutter Guard to the Cutter Support Arms.
ATTENTION: When the Screws have been removed, there will be
nothing left holding the Cutter Guard in place. To ensure that the Cutter
Guard does not fall, use hands to gently hold it in place while loosening
the Screws.
Pulling Out the Cutter Assembly
AFM-4510001-00245-01
Cutter Assembly Outer Screw on Left
AFM-4510001-00257-01
Cutter
Support
Arms
Screws Beneath
Cutter Support
Arms
Cutter Guard
Removing the Cutter Guard