User Guide
20
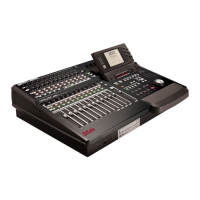
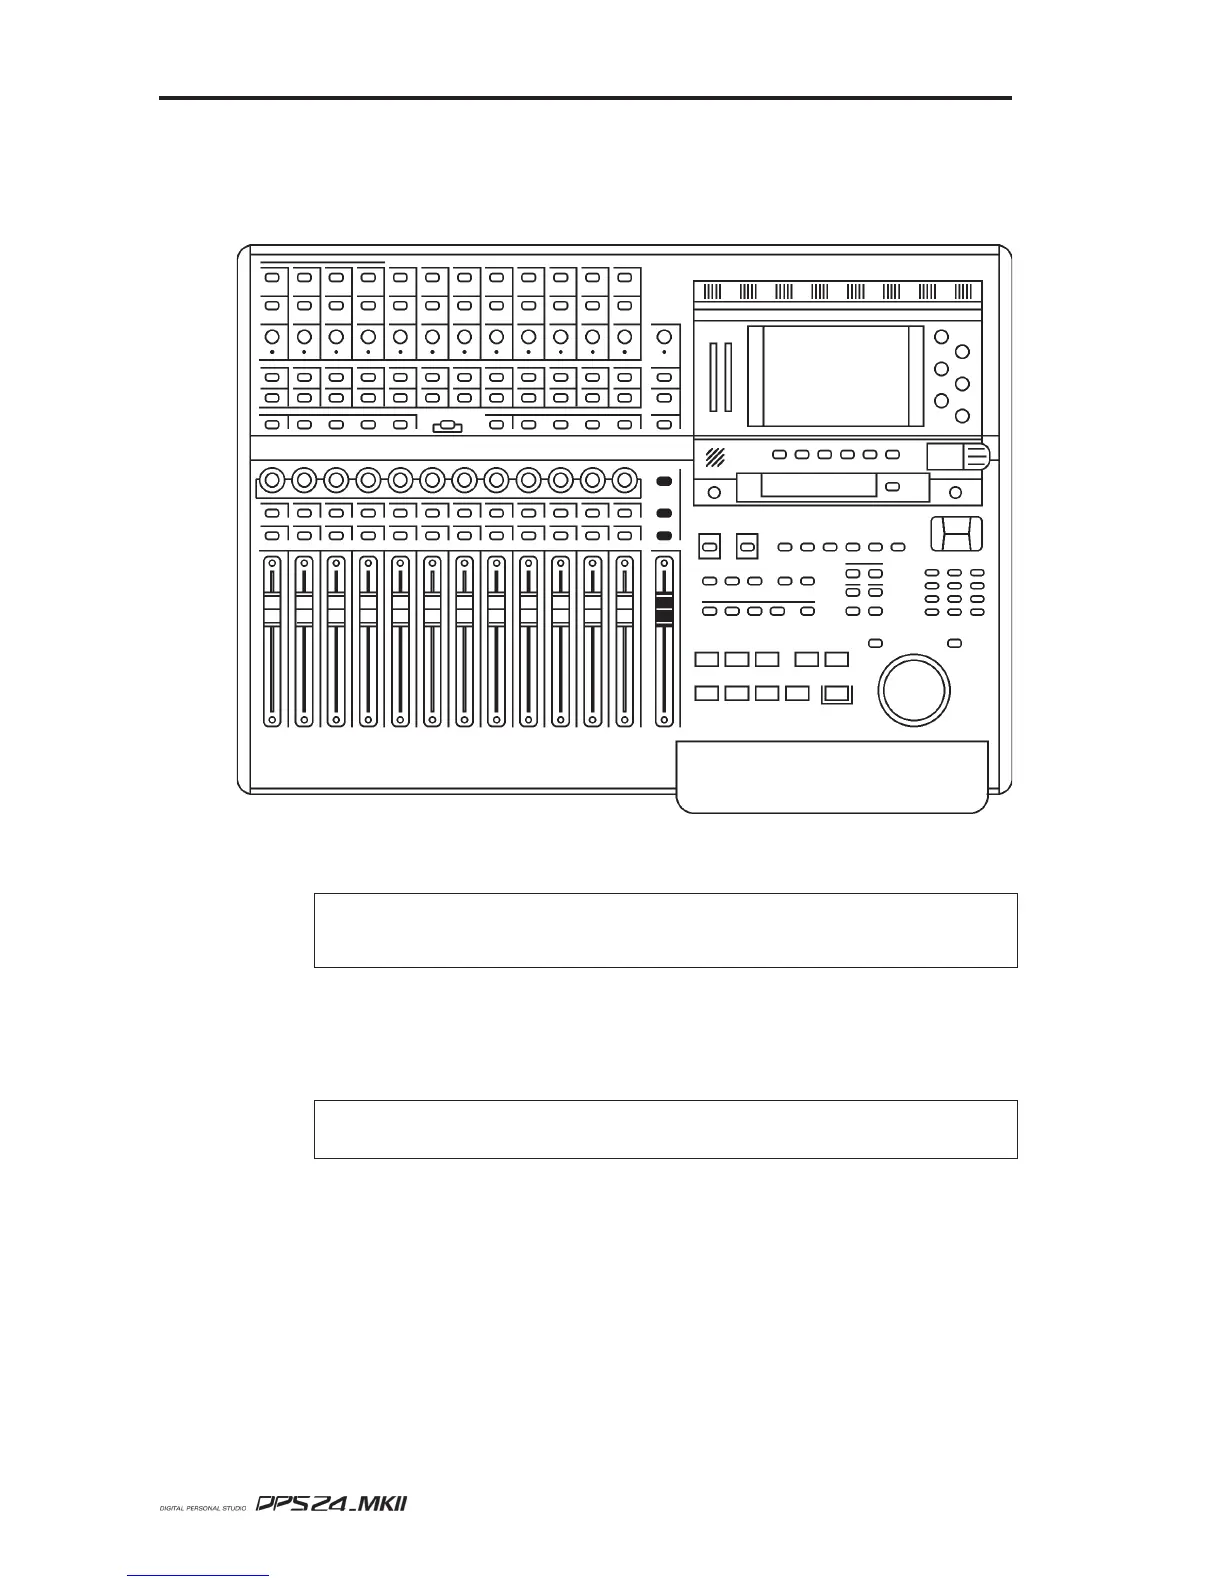
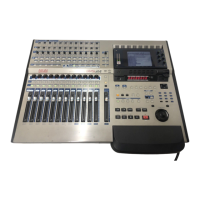
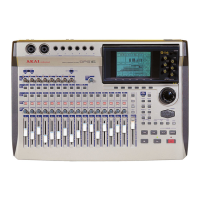
Top Panel
MASTER SECTION
To the right of the channel faders is the MASTER fader:
The MASTER section also has a long throw, touch sensitive, motorised fader. This controls
the L/R bus which, by default, appears at the STEREO OUT.
NOTE:
Due to the DPS24's flexible patching system, it is possible to route audio sources other than
the L/R bus to the STEREO output. If another audio source is patched to the STEREO output, the
MASTER fader will not affect that audio source's level.
Above the fader is a TALKBACK switch. This routes the internal talkback mic to the STUDIO
outputs so that the engineer in the control room can talk to the 'talent' in a separate studio area.
The key is a 'press-to-make' switch that needs to be held down for the talkback mic to be
routed to the STUDIO outputs.
NOTE:
To facilitate this, the AUX 3/4 sends need to be configured to be sent to the STUDIO
L/R outputs. This is set in the MIXER - FX/AUX SETUP page.
The illuminated SELECT key allows you to select the master channel for editing.
The illuminated STUDIO > CR key allows you to route the mix created on AUX 3 and 4 as the
STUDIO cue mix to the monitor output feeding the control room's monitoring system. In this
way, it is possible for the control room engineer to set the mix up very conveniently on the
control room's speakers.
The TALKBACK and STUDIO outputs are explained later in this Reference manual.