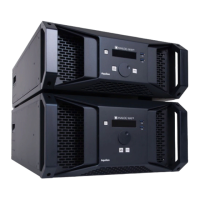
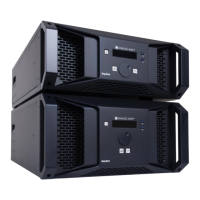
USER MANUAL
USER MANUAL
USER MANUAL
USER MANUAL
USER MANUAL
USER MANUAL
USER MANUAL
USER MANUAL
Grid canvas
7.4.2.1 Create a Grid canvas
In Grid type, create a grid and assign outputs to corresponding cells to create the Screen canvas.
1. In Preconfig > Canvas, select a Screen.
2. Select the Grid canvas type.
3. Enter the number of rows and columns for the Screen Grid.
4. Enter the size for every cell of the grid (in pixels).
The virtual canvas is updated with the corresponding values and the total Screen size is indicated.
5. In the Outputs tab, click an output.
6. In the right panel, click Selection.
7. Set a format for the selected output.
8. If needed, go to Pattern / Raster to identify the outputs.
9. Enter the position in the grid (ex: row 1 and column 1).
Or use drag and drop in the virtual canvas.
10. Repeat steps 7 and 9 for all outputs.
7.4.2.2 Create a covering in Grid canvas (blending)
Edge blending is a feature that gradually fades out the overlapping area from both projectors to create a
seamless projection. For an effective blending, align the projected images so they are square with each other.
In Grid type, use X and Y areas to create coverings between outputs.
Note: In Grid type, coverings are equals for all outputs of the same row / column.
1. In Preconfig > Canvas, select a Screen with Grid canvas type.
2. Select the X or Y area where the covering will be created.
3. In the right panel, click Selection.
4. In Configuration, select Covering and enter the size in pixels.
The virtual canvas is updated with the corresponding values.
5. If needed, in Blending Curve, enable the blending and set the Gamma or Bezier curve.
6. If needed, set the black area and black levels.
7.4.2.3 Create a gap in Grid canvas (bezel)
In Grid type, use X and Y areas to create gaps between outputs.
Note: In Grid type, gaps are equals for all outputs of the same row / column.
1. In Preconfig > Canvas, select a Screen with Grid canvas type.
2. Select the X or Y area where the gap will be created.
3. In the right panel, click Selection.
4. In Configuration, select Gap and enter the size in pixels.
The virtual canvas is updated with the corresponding values.
 Loading...