USER MANUAL
USER MANUAL
USER MANUAL
USER MANUAL
USER MANUAL
USER MANUAL
USER MANUAL
USER MANUAL
Free canvas
Free type is separated in two modes:
Set the position of each output freely. The canvas size is automatically computed and
optimized for the created Screen.
Set the Screen size then position each output inside the created Screen.
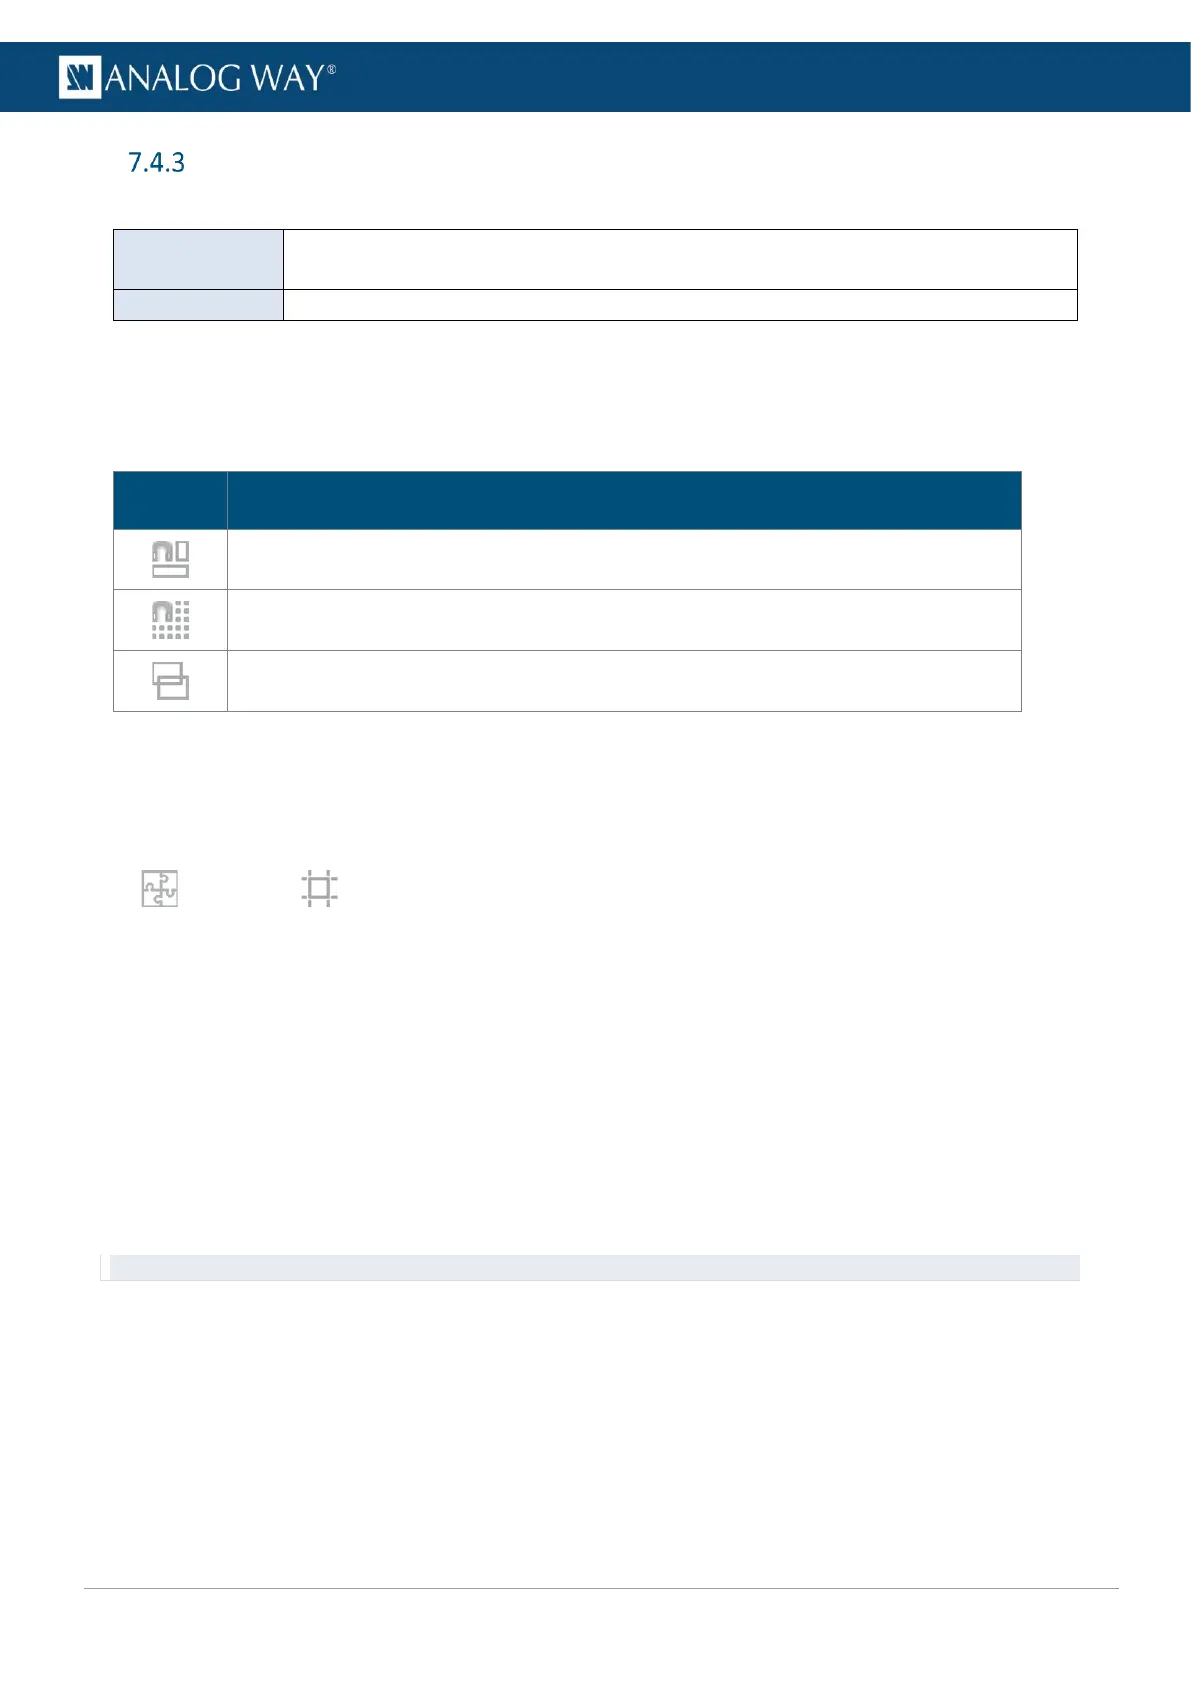
7.4.3.1 Bottom bar buttons – Output position
In Free type, it is possible to use drag and drop in the virtual canvas to position the outputs.
Use the bottom buttons to help positioning outputs in the virtual canvas.
All bottom bar buttons are On/Off Toggle buttons.
Snap to Screen border and other outputs borders.
Snap to grid cells.
Click the arrow to set the grid (rows and columns).
Hide content to display only layers wireframe.
7.4.3.2 Create a canvas in Auto mode
In Auto mode, select outputs and enter their H position and V position or use drag and drop to create the
Screen canvas.
Auto mode is recommended for complex shows with unknown canvas size.
In Preconfig > Canvas, select a Screen.
1. Select the Free canvas type and Auto size mode.
2. Select an output.
3. In the right panel, click Selection.
4. Set a format for the selected output.
The virtual canvas is updated with the selected resolution.
5. If needed, go to Pattern / Raster to identify the outputs.
6. In Position, enter H and V position for the selected output (in pixels).
Or use drag and drop in the virtual canvas.
The canvas size is updated to match the position settings.
7. Repeat steps 4 and 6 for all outputs.
Tip: Use the tools in the bottom bar to snap to a custom grid and/or other outputs.
 Loading...