3-48
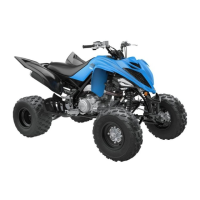
12. With the alignment pin installed in the camshaft,
loosely place the cam sprocket (with the
recessed side facing the cam shaft lobes) onto
the camshaft. At this point, do not “seat” the
sprocket onto the shaft.
732-307B
NOTE: At this point, oil the camshaft bearings,
cam lobes, and the three seating journals on the
cylinder.
13. While holding the cam chain sprocket to the
side, install the rear cam chain tensioner guide
into the cylinder head. Install the pivot cap
screw and washer.
CD461
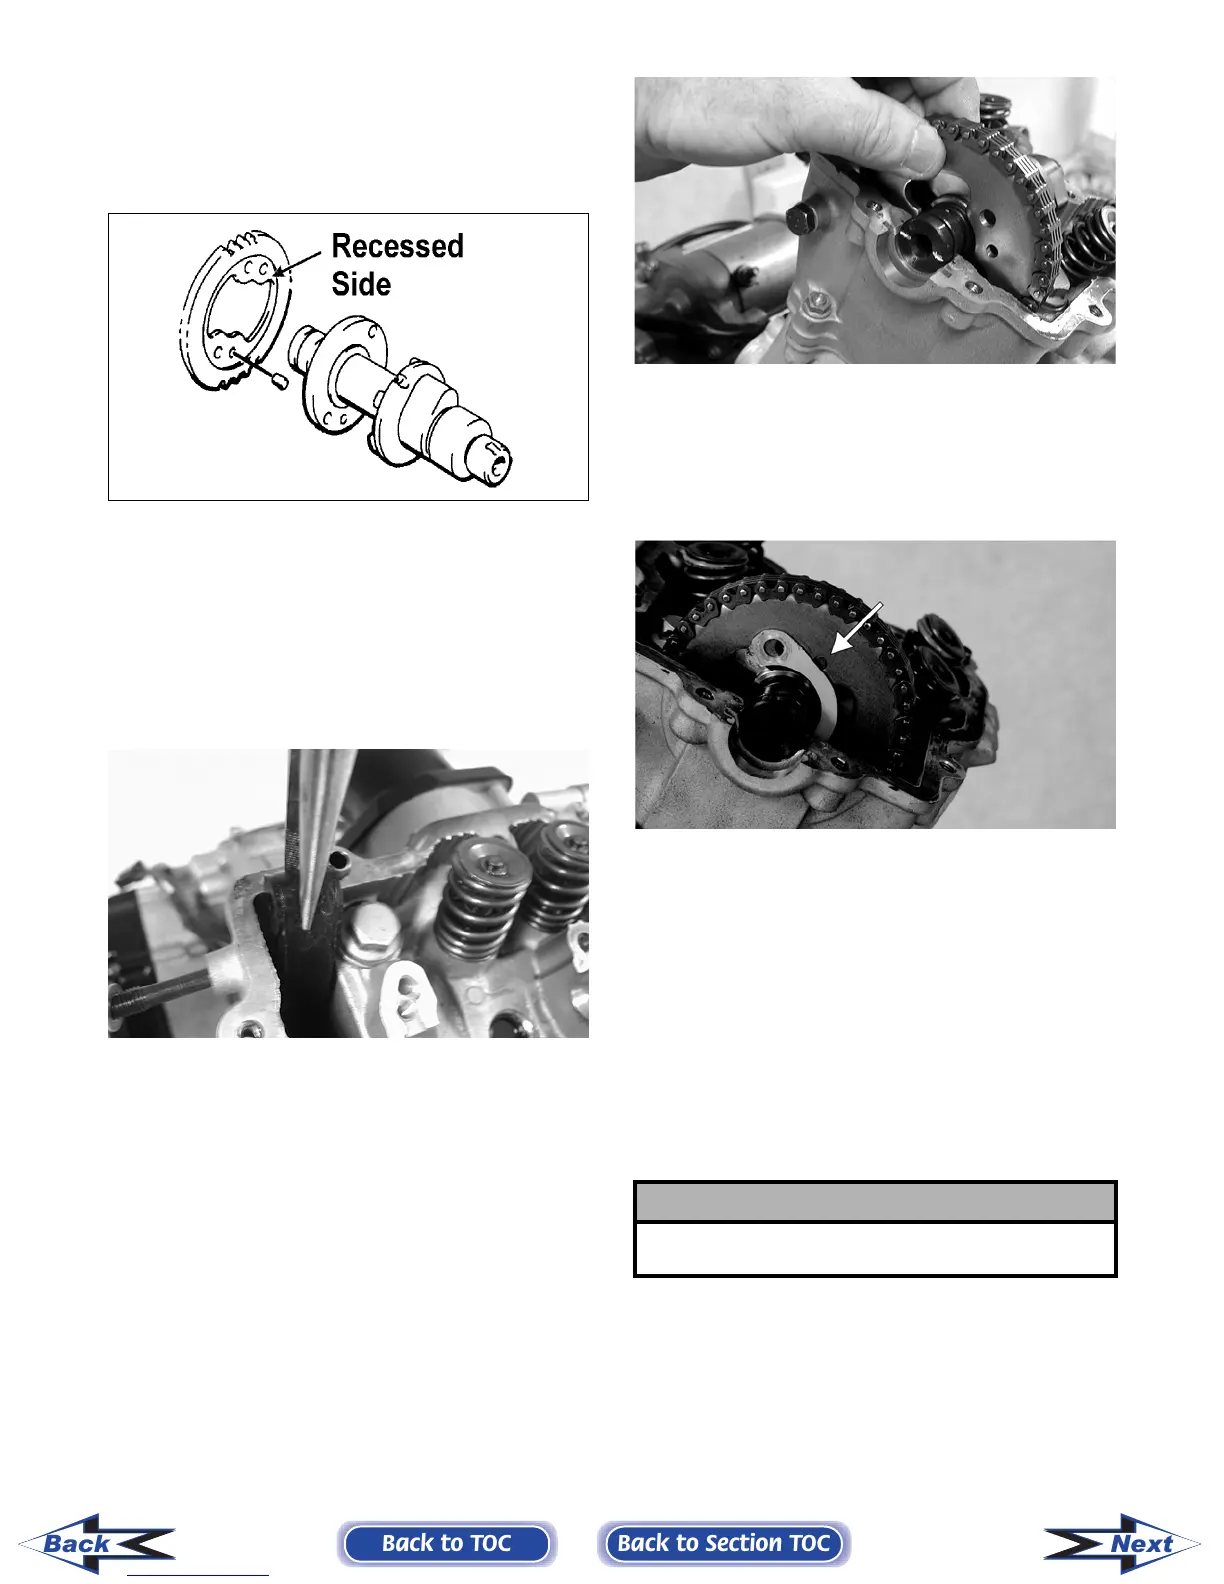
14. With the cam lobes directed down (toward the
piston), maneuver the camshaft/sprocket assem-
bly through the chain and towards its seating
position; then loop the chain over the sprocket.
NOTE: Note the position of the alignment marks
on the end of the camshaft. They must be parallel
with the valve cover mating surface. If rotating the
camshaft is necessary for alignment, do not allow
the chain and sprocket to rotate and be sure the
cam lobes end up in the down position.
CD463
15. Seat the cam sprocket onto the camshaft making
sure the alignment pin in the camshaft aligns
with the smallest hole in the sprocket; then place
the camshaft/sprocket assembly onto the cylin-
der ensuring the following.
CF013A
A. Piston still at top-dead-center.
B. Camshaft lobes directed down (toward the
piston).
C. Camshaft alignment marks parallel to the
valve cover mating surface.
D. Recessed side of the sprocket directed toward
the cam lobes.
E. Camshaft alignment pin and sprocket align-
ment hole (smallest) are aligned.
16. Place the tab-washer onto the sprocket making
sure it covers the pin in the alignment hole.
! CAUTION
If any of the above factors are not as stated, go back
to step 11 and carefully proceed.
Back to TOC
Back to Section TOC
Next
Back
FOR ARCTIC CAT ATV DISCOUNT PARTS CALL 606-678-9623 OR 606-561-4983
www.mymowerparts.com