
B
Bruce SteeleAug 2, 2025
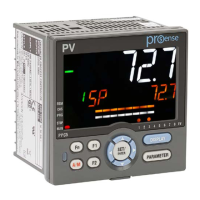
What to do if the Operation Display doesn't appear on my Automationdirect.com prosense PPC5 Controller?
- EElijah KerrAug 2, 2025
If the Operation Display does not appear after turning on the controller’s power, there are several things you can check: * Verify the wiring on the power terminals. * Check the key lock setting. * Try turning the power off and then on again. * Examine the I/O specifications of the controller. * Review the controller's specifications. * Ensure the supply voltage is correct. * Confirm the specifications and polarity of any connected devices. * Check the communication wiring and communication-related parameters. * Cancel the setting.