Commissioning
AVENTICS | Marex 3D | R417003094–BDL–001–AA 71
English
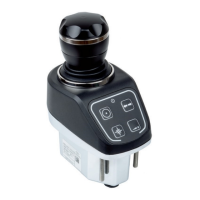
O For the dry run, remove the cover of the 3D Controller by
loosening the 6 fixation screws, see also Fig. 3 on page 31.
Marex3D power supply
1. Switch off one of the fuses of the MarexOS MPCs.
2. Test if the 3D Controller is still supplied with power.
3. Measure if a signal arrives at the thrusters when the joystick
is moved.
4. Switch the fuse on again.
5. Repeat the test with the fuse of the other MarexOS MPC.
Thruster and 3D modes at a combined station
Thruster mode 1. Activate the control head by pushing its COM-key twice. The
levers must be in neutral position. Buzzer and COM-LEDs of
all other control stations should switch off. The COM-LED on
the control head must remain lit.
2. Push the thruster-key at the joystick. The thruster status
indicator must light up and remain lit.
3. Move the joystick. Check if the outputs for the thrusters
change accordingly at the 3D Controller.
Table 3: Overview of standard tests during dry run
Function Executed correctly To be reviewed
Switchover of Marex3D power supply
(applicable only in combination with Marex OS III)
Activating the thruster mode
Activating a joystick
Activate trolling in 3D mode if applicable
Command transfer from one control station to another
Direct command transfer at every control station
Control of bow thruster
Control of stern thruster if applicable
Telemetry of heading sensor
Alarming in case of errors
Dimming
3D_manual_R417003094_DE_EN.book Seite 71 Freitag, 30. November 2018 11:36 11