Chapter 4 FUNCTIONAL TESTS
4 - 12
4.2.11.4 Tilt Switch Function Check: (*D*)
1. (*D*) Stand the pump upright and observe that the ALERT LED is “ON.”
2. (*D*) Lay the pump horizontally and observe the ALERT LED turns “OFF.”
4.2.11.5 Barrel Clamp and Tab Sensor Checks: (*D*)
1. Mount a syringe onto the pump by closing the barrel clamp and capturing the syringe
plunger with the plunger driver. The syringe flange should be pointed into the tab slot.
2. (*D*) Verify STANDBY, LOCK and BATTERY LEDs are all “ON.”
3. Press CONFIRM and observe the SYRNGREC prompt appearing on the display.
4. Remove the syringe.
4.2.11.6 Syringe Recognition Review: (*D*)
1. Lay the pump down on the power switch so that the plunger driver faces upward.
2. Gently set the CAS4003801 fixture onto the barrel clamp cradle. Ensure that the
fixture does not contact the tablock bracket of the barrel clamp and do not apply any
pressure on the fixture.
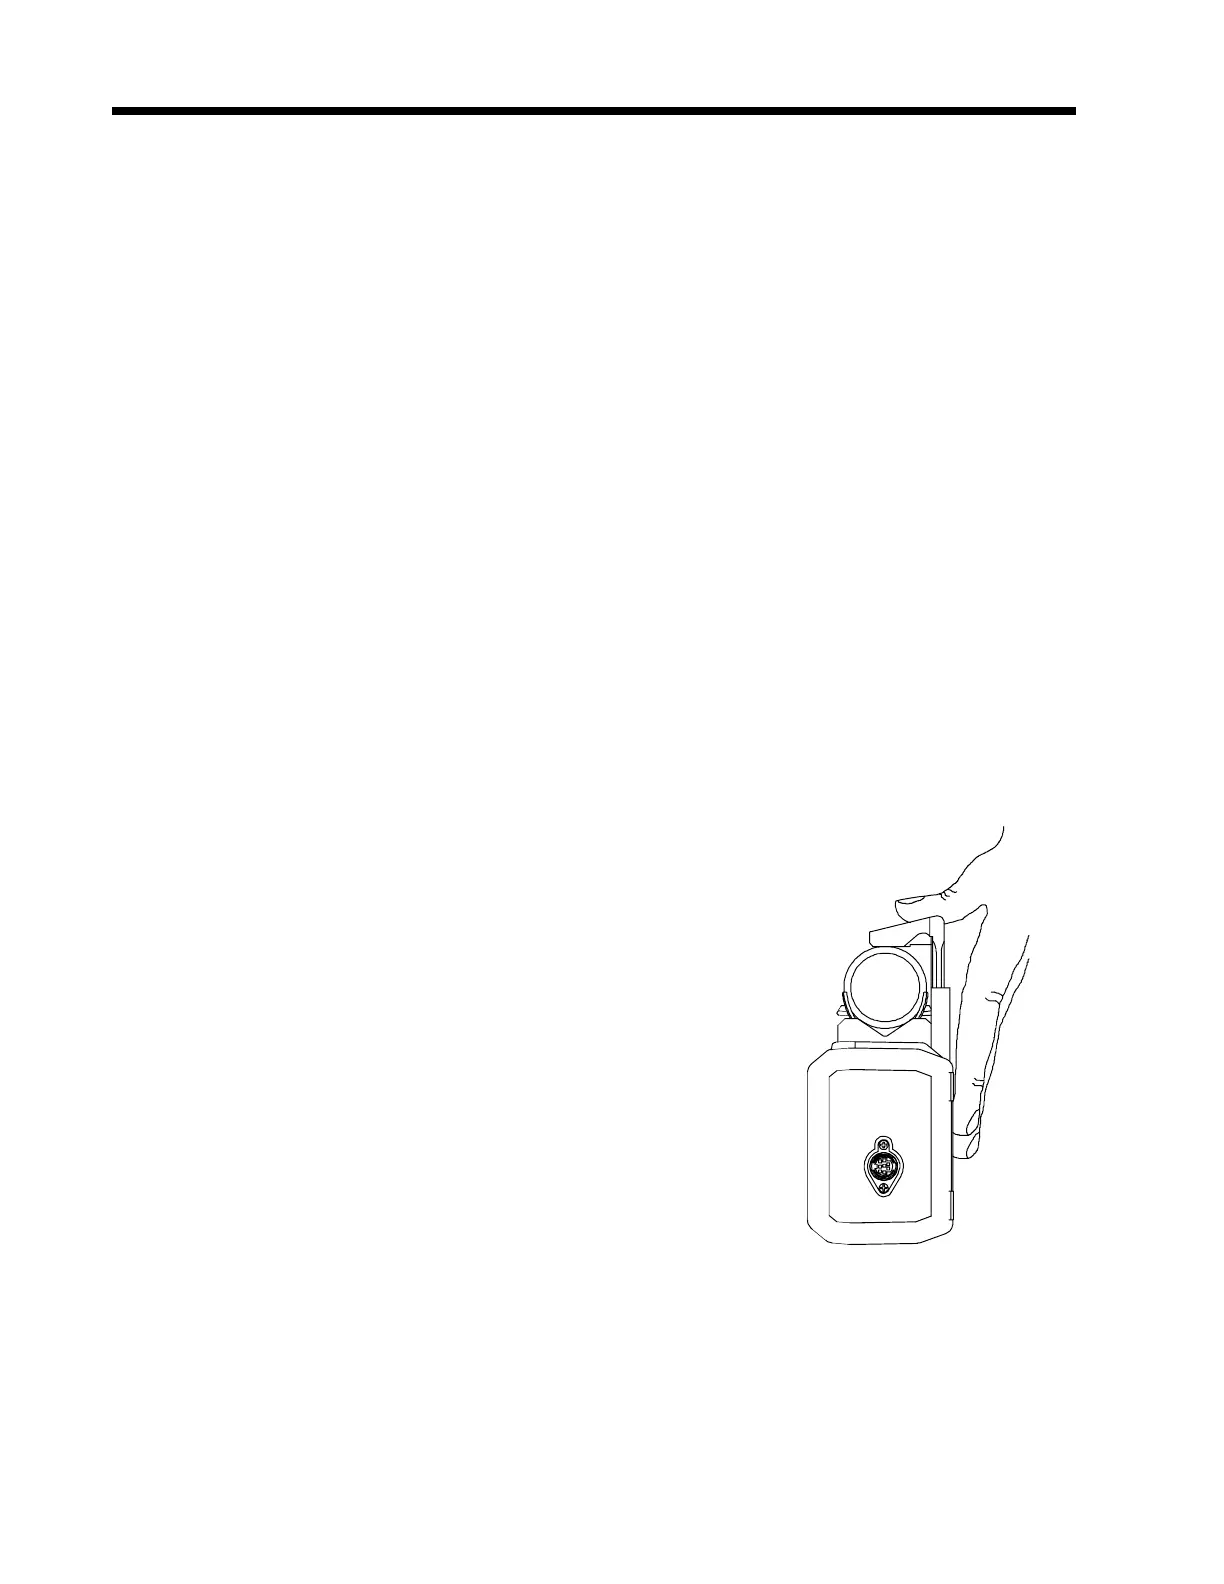
3. Place thumb of left hand on the barrel clamp release
lever and thumb of right hand on the orange
“PRESS HERE” dot of the barrel clamp face. Push
down on the release lever and while continuing to
keep this lever held down, slowly push the barrel
clamp face in towards the fixture until the clamp very
lightly contacts the fixture. Do not release the lever
or the face and proceed IMMEDIATELY to step 4.
NOTE
One hand may be used to perform
this operation as shown.
4. (*D*) Smoothly and slowly apply increasing thumb
pressure on the barrel clamp face (inward and
slightly to the rear) and stop IMMEDIATELY when
the LOCK LED illuminates. The Inches number
(Field #4) should be between 0.732 to 0.752 inches (0.732 < inches < 0.752) at the
exact point when the LOCK LED illuminates.
5. Open the barrel clamp and remove the fixture.

 Loading...

