6.
Attach the clamping unit as described in
Ä
Chapter 6.3.2
“Removing/repairing the clamping unit” on page 131.
7. Tighten the clamping screw (10) until a sufficiently high pre-
tension on the Multi Disc (3a, 3b) has been achieved or pres-
surize the clamping unit in the version with pneumatic adjust-
ment.
— If necessary, correct the pre-tension as described in
Ä
Chapter 5.1 “Commissioning” on page 95.
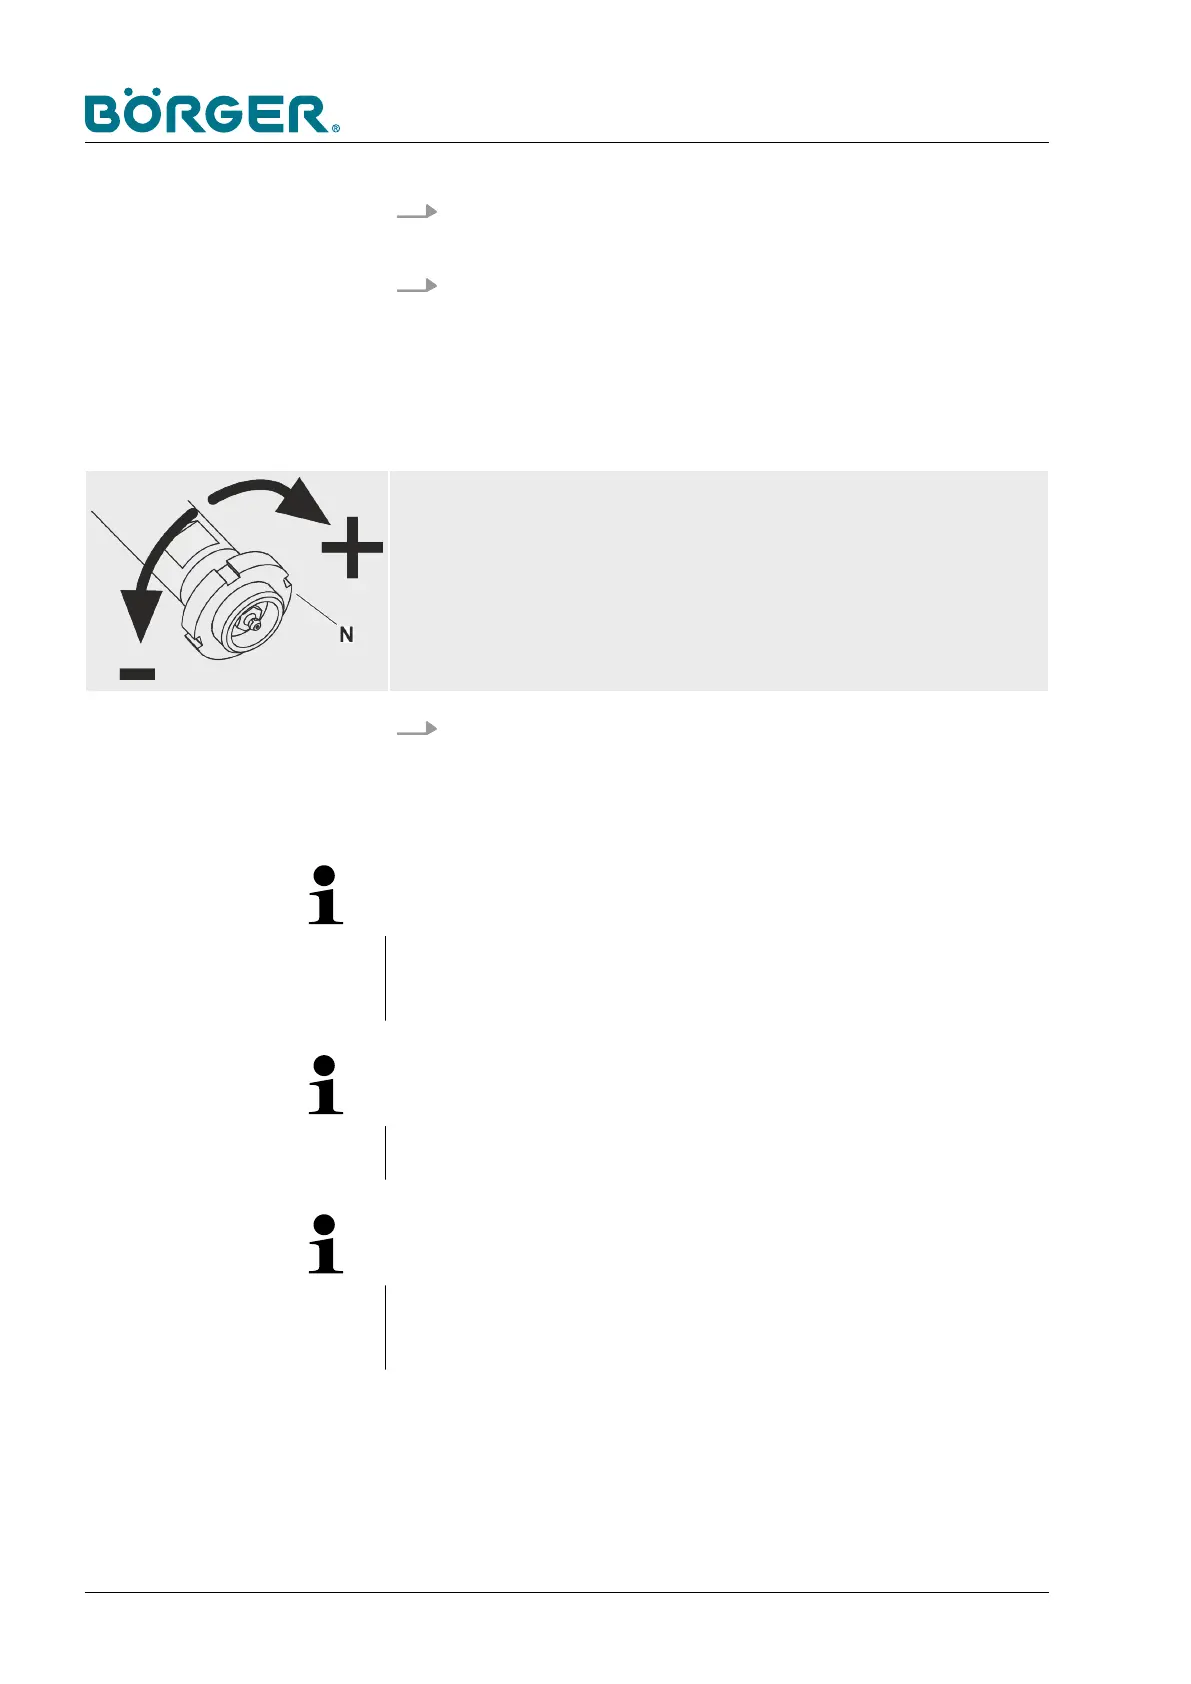
Adjust the clearance!
— Adjust the slotted nut [N] in such a way that the distance between the Multi
Disc and the press channel (or filter press channel in the case of the HP ver-
sion) is very small but the plates do not rub against each other.
8. Install the protection cover or the counter bearing cover
according to
Ä
Chapter 6.3.4 “Changing the Multi Disc plate”
on page 146.
NOTE!
Alignment of the centering elevation (A)
The centering elevation (A) of the auger adapter must always
point towards the brush auger.
NOTE!
Completeness
Make sure that you always install both auger adapters.
NOTE!
Length of the thick matter plug
Please contact Börger customer service if you require more infor-
mation on the suitable length of the thick matter plug.
Maintenance and repairs
BA-RC40_EN, 17.01.2024www.boerger.de / www.boerger.com166