7. Service Procedures (Undefined variable: MyVariables.ProductName)
Replacing the J3 (Elbow) Axis Motor or
Timing Belt
Part Number: PF40-DI-00010 Rev. A
Step Action
1.
Unbolt the robot from its mounting surface and set it vertically on the floor or a low surface.
2.
Move the robot arm to about 2 inches below the top of the Z Column travel.
3.
Turn off the robot power and remove the AC power cord.
4.
Remove the Top Plate of the robot by removing the (4) M5 socket head screws from the top plate
of the robot that attach the top plate to the Z column.
5.
Remove the Front Cover by lifting it out horizontally.
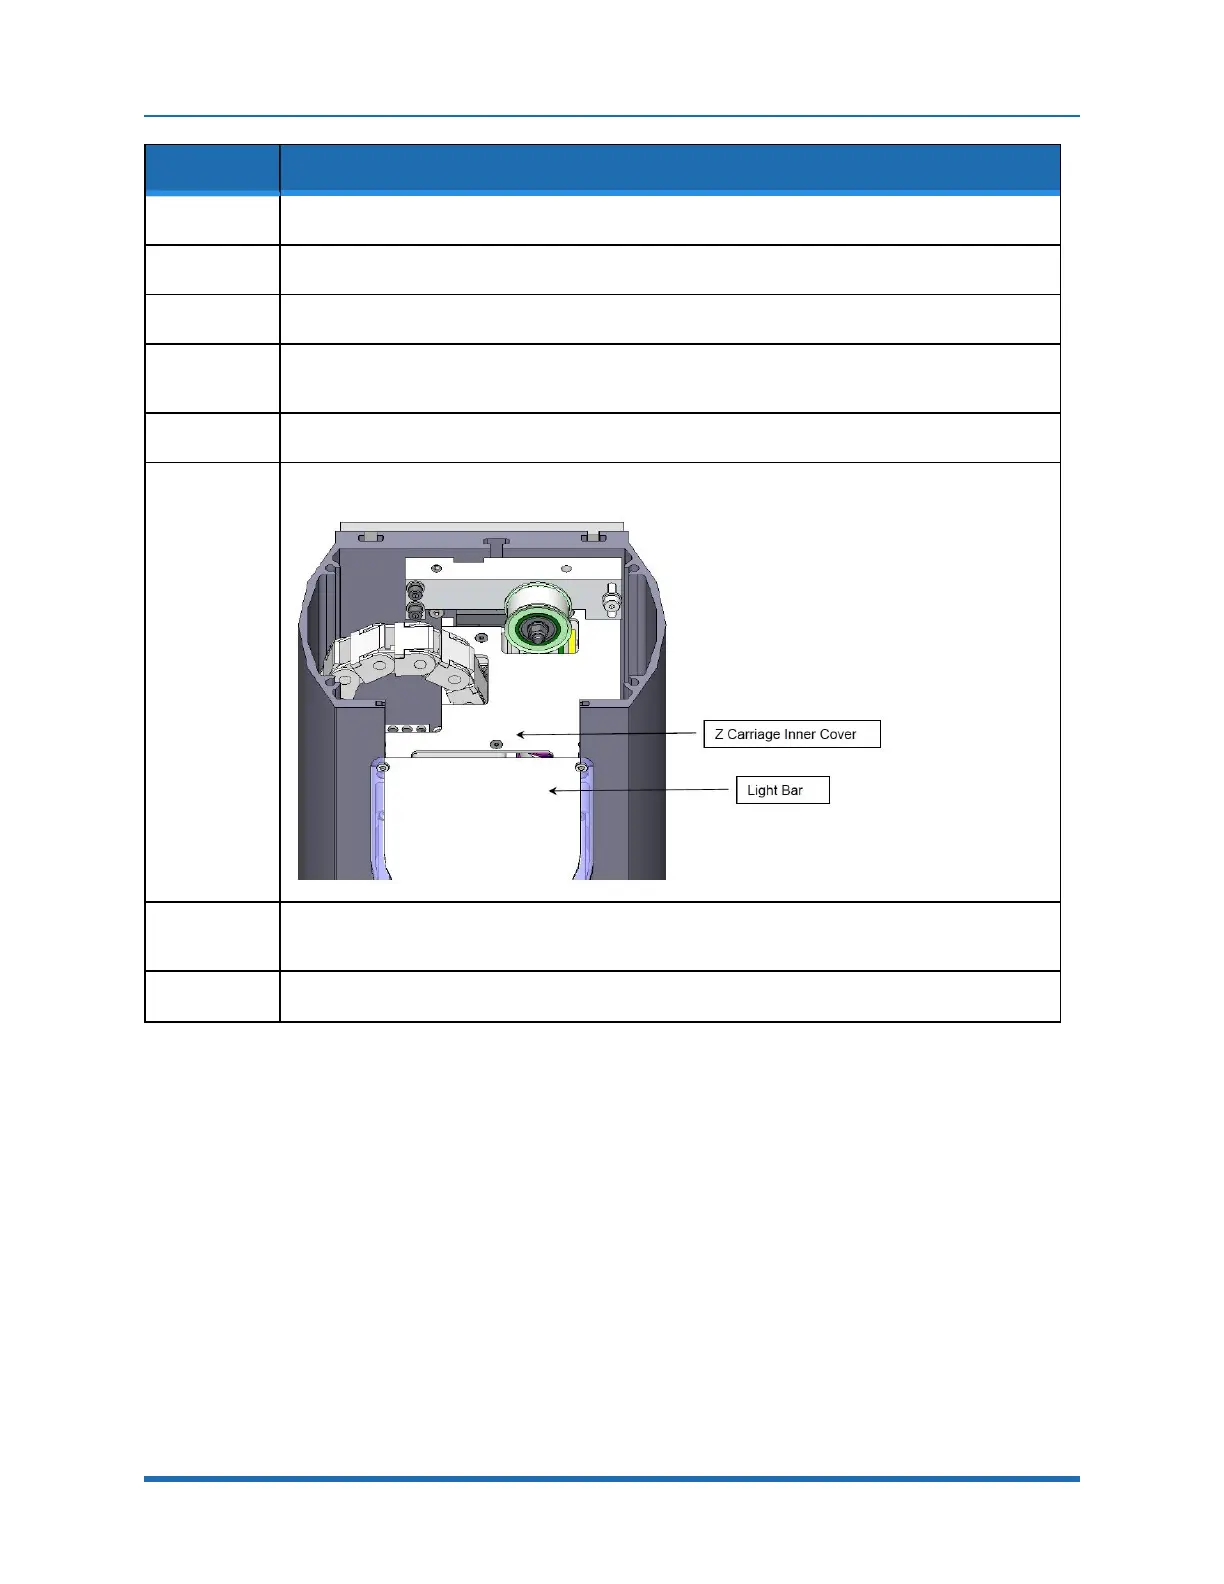
6.
Remove the Z carriage inner cover by removing the (5) M3 X 10 mm FHCS.
7.
Remove the Light Bar by removing the (3) M3 X 8 mm SHCS and unplugging the connector from
the J2 Motor Interface PCA.
8.
Remove the controller from inner link.
141
Copyright © 2023, Brooks Automation