Brooks Automation 7. Service Procedures
Part Number: PF40-DI-00010 Rev. A Replacing the J4 (Wrist) Axis Motor or Timing Belt
Step Action
2.
Turn off the robot power and remove the AC power cord.
3.
Remove the inner link cover by removing the (4) M3 X 20 mm SHCS and lock wash-
ers.
4.
Remove the outer link cover by removing (4) M3 X 20 mm SHCS and lock washers.
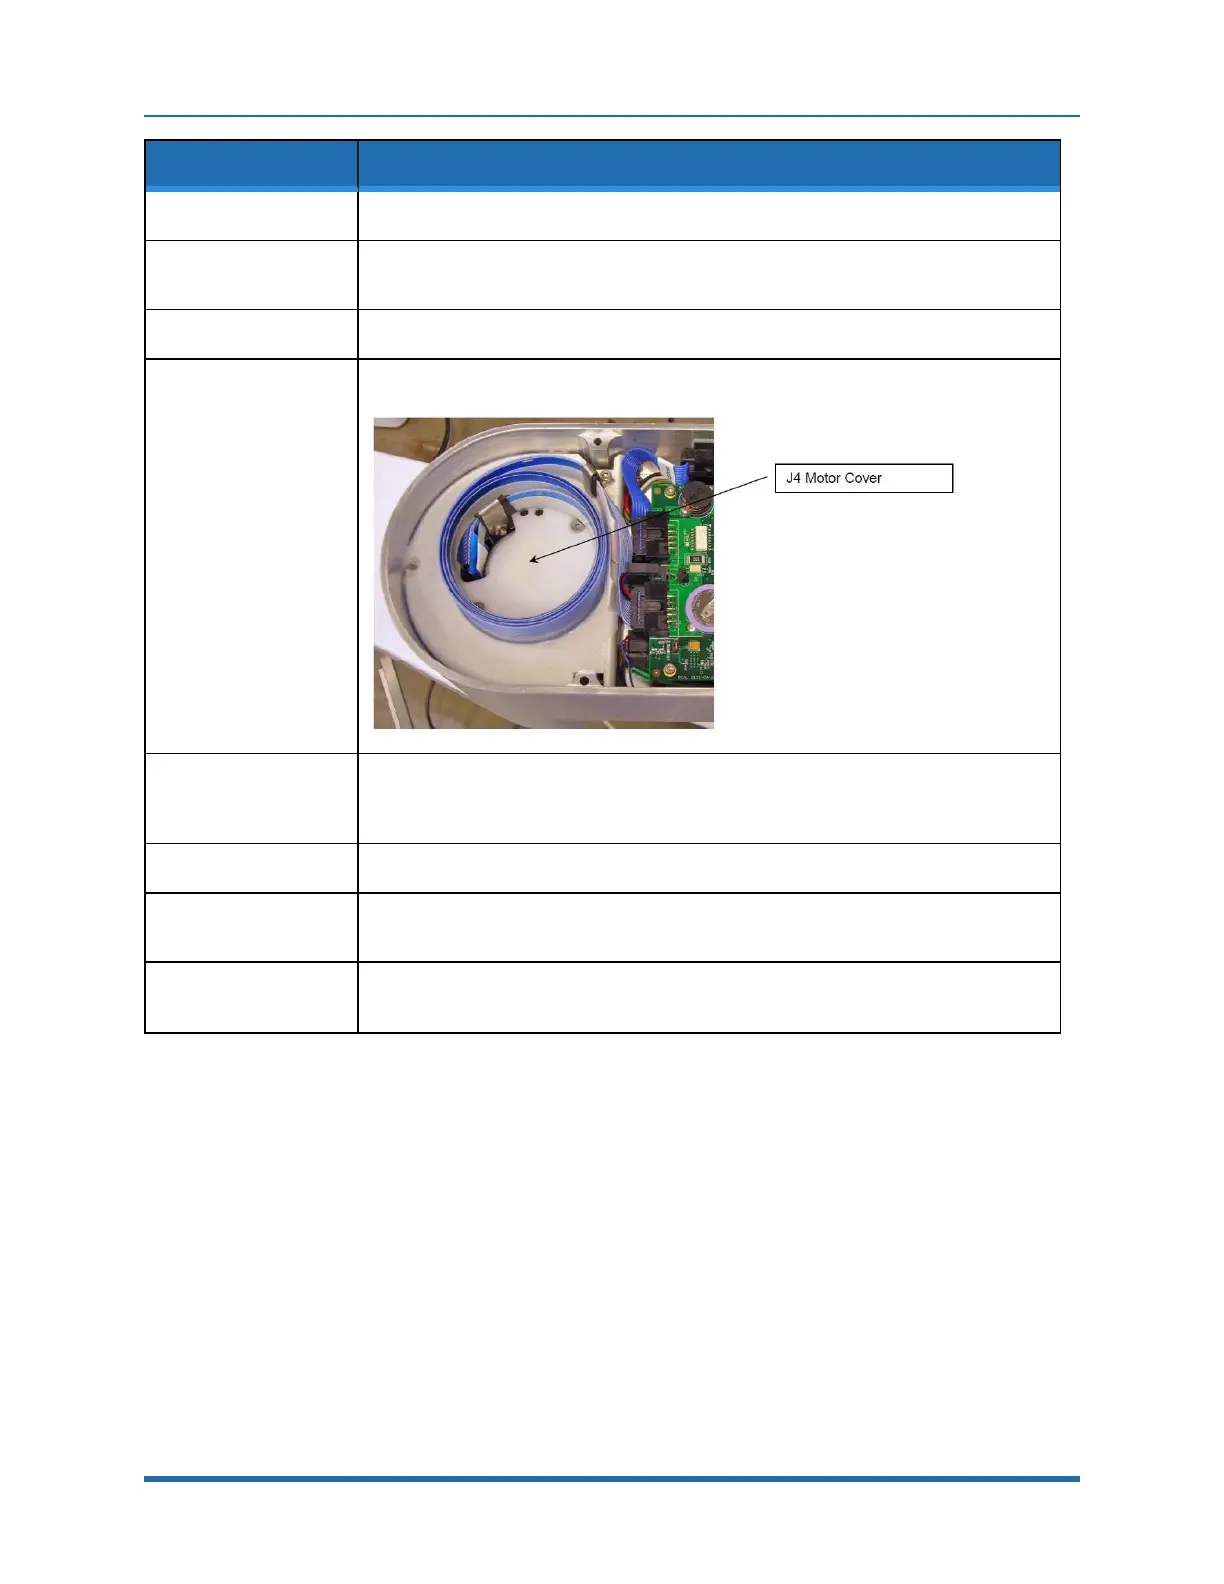
5.
Remove the J4 Motor Cover in the Elbow by removing the (2) M3 X 10 mm FHCS.
6.
Rotate the Outer Link clockwise (viewing from above) until it hits the hard stop.
This will expand the harness coil and the link will be position as shown below, about 10
degrees from straight out.
7.
Remove the J4 Motor Interface Board in the Outer Link and unplug the cables.
8.
Remove the Outer Link by removing the (6) M3 X 35 mm SHCS in the J3 Output Pulley
that attach the Outer Link.
9.
Remove the Gripper Controller by unplugging the Gripper harness and removing the
(4) M3 X 8 mm SHCS.
Copyright © 2023, Brooks Automation
144