2007 Buell P3: Chassis 2-31
HOME
IMPORTANT NOTE
Cover molded-in-color surfaces and right handlebar
switches and use care when removing brake reservoir
cover and adding D.O.T. 4 brake fluid. Spilling D.O.T. 4
brake fluid on molded-in-color surfaces will result in cos-
metic damage. Spilling brake fluid on switches can ren-
der them inoperative.
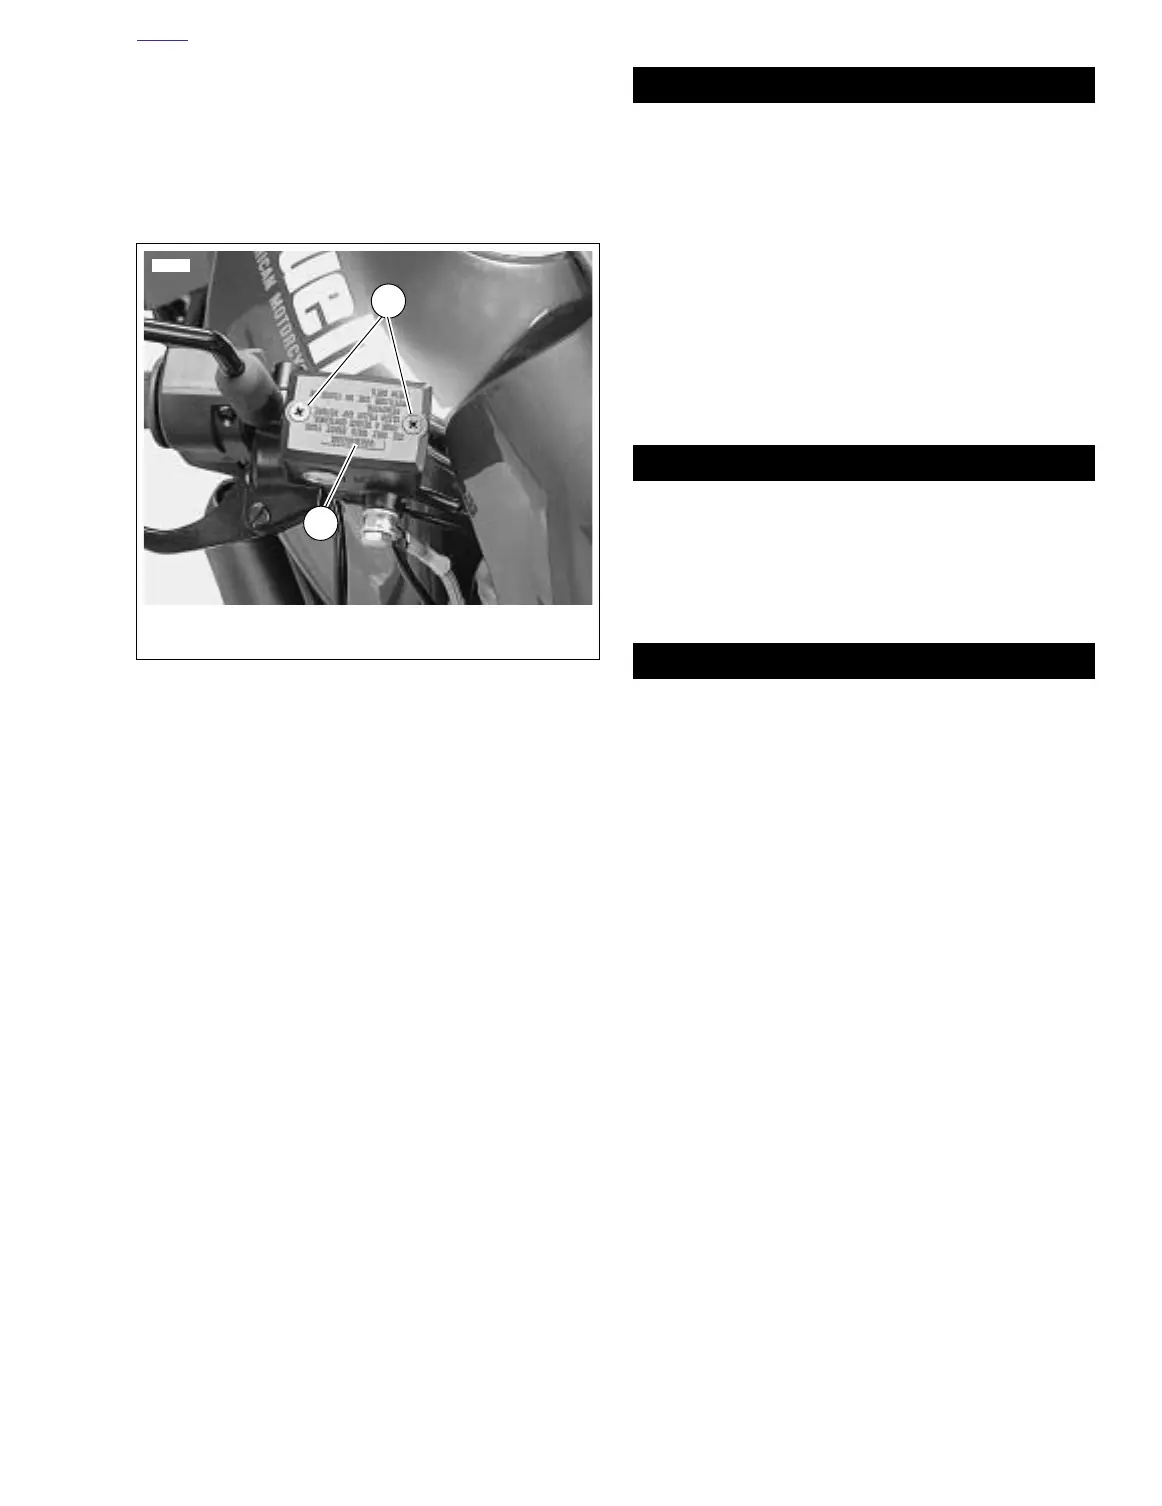
6. See Figure 2-43. Remove both master cylinder cover
screws (2). Remove master cylinder cover (1) and gasket.
7. With the master cylinder in a level position, verify that the
brake fluid level is 0.125 in. (3.2 mm) from molded boss
inside reservoir. Add D.O.T. 4 BRAKE FLUID if neces-
sary.
11WARNING1WARNING
Be sure the master cylinder relief port is not plugged. A
plugged relief port can cause brake drag or lockup and
loss of vehicle control, which could result in death or
serious injury. (00317a)
8. Verify proper operation of the master cylinder relief port.
Actuate the brake lever with the reservoir cover removed.
A slight spurt of fluid will break the surface if all internal
components are working properly.
9. See Figure 2-43. Install master cylinder cover (1) and
cover gasket with two screws (2). Tighten to 9-13 in-lbs
(1.0-1.5 Nm).
10. Depress front brake lever several times to set brake pads
to proper operating position within caliper. Bleed brake
system.
Be sure that all lights and switches operate properly
before operating motorcycle. Low visibility of rider can
result in death or serious injury. (00316a)
11. Turn ignition key switch to IGN. Apply brake hand lever to
test brake lamp operation. Turn ignition key switch to
LOCK.
11WARNING1WARNING
After repairing the brake system, test brakes at low
speed. If brakes are not operating properly, testing at
high speeds can cause loss of control, which could
result in death or serious injury. (00289a)
NOTE
Avoid making hard stops for the first 100 miles (160 km) to
allow new brake pads to “wear in” properly with the brake
rotor.
Figure 2-43. Master Cylinder Cover
7024a
1. Master cylinder cover
2. Screws (2)
2
1