244 Gateway and Gateway 4 Manual v1.2
© Tieline Research Pty. Ltd. 2021
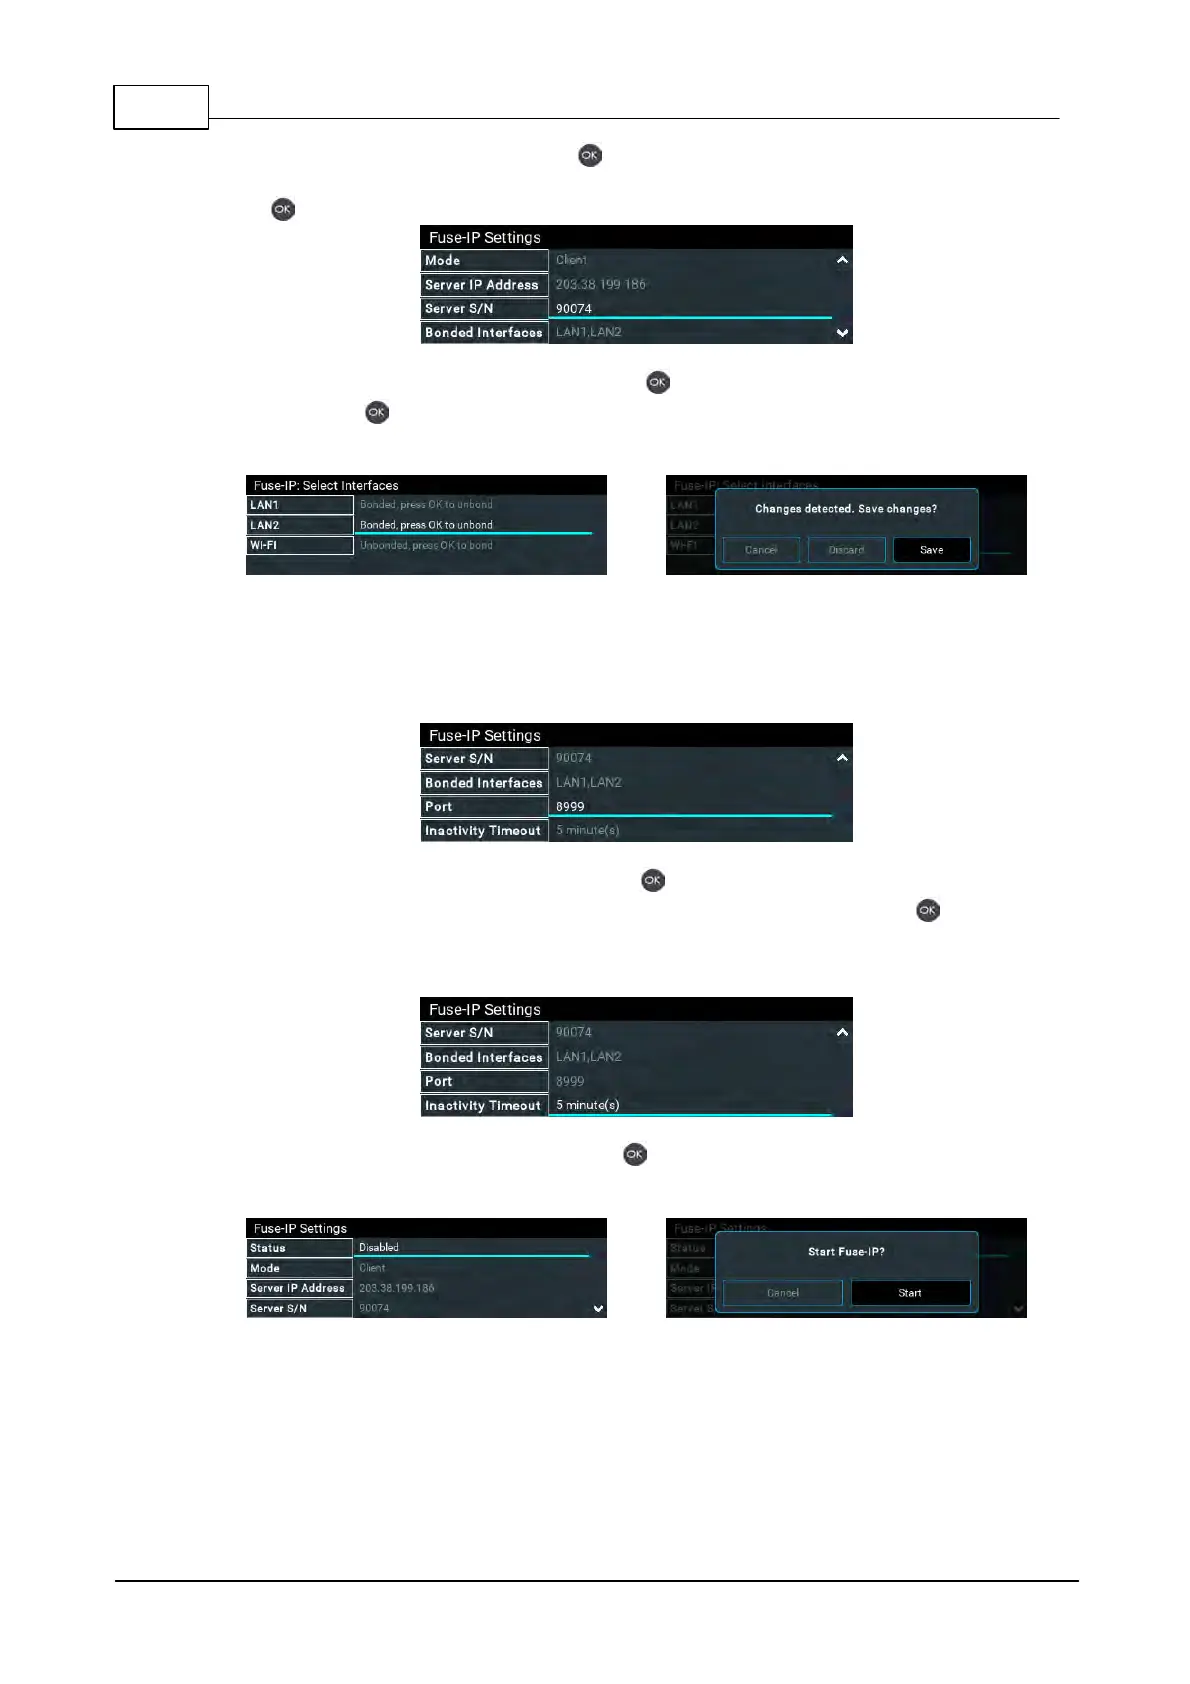
6. Navigate to Server S/N and press the button to enter the serial number of the server codec
to which you are connecting (or select a previously entered serial number via History), then press
the button.
7. Navigate to Bonded Interfaces and press the button, then navigate to each interface in turn
and press the button to select or deselect interfaces. Confirm the changes when exiting the
menu.
5. Leave the default Fuse-IP Port as 8999 in most situations unless this port is already in use, e.g.
there are multiple codecs behind a firewall using Fuse-IP, therefore it is necessary to allocate a
different port for each Fuse-IP tunnel. Note: the port number on the client and server codecs
must be the same.
6. Navigate to Inactivity Timeout and press the button if you want to adjust the predetermined
time period for turning the Fuse-IP tunnel off. Adjust the setting and press the button to store
the new setting. Note: Inactivity Timeout can be configured from 0 to 1440 minutes. Enter 0 to
disable the timeout.
9. Navigate up to Status and then press the button to create a Fuse-IP tunnel between the
server and client codecs.
10. Connected is displayed when a connection is successful. Remember Fuse-IP must be enabled
on both codecs.