103
© Tieline Research Pty. Ltd. 2021
Gateway and Gateway 4 Manual v1.2
Important Note: Check with your IT administrator before changing this setting. By default
the codec is configured for Assured Forwarding and more details about DSCP are
available on Wikipedia at http://en.wikipedia.org/wiki/Dscp.
23.4 Enabling the Cloud Codec Controller
For the codec to be configured and managed by Tieline's Cloud Codec Controller over the public
internet it needs to be enabled for CCC management:
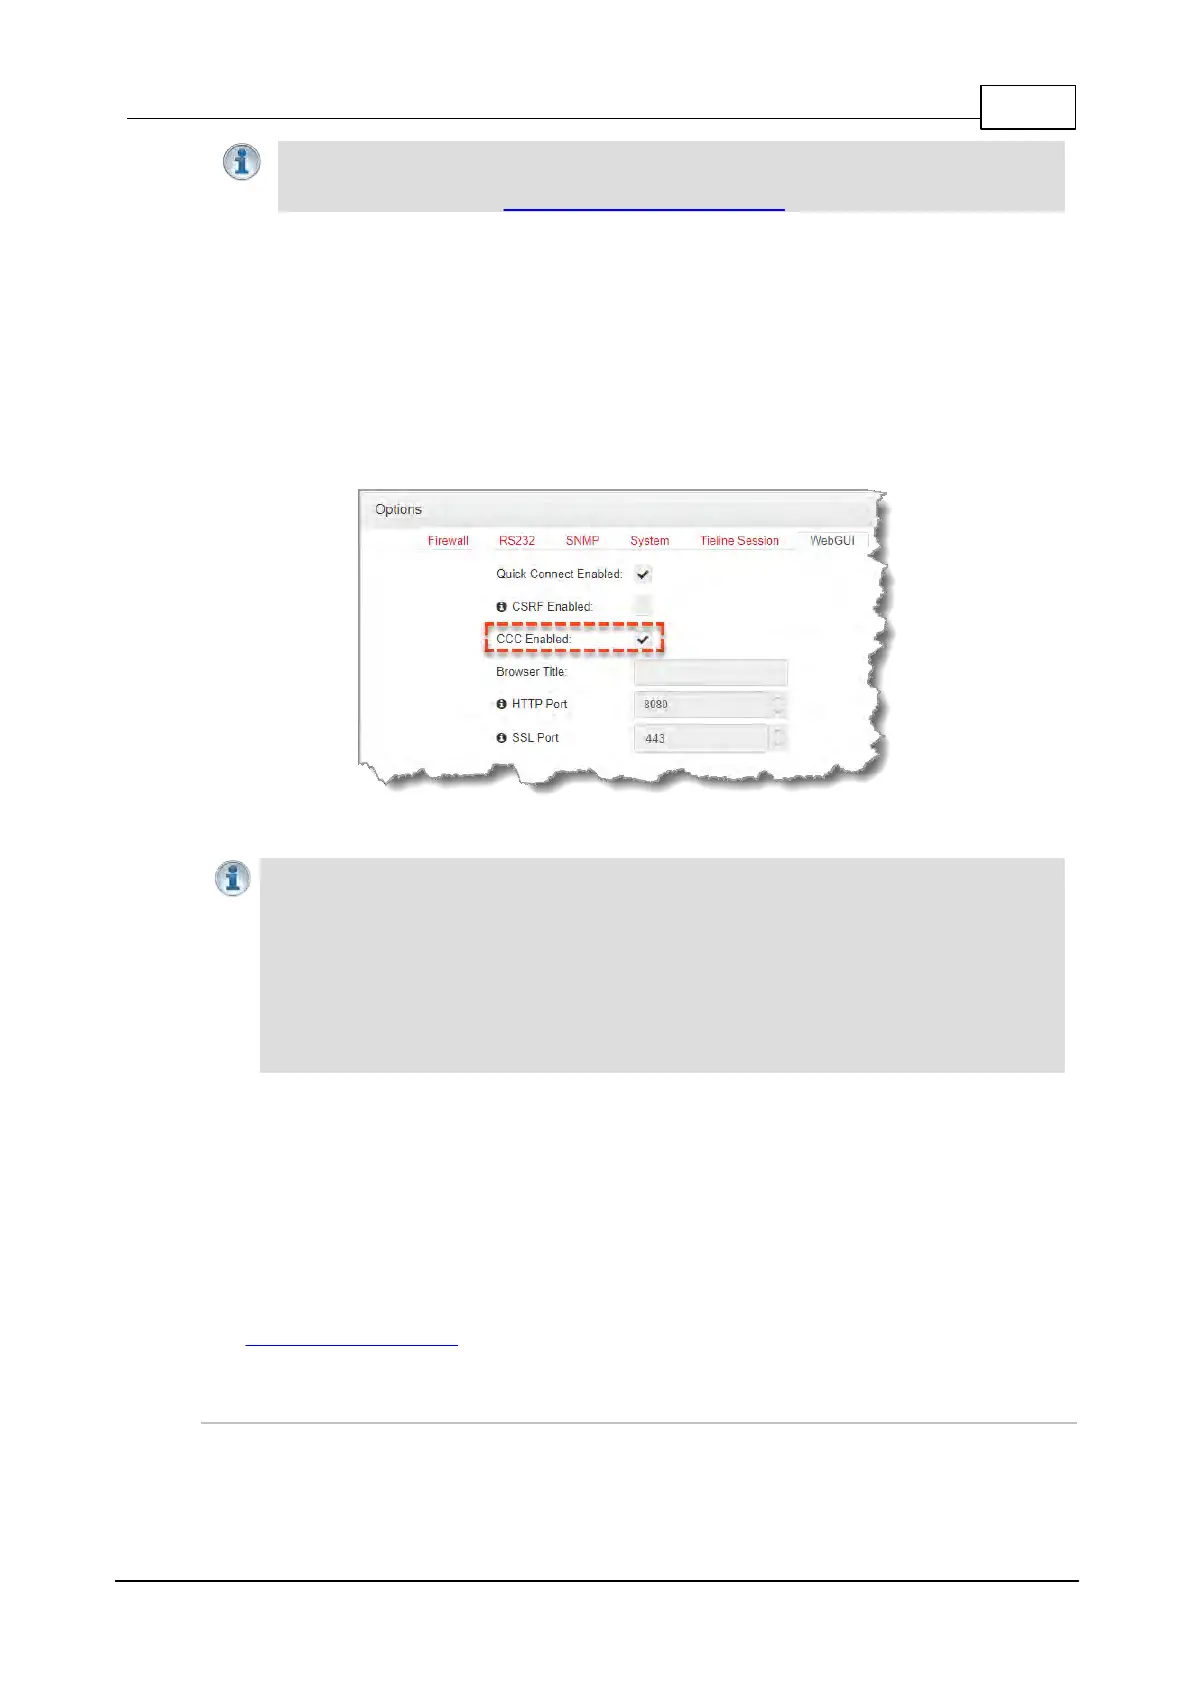
1. Open the HTML5 Toolbox Web-GUI and click Settings at the top of the screen, then click
Options to display the Options panel.
2. Select WebGUI, then click Edit and select the CCC Enabled check-box to enable this
feature.
3. Click Save to store the new configuration.
Important Notes:
· Ensure CSRF is disabled in the codec or it will not be able to connect to the CCC. This
setting is [OFF] by default and is also available in the codec menu via Settings >
WebGUI, and in the Options panel in Toolbox.
· Locally Defined Codecs over a private network do not need to be enabled for CCC
operation. Only codecs that require internet access need to be enabled.
· The CCC needs to continually send and receive data between codecs to update
information displayed. If the CCC is left open on a computer and is not used for more than
4 hours, the Codec Viewer is placed in 'sleep' mode to save on data use.
23.5 Configure Fuse-IP Bonding
Tieline’s proprietary Fuse-IP data aggregation technology uses a point-to-point tunnel between two
codecs to bond multiple IP interfaces (peers). Fuse-IP automatically distributes data over any two
bonded interfaces, which may include:
· Dual Ethernet LAN ports.
· An Ethernet LAN port with Wi-Fi.
See Connecting with Fuse-IP for more details on configuration using the codec front panel controls.
Configuring a Fuse-IP Server at the Studio
1. Open the HTML5 Toolbox Web-GUI and click Transport and then Fuse-IP.
2. Click the Bonded Interfaces drop-down menu to select the interfaces to be bonded.