User Manual: WaveLinx Lite (4.0)
64
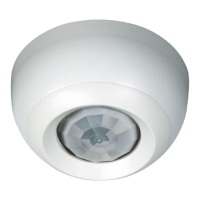
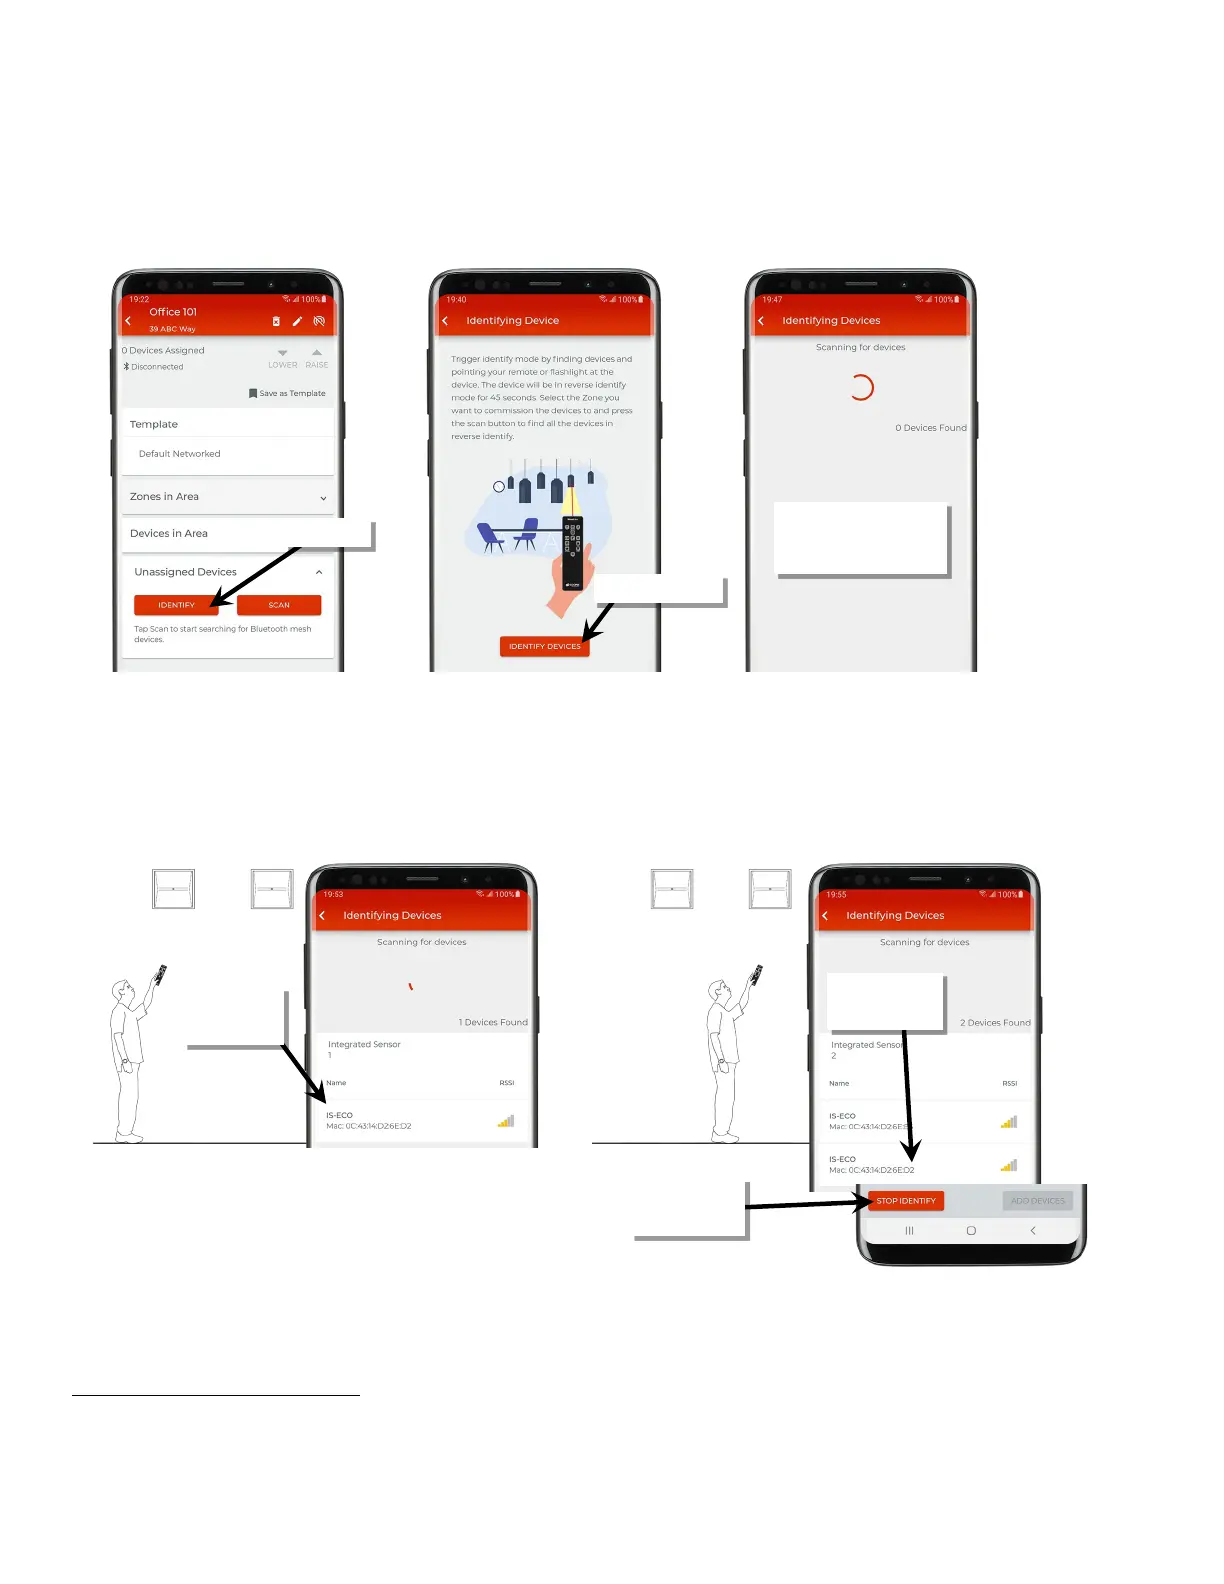
Identify and Provision Fixture Mounted or Tilemount Sensors:
64
First, visually determine what fixtures/sensors need to be assigned to each zone in the area.
5: In the area details, scroll down to the ‘Unassigned Devices’ list, and then tap ‘Identify’ and review the tips on using the identify feature. Tap
‘Identify Devices’ to continue. The scan will begin for any devices that are identified.
6: Go to a fixture/sensor in the first zone and then stand underneath it. Point the remote at the sensor lens and press the ‘Rev ID’ button.
The device LED should begin flashing magenta repeatedly for 45 seconds as it identifies to the mobile app. The device should appear in the
‘Identifying Devices’ list.
65
7: Move to the next fixture/sensor that should be assigned to that zone and repeat step 6 for the additional device. Repeat for additional
sensors until all sensors for the zone are showing in the list and then tap ‘Stop Identify’. Make certain that the mobile device is still within
Bluetooth range of all previously identified devices (within 60 feet).
66
64
If unable to use the WaveLinx Pro IR Remote to identify the fixture mounted sensors or tilemount sensors at this site, follow the procedures in the “Identify and Provision Line
Voltage Powered Wallstations” section that follows. The procedures described will also work for fixture mounted and tilemount sensors.
65
To end a device’s identification prior to the automatic time out, press the ‘Rev ID’ button on the IR Remote. If a device is in identify mode, this command will cancel it. Note:
Cancelling identify will not clear the device from the identify screen.
66
If the area is large and devices are out of range when performing the identification method of provisioning, split the zone into sections and perform the procedure for one
section at a time.
The mobile device will begin
scanning for WaveLinx Lite
devices that have been placed
in identify mode.
identifies to the
mobile app
identifies to the
mobile app
when all desired
devices are shown