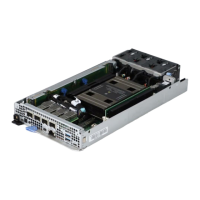
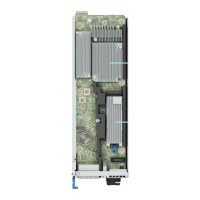
Figure 154. Installing the A100 baseboard captive screws
3. Align and insert each NVlink heatsink on the GPU baseboard.
4. Using Torx 15 screwdriver, tighten the screws securing the NVlink heatsink in the order that is mentioned below:
a. Tighten the first screw completely.
b. Tighten the screw diagonally opposite to the screw you tightened first.
c. Repeat the procedure for the remaining two screws.
NOTE: For NVlink heatsink installation, ensure that the final torque value is 6 ± 4% lbf-in or 0.68 ± 4% N-m .
176 Installing and removing system components

 Loading...


