Chapter 23: Using the D-Show Standalone Software 179
Transfer and Load Data to the
Standalone Software
1 Connect the USB storage device to your laptop. Make sure
the drive is mounted before proceeding.
2 Launch the D-Show standalone software.
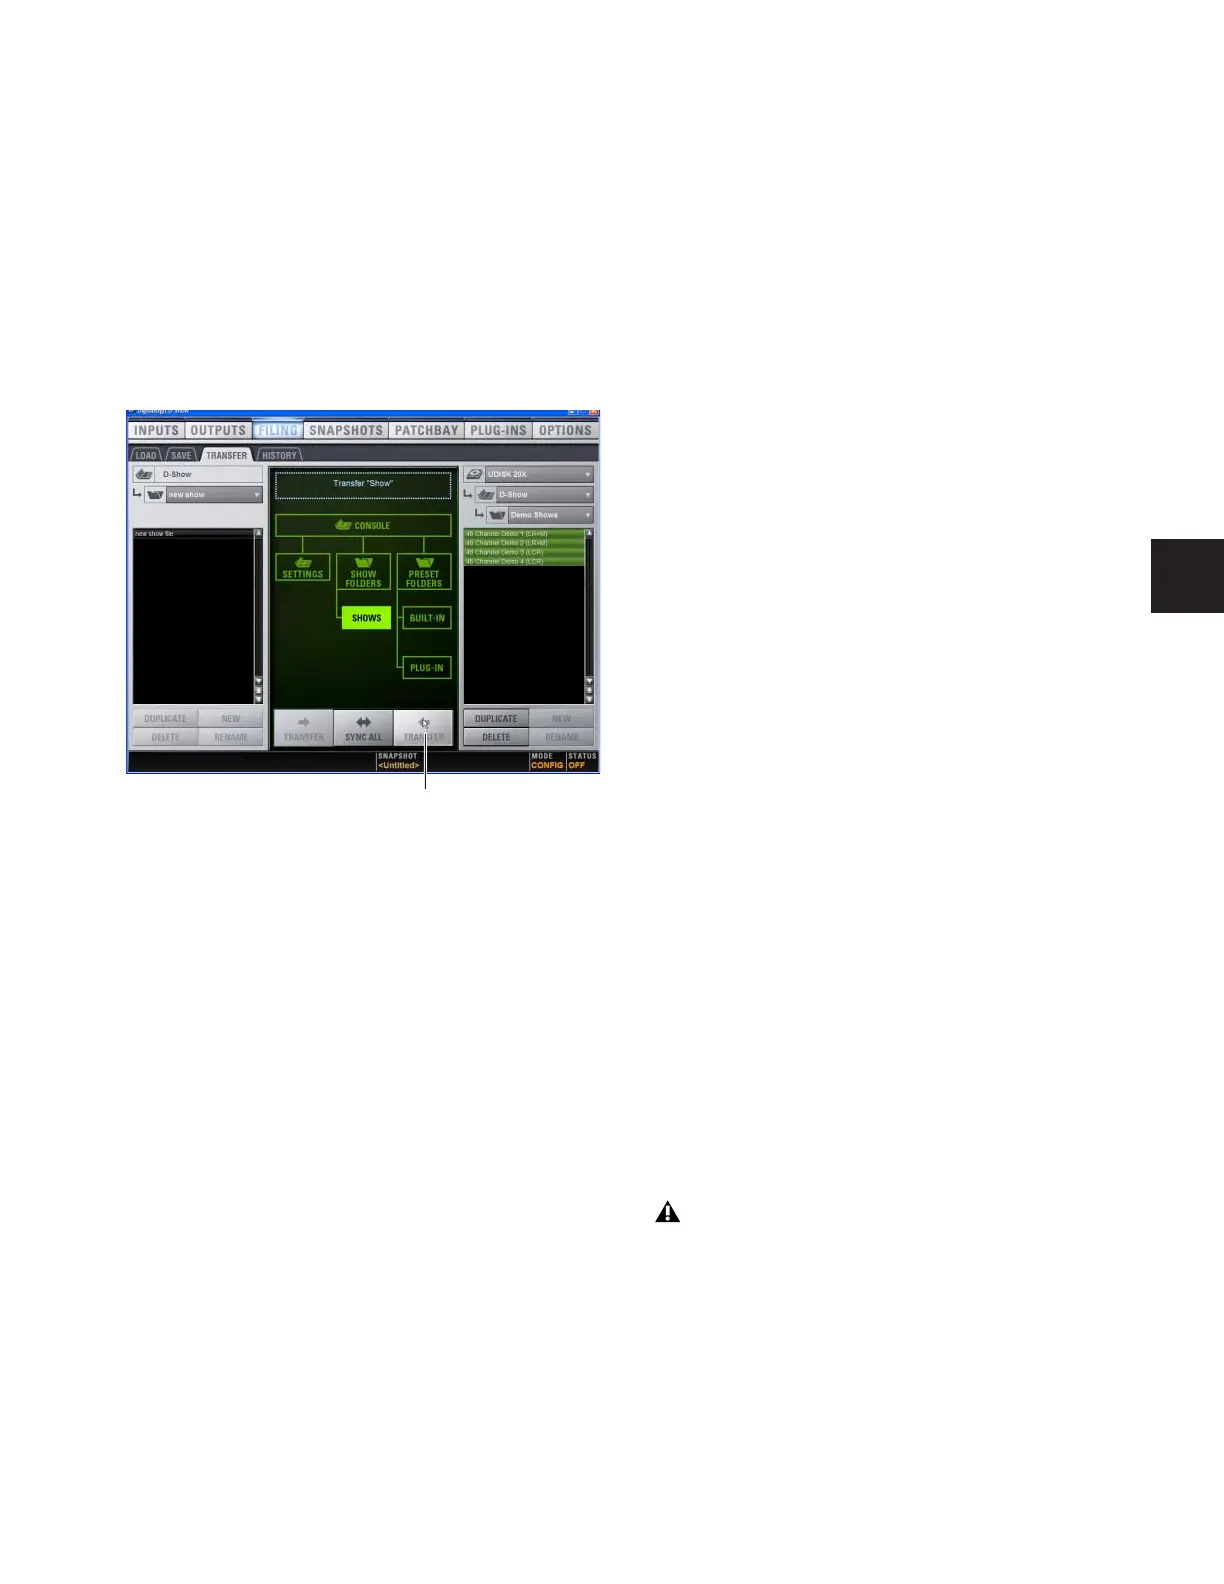
3 Go to the Filing page and click the Transfer tab.
4 Make sure your USB disk is available in the list at right.
5 Click the Console, Settings, Show Folders, Shows, Preset
Folders, Built-In, or Plug-In selectors to select the type of data
you want to transfer.
6 Click the Transfer button. The data is transferred from the
USB device to the appropriate D-Show data folders on the lap-
top.
7 If you chose Console, data is automatically loaded and ap-
plied. If you chose any other data type, go to the Filing page
and click the Load tab, and load the newly transferred data
into the Standalone software.
Creating and Editing Shows and Presets
Use the techniques explained throughout this guide to assign
routing, rename channels, and to configure other parameters.
Then do the following to save and transfer your work to a
complete system.
To save and transfer D-Show data from the standalone software
to the complete system:
1 Connect a USB storage device to an available USB port on
your laptop.
2 Using the Save tab of the Filing page, save data to disk.
3 Go to the Filing page and click the Transfer tab, and transfer
saved data to a compatible USB storage device.
4 Connect the USB storage device to an available USB port on
the complete system.
5 Use the Transfer tab of the Filing page to transfer the
D-Show data from the USB storage device.
6 Use the Load tab of the Filing page to load the transferred
data.
CD Transfer
The D-Show FOH Rack provides a CD-ROM drive that can also
be used as a source device for D-Show data transfer. (You can-
not write data to the FOH Rack CD-ROM drive; it is
read-only.)
To use a CD for transfer:
1 Using the Standalone software on a laptop or other com-
puter, create and save a show.
2 Locate the D-Show folder on the system drive.
3 Copy that D-Show folder and its contents to a CD-ROM.
Make sure the D-Show folder is at the root level of the
CD-ROM.
4 Burn or write the disc as a Windows-compatible CD-ROM.
5 Insert the CD-ROM into the FOH Rack CD-ROM drive.
6 In the Filing screen, select the CD-ROM drive as the source
for file transfer.
7 When the transfer is complete, eject the CD-ROM.
Transferring Show files for the standalone software
Click
Leaving a disc in the FOH Rack CD-ROM drive can slow
down the response of some software screens, so it is recom-
mended that you not leave any disc in the drive during a
performance. This only applies to the CD-ROM drive in the
FOH rack (not the laptop on which you’re running the stan-
dalone software).