Print Trigger - Continuous
Continuous print trigger mode is often used in web, pipe or roll printing applications (without a
sensor mark).
Continuous print trigger mode can be setup in 3 dierent ways:
•
It can let the printer operate without a product detect sensor.
•
•
It can let a signal from a product detect sensor, trigger the start of a print run. Printing will
•
continue until the Stop icon is pressed.
• It can let a continuously active signal from a product detect sensor, keep continuous
•
printing active. Printing will continue, until the product detect sensor signal stops.
To setup continuous print trigger mode:
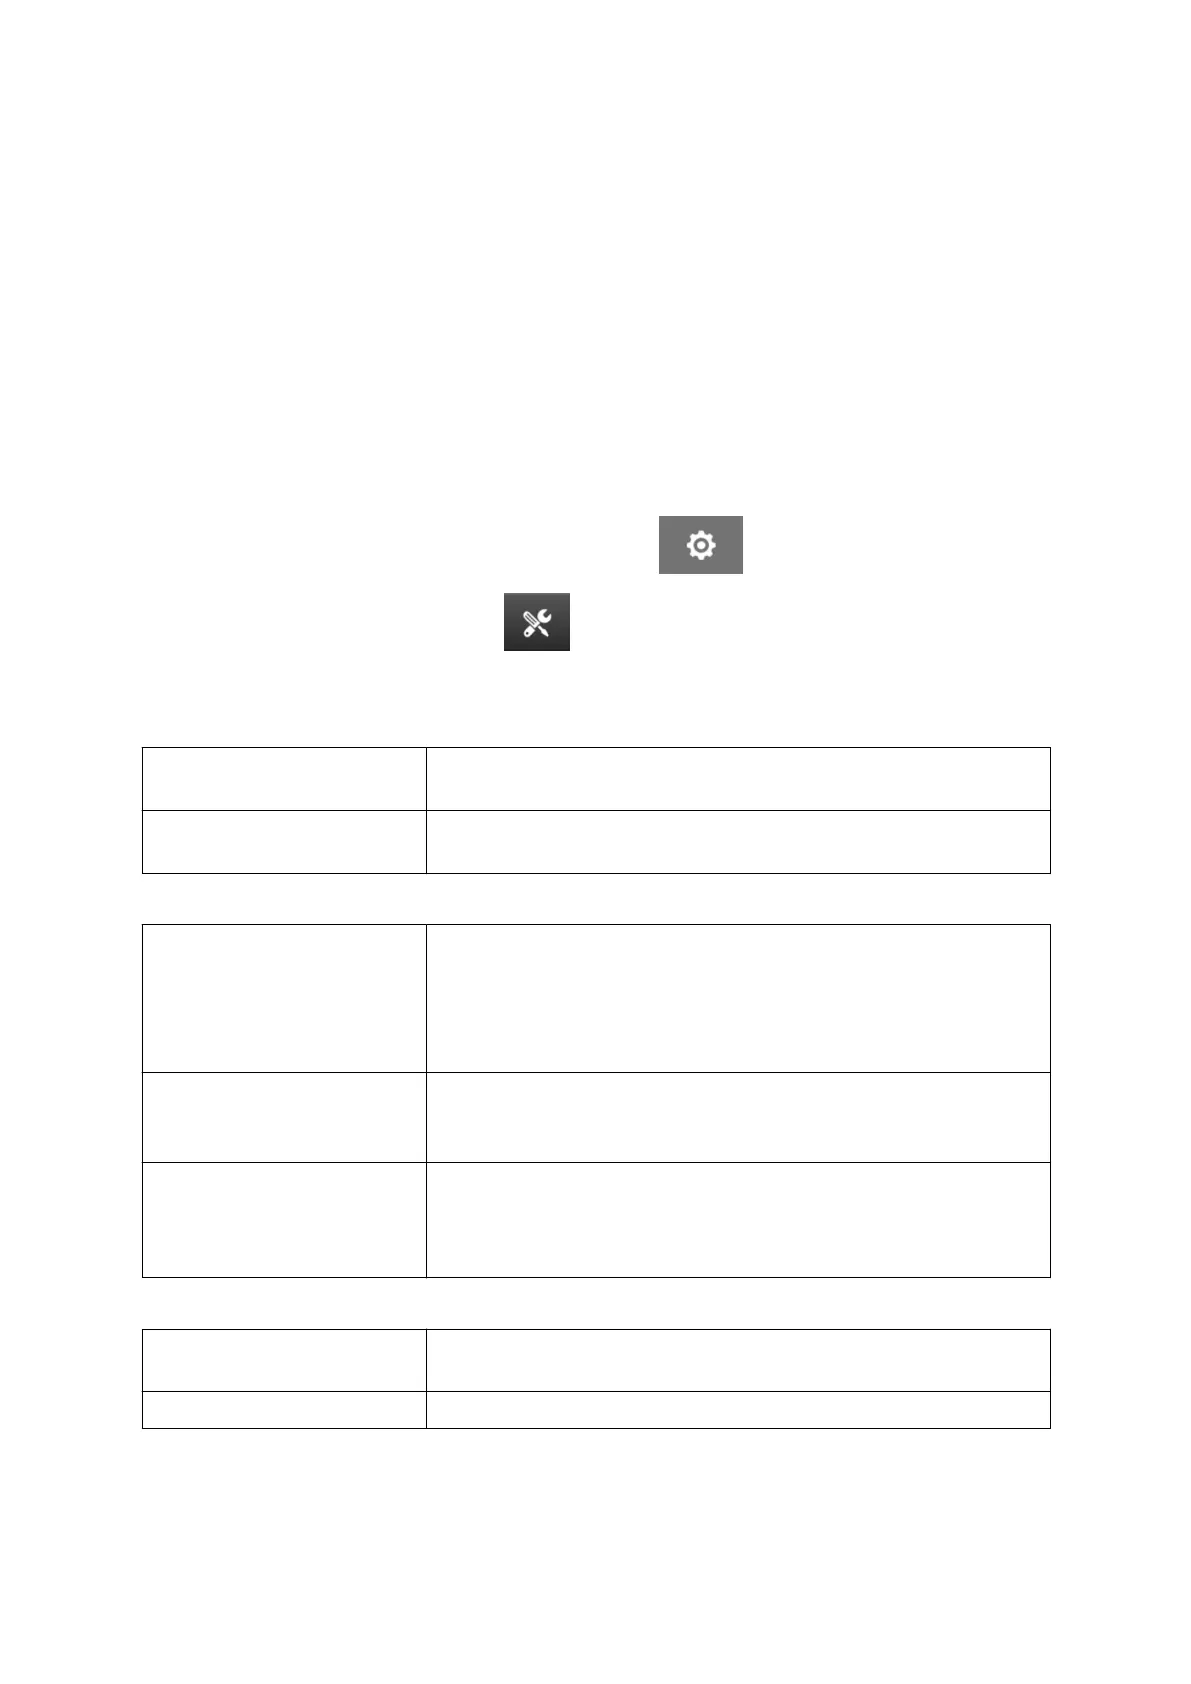
1. From the Home screen, select the Settings icon: 1.
2.
Select the System Settings icon:
2.
3.
Set Print trigger to Continuous.3.
4. Choose the Sensor mode:4.
Internal Use the product detect sensor that is built into the print head
to trigger printing.
External Use an external product detect sensor that is connected to
the IO socket to trigger printing.
5. Choose the Continuous mode:5.
Immediately Print continuously, as soon as the start icon on the home
screen is pressed. Printing will stop when the stop icon is
pressed.
When this mode is selected, a product detect sensor is not
needed.
Level Print continuously, when the printer receives a continuously
active signal from a product detect sensor. When the product
detect sensor signal stops, printing will stop.
First trigger Use a product detect sensor signal to trigger the first print of
a production line run. Printing will remain continuous after the
first product detect sensor signal. Press to stop icon on the
home screen to stop printing.
6.
If Continuous mode is set to Level, choose the Level mode:
6.
Ignore data Continuously print the same data from the
first print when the
sensor is held active. New data will be ignored.
Keep data Print data new data in each label when the sensor is active.
INSTALLATION
EPT077343 EN - Issue 1 - 11 November 2022 65
 Loading...