C4 Maintenance 9. Joint #5
132 C Series Maintenance Manual Rev.2
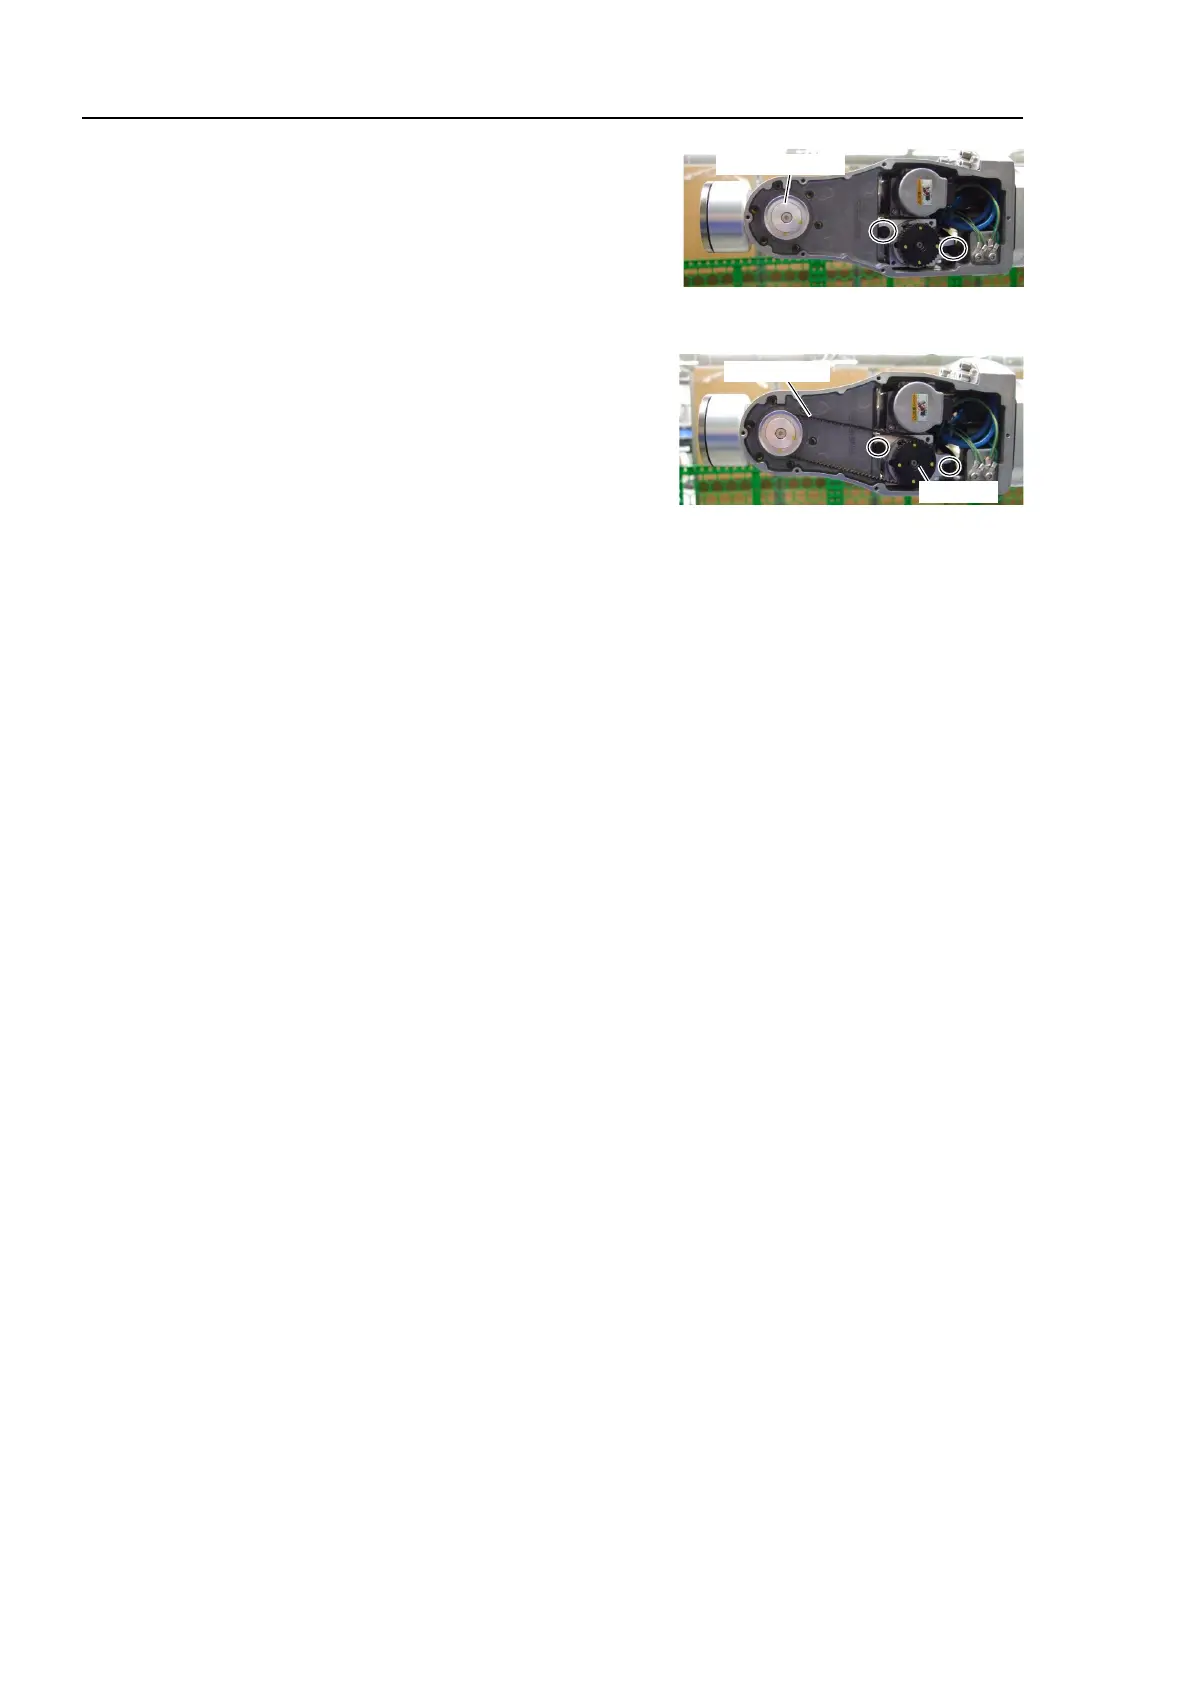
21. Install the Joint #5 pulley 2.
Hexagon socket set screw: 2-M3×5 (with a brass bushing)
Set the set screw on the flat face of the shaft. For the other
set screw, insert the brass bushing to the end.
22. Place the Joint #5 timing belt (6×315 mm) around the Pulley
1 and 2 and fix it temporarily.
Check that the teeth of the timing belt engage with these of
the pulleys.
When securing the motor unit temporarily, make sure that the motor unit can be moved by hand, and it
does not tilt when being pulled. If the unit is secured too loose or too tight, the belt will not have proper
tension.
23. Apply tension to the Joint #5 motor unit and fix it.
Joint #5 timing belt tension = 39.2 N ± 9.8 N (4 kgf ± 1 kgf)
Secure the Joint #5 motor unit by applying tension.
Hexagon socket head cap bolt: 2-M4×15 (with a plain washer)
Tightening torque: 4.9 N·m (50 kgf·cm)
24. Install the Arm #4 side cover.
For details, refer to C4 Maintenance: 3. Covers.
25. Perform the calibration.
For details, refer to C4 Maintenance: 16. Calibration.