C4 Maintenance 10. Joint #6
140 C Series Maintenance Manual Rev.2
10.2 Joint #6 - Replacing the Reduction Gear Unit
Removal: Joint #6 Reduction gear unit
1. Turn OFF the Controller power.
2. Remove the Arm #4 side cover.
For details, refer to C4 Maintenance: 3. Covers.
3. Remove the Joint #5 motor unit and the reduction gear unit.
For details, refer to C4 Maintenance: 9.2 Joint #5 – Replacing the Motor, Installation steps (3) through
(11).
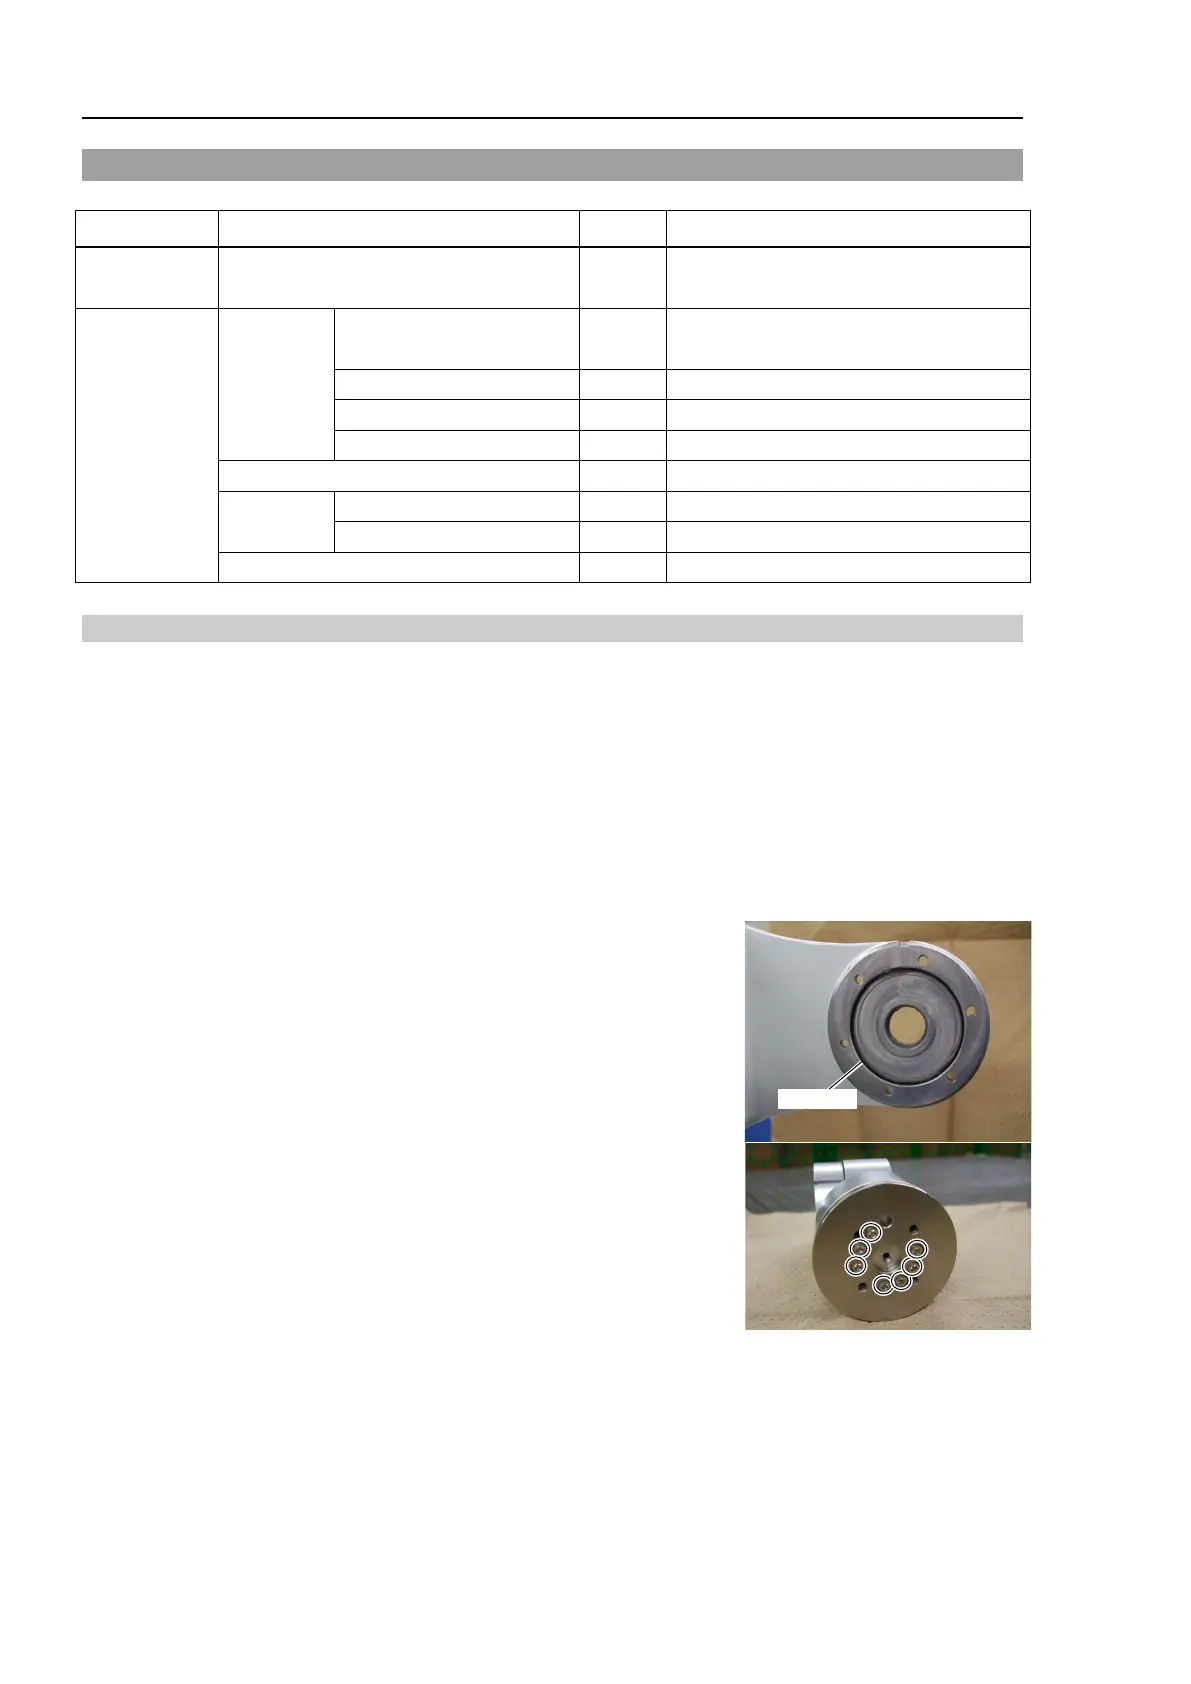
4. Remove the O-ring on the installation surface of the Arm #4 and #5.
The O-ring of the Arm #4 is on the Arm #4 plate which was removed
in the step (4).
For the O-ring of the Arm #5, see the photo on the right.
The O-ring will be used again. Be careful not to lose it.
5. Remove the Joint #6 flange.
Hexagon socket head cap bolts: 7-M3×6
Name Quantity
Note
Maintenance
Joint #6 reduction gear unit 1 1539261
Tools
Hexagonal
wrench
width across flats: 1.5 mm
1
For M3 hexagon socket set screws
For M2 hexagon socket head cap bolts
For M2.5 hexagon socket head cap bolts
width across flats: 2.5 mm
For M3 hexagon socket head cap bolts
For M4 hexagon socket head cap bolts
Wrench
For belt tension adjustment