C4 Maintenance 10. Joint #6
C Series Maintenance Manual Rev.2 145
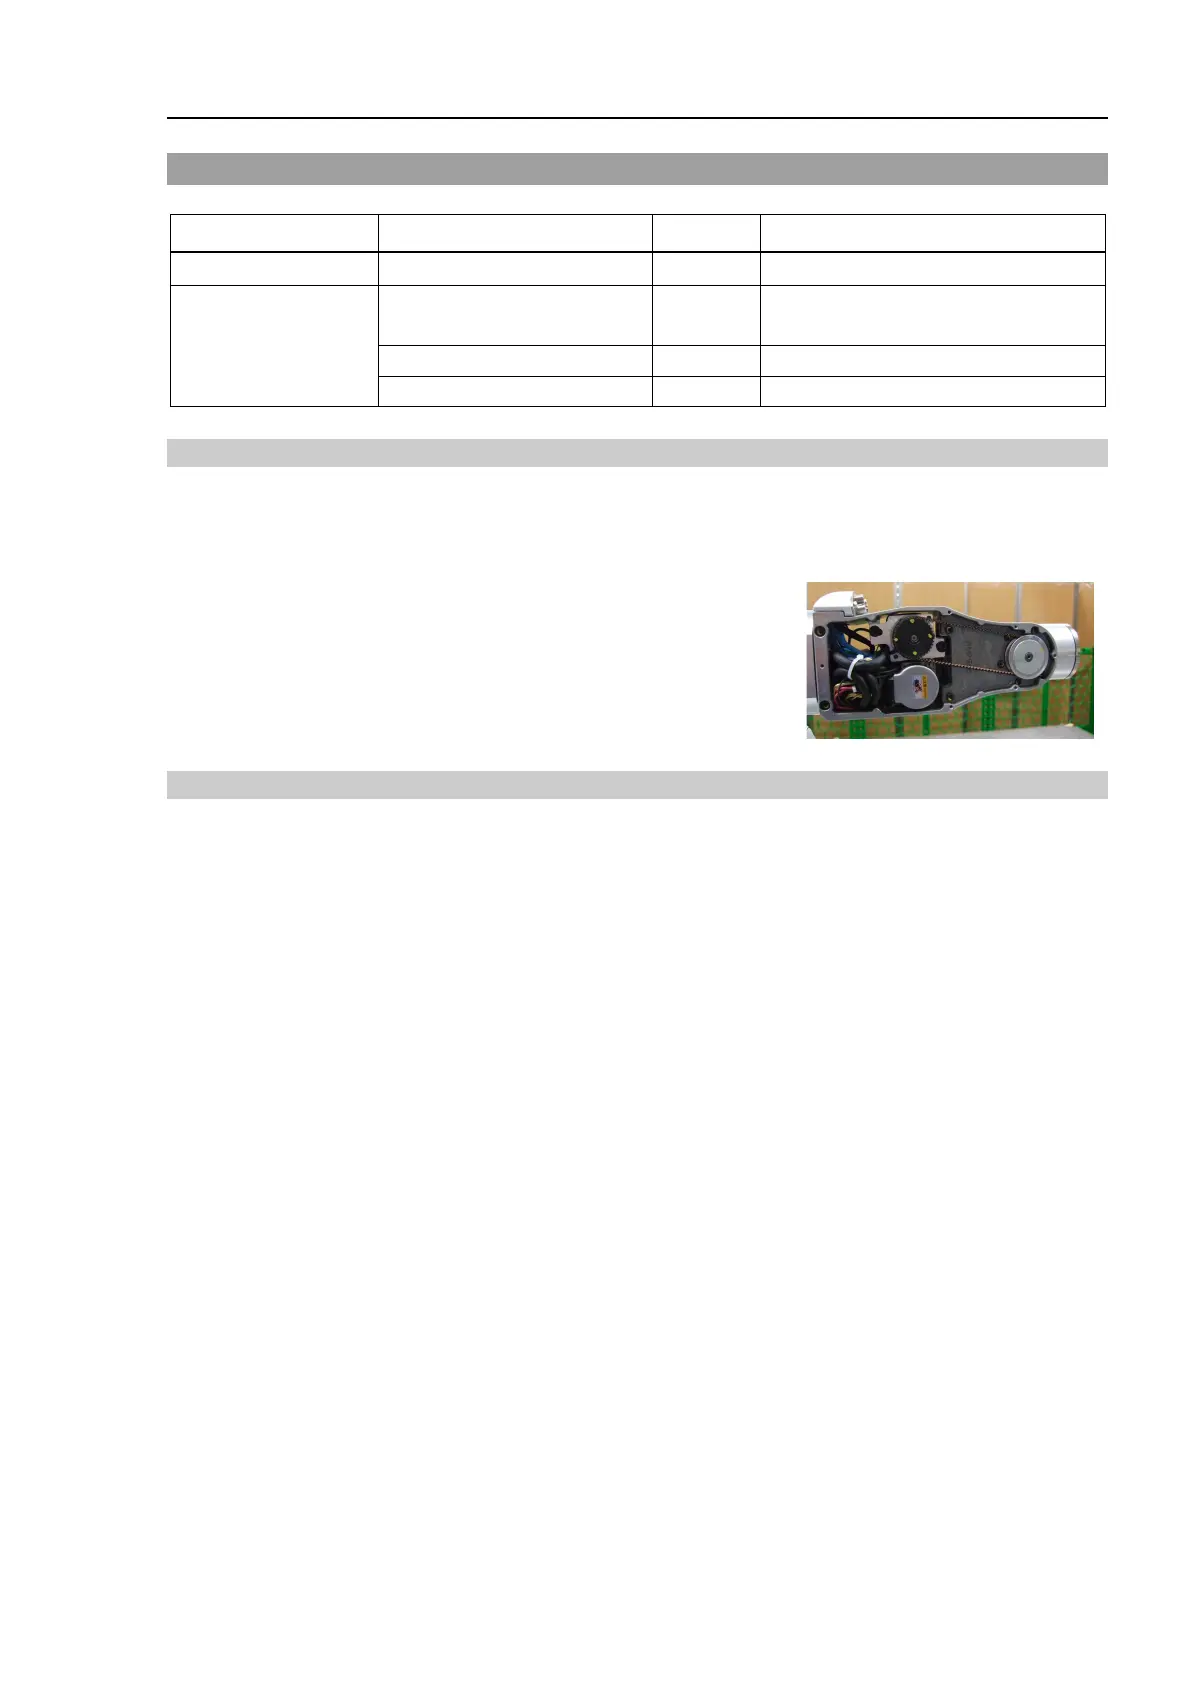
10.3 Joint #6 - Replacing the Timing Belt
Removal: Joint #6 Timing belt
1. Turn OFF the Controller power.
2. Remove the Arm #4 side cover.
For details, refer to C4 Maintenance: 3. Covers.
3. Loosen the Joint #6 motor unit set screw.
Hexagon socket head cap bolt: 2-M4×15 (with a plain washer)
4. Remove the Joint #6 timing belt.
Installation: Joint #6 Timing belt
1. Place the Joint #6 timing belt around the pulley 1 and 2 of the Joint #6.
2. Secure the Joint #6 motor unit.
For details, refer to C4 Maintenance: 10.1 Joint #6 – Replacing the Motor, Installation steps (5), (6), (8)
and (9).
Name Quantity Note
Joint #6 timing belt (324 mm)
Tools
Hexagonal wrench
(width across flats: 3 mm)
1 For M3 hexagon socket head cap bolts
For belt tension adjustment