C4 Maintenance 10. Joint #6
144 C Series Maintenance Manual Rev.2
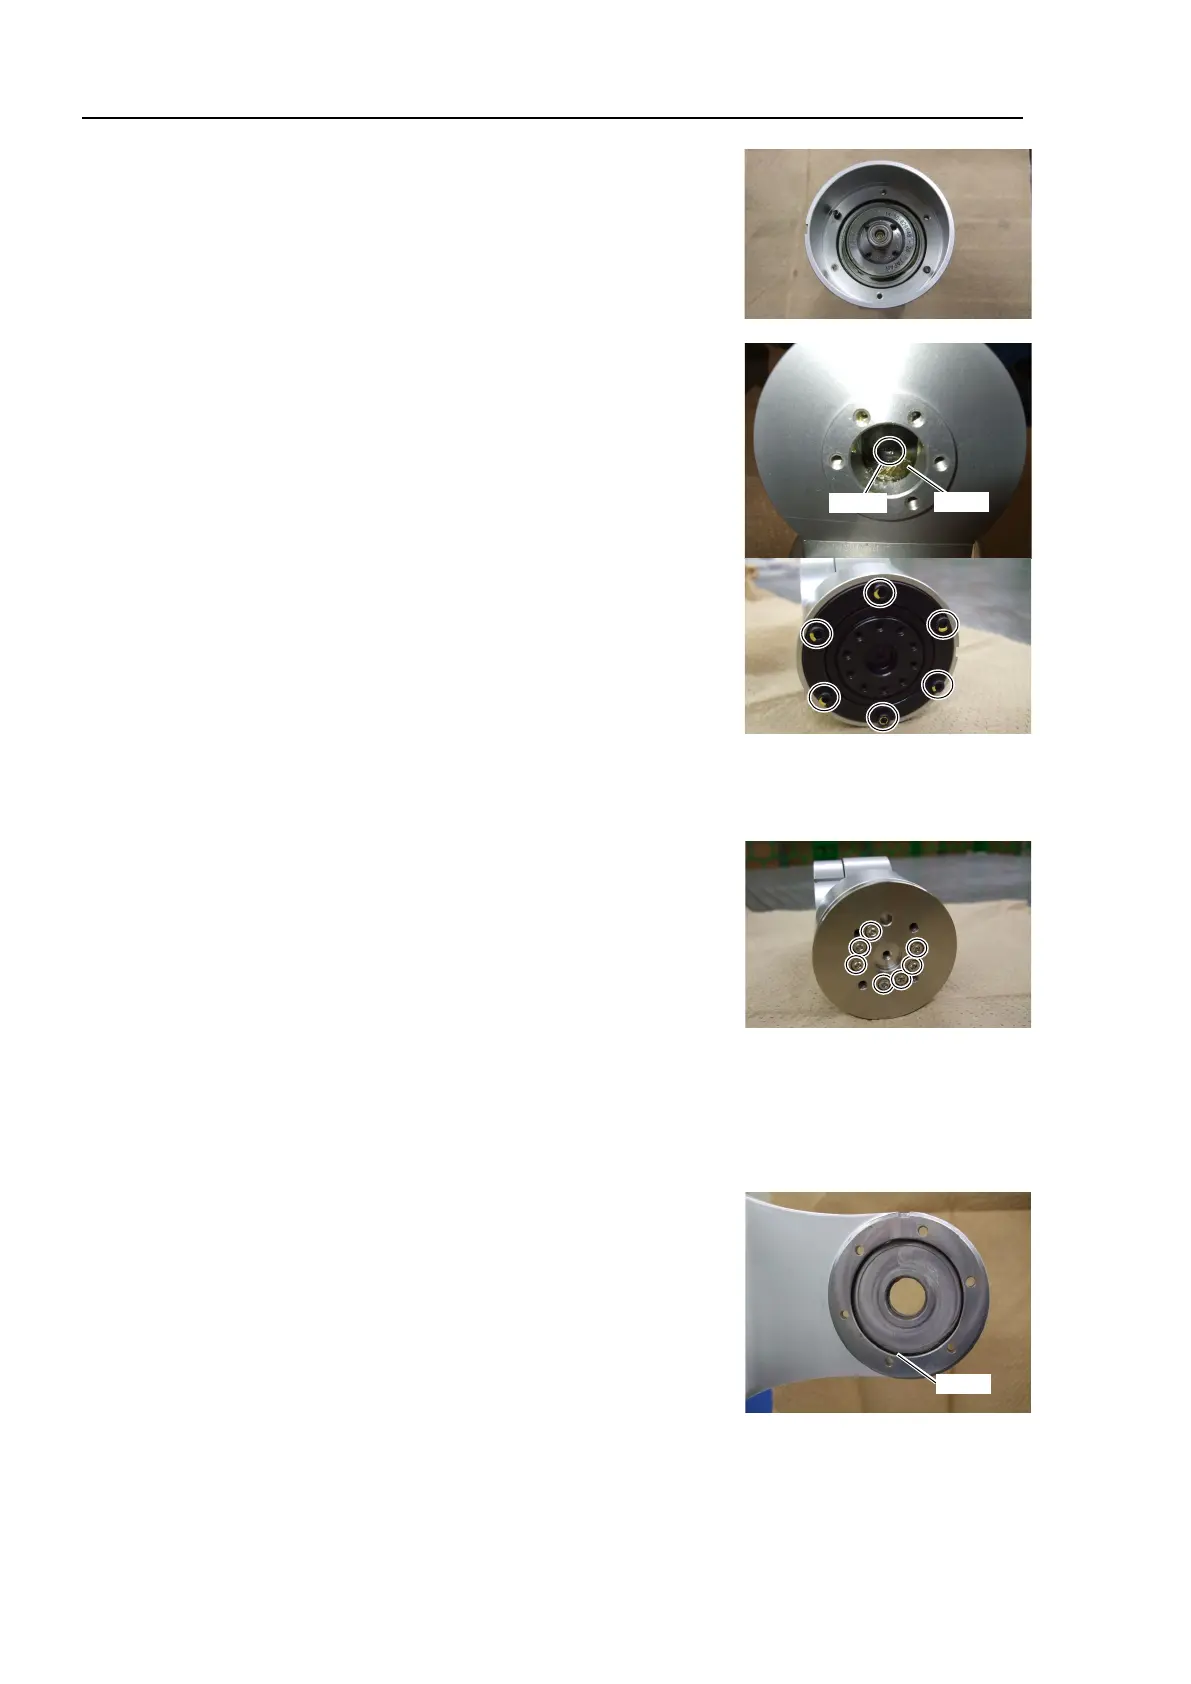
5. Install the gear.
Set the open-end wrench to the nut on the Joint #6 reduction gear
unit. Insert the tool to the hole where the plug was, and then
tighten the screw.
Hexagon socket head cap bolt: 1-M3×8 (with a plain washer)
Tightening torque: 2.5 N·m (25 kgf·cm)
6. Install the Joint #6 reduction gear unit to the Arm #5.
Hexagon socket head cap bolts: 6-M3×28
Tightening torque: 2.5 N·m (25 kgf·cm)
There is a bearing on the back side of the flexspline. If you
removed the bearing during the removal steps, install the bearing
first and install the Joint #6 reduction gear unit to the Arm #5.
7. Install the Joint #6 flange.
Hexagon socket head cap bolts: 7-M3×6
Tightening torque: 2.5 N·m (25 kgf·cm)
8. Inject grease to the gear and insert the plug to the end.
Grease: SK-2
Grease volume: 2 g
9. Install the removed O-ring.
10. Install the Arm #5 unit to the Arm #4.
For details, refer to C4 Maintenance: 9.2 Joint #5 – Replacing the Motor, Installation steps (13) through (25).