C8 Maintenance 6. Joint #2
C Series Maintenance Manual Rev.2 323
5. Apply a thin coat of grease (SK-1A) to the O-ring.
Fit the O-ring to the groove on the reduction gear unit.
Do not allow the O-ring to come out of the groove.
If the O-ring is swollen, damaged, or deteriorated, replace it
with a new one.
6. Temporarily fix the Arm #1 side arm to the Arm #1.
At this time, set the wave washer to the Arm #1.
Hexagon socket head cap bolts: 8-M6×2 5(with a plain washer)
CAUTION
■
There is a possibility of hands and fingers being caught
and/or damage or
to the Manipulator. Be very careful when installing the arm. Have
at least two workers so that one can support the
Manipulator while the other
worker is removing the bolts.
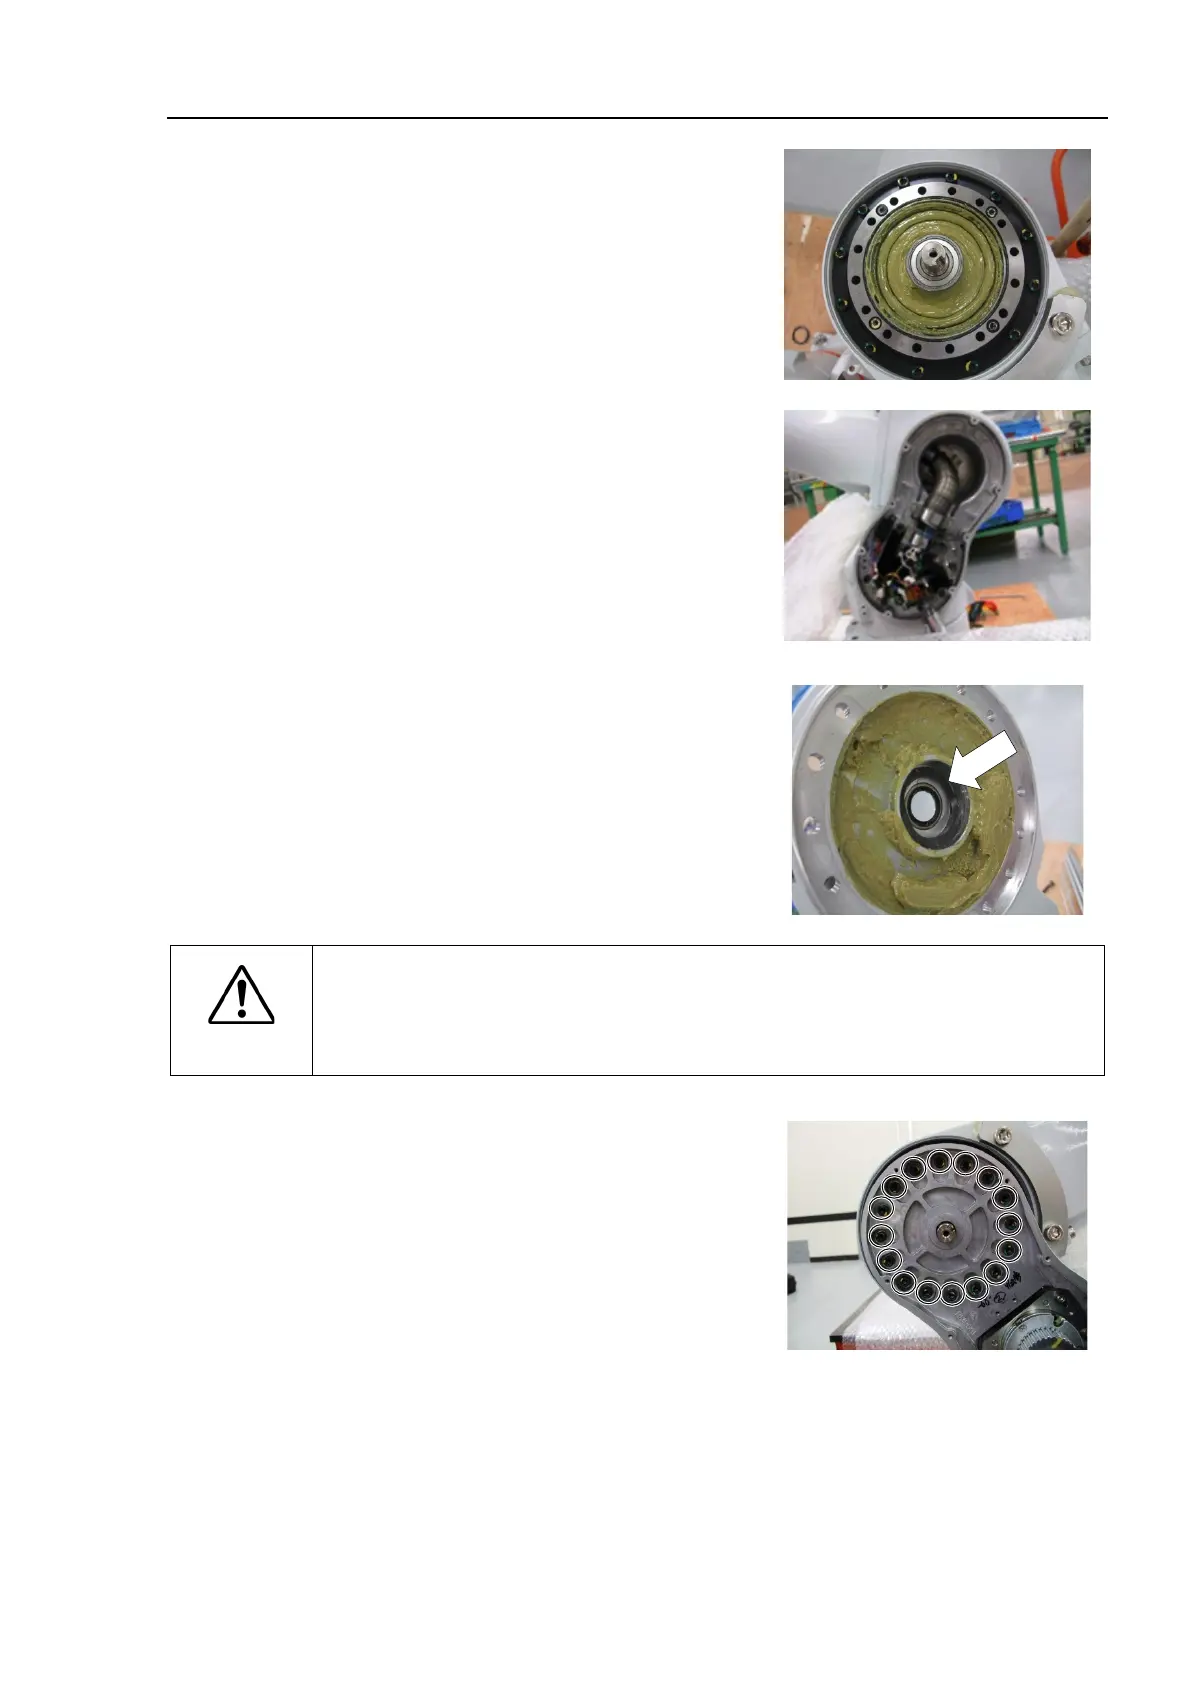
7. Fix the Arm #2.
C8, C8L:
Hexagon socket head cap bolts: 16-M5×30
(with a plain washer)
Tightening torque: 10.0 ± 0.5 N·m
C8XL:
Hexagon socket head cap bolts: 16-M6×35
(with a plain washer)
Tightening torque: 18.0 ± 0.9 N·m
After fixing the Arm, check that there is no backlash or
misalignment on the reduction gear unit by moving the Arm by

 Loading...


