EasyManuals Logo

Epson RC700 Series User Manual

Epson RC700 Series
316 pages
To Next Page IconTo Next Page
To Previous Page IconTo Previous Page
Page #39 background imageLoading...
Page #39 background image
Safety 3. Installation
RC700 / RC700-A Rev.23 27
(
8)
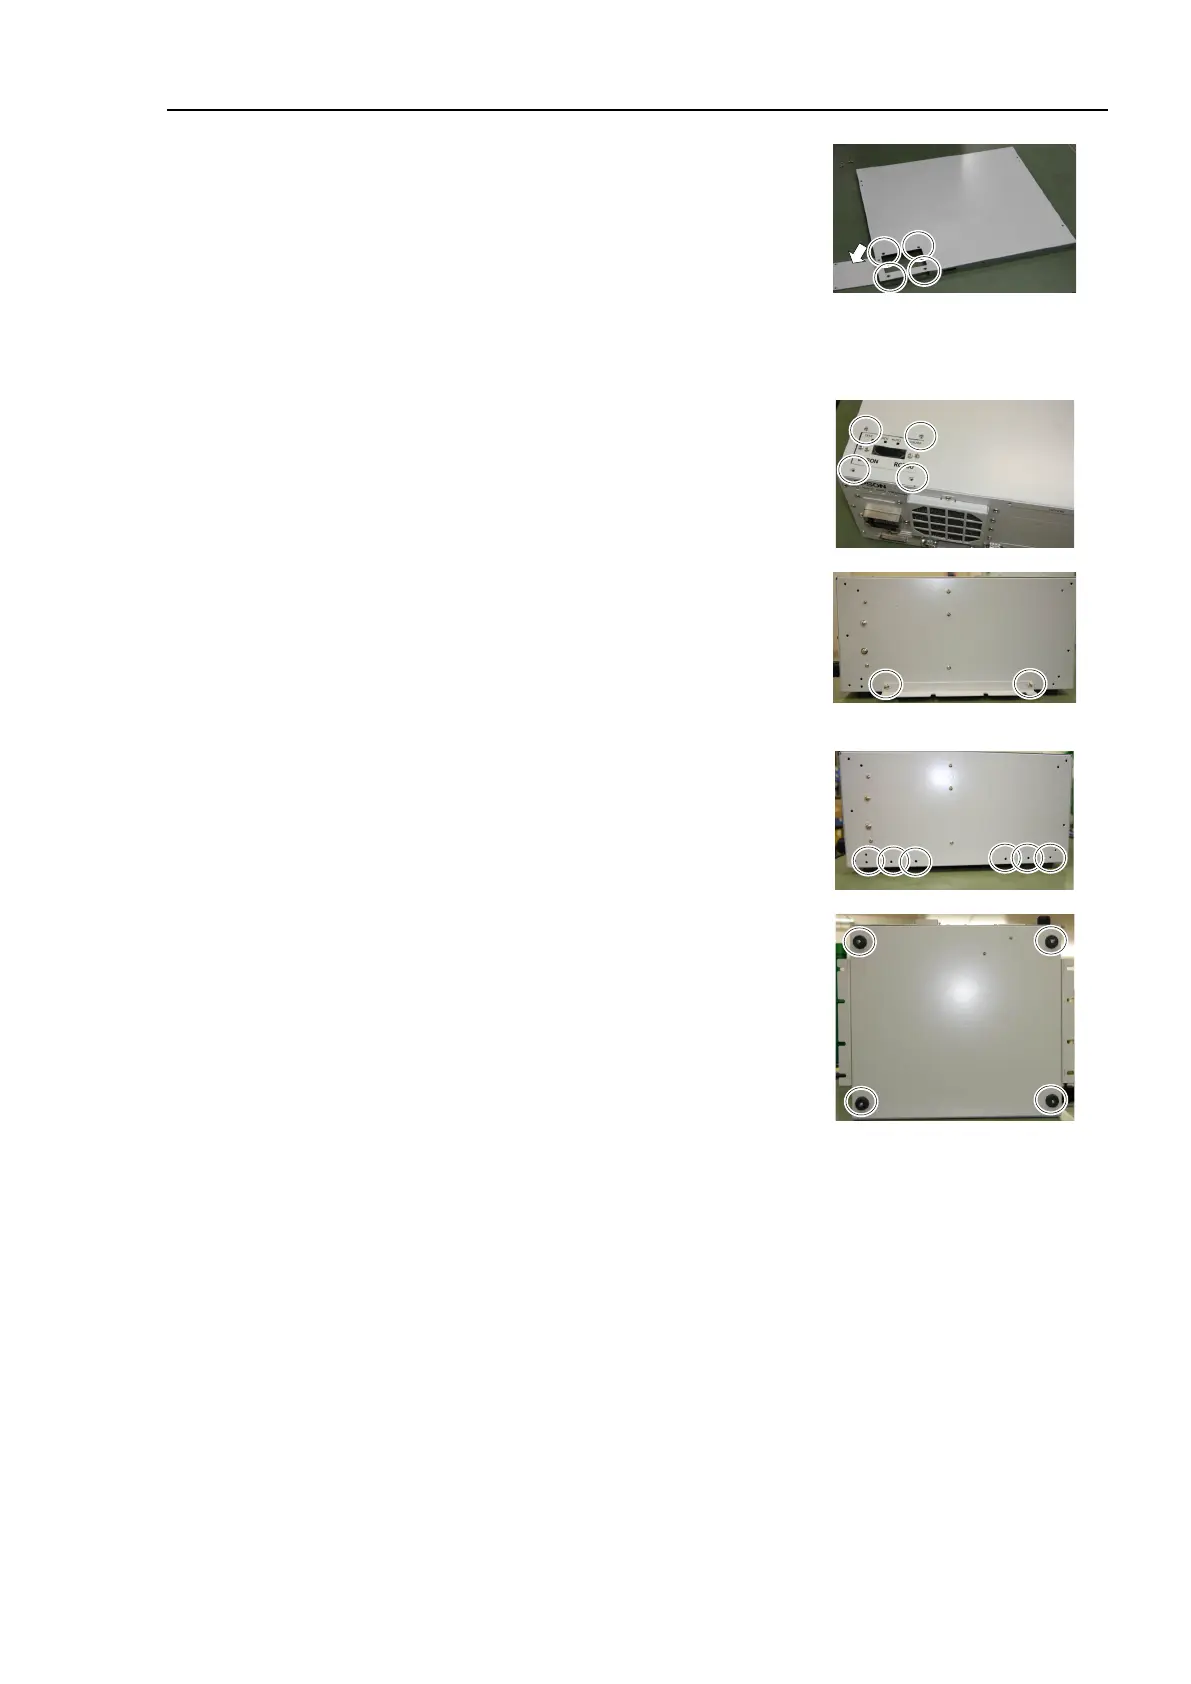
Remove the plate from the Top Cover.
(Mounting screw
×4)
The removed plate is not necessary when using this option.
The plate may be needed when the installation type is changed.
Please keep the plate for future use.
(9)
Mount the Top Cover.
(Mounting screw
×6)
(10)
Fix the Top Cover to the LED DISPLAY FIXING
P LAT E.
(Mounting screw
×4)
(1
1)
Mount the WALL
FIXING BRACKET.
(Mounting screw
×2 on both sides)
The bracket has 6 screw holes.
There are three ways of installation.
(1
2)
Remove the rubber hoot on the Controller
s back side.
(Mounting screw
×4)
The removed rubber foot is not necessary when using this option.
The rubber foot may be needed when the installation type is changed.
Please keep the rubber foot for future use.
(13)
Mount the Controller to the wall. (Mounting
screw×8 M5 × 8 mm or longer)
Tightening torque 80 to 110 N·cm
NOTE
NOTE
NOTE

Table of Contents

Other manuals for Epson RC700 Series

Questions and Answers:

Question and Answer IconNeed help?

Do you have a question about the Epson RC700 Series and is the answer not in the manual?

Epson RC700 Series Specifications

General IconGeneral
ModelRC700 series
CategoryController
Programming LanguageSPEL+
Safety StandardISO 10218-1
TypeRobot Controller
Communication InterfaceEthernet, RS-232, USB
Operating Temperature0°C to 45°C (32°F to 113°F)
Humidity20% to 80% (non-condensing)
Number of controllable robots4

Related product manuals