6 Operations of OMA-2000 Spectroscopic Gas Analyzer
38
FOCUSED PHOTONICS INC
z Instrument address: The communication address of the instrument for communication
with the PC.
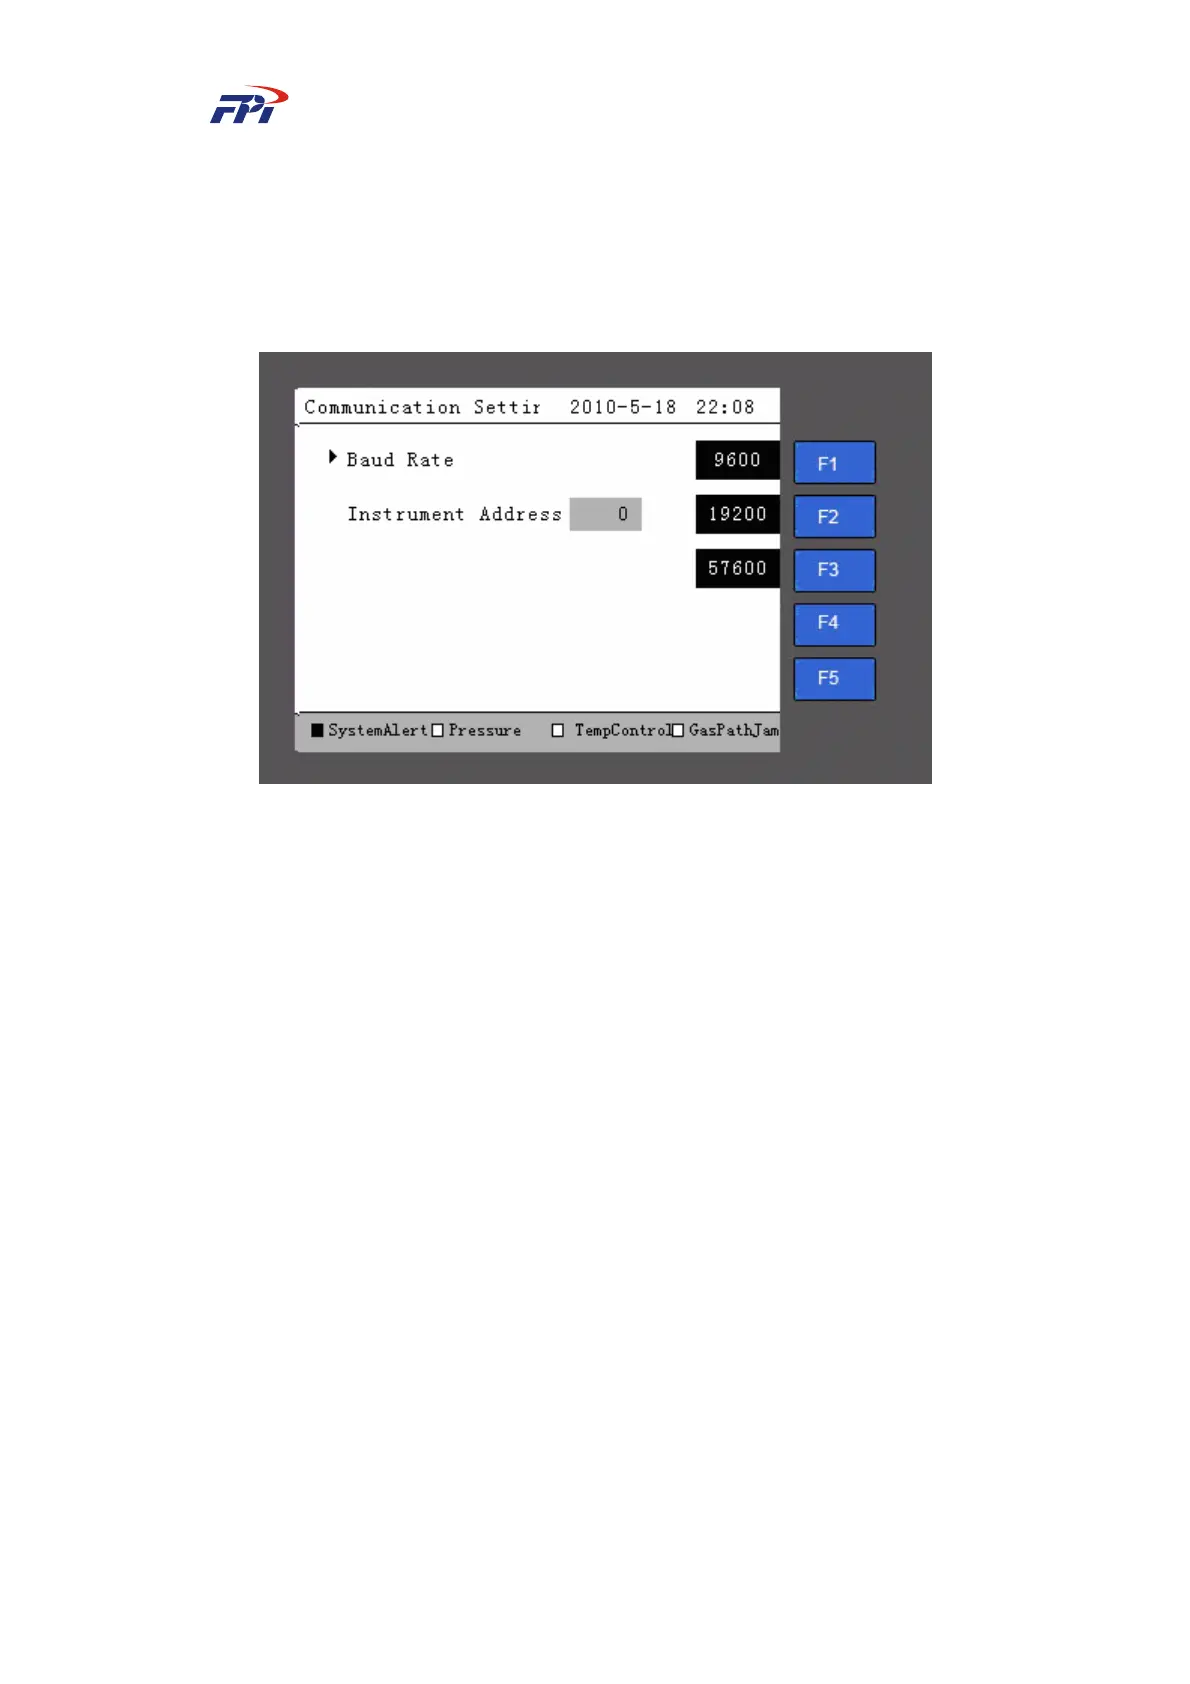
Please follow the steps below to set the baud rate:
Step 5 Press the “F1” button on the communication setup page in Fig 6-13 to enter the
baud rate setup, as shown in Fig 6-14.
Fig 6-14 Baud Rate Setup
Step 6 In the baud rate setup page, you can press the “F1~F3” buttons to select the baud
rate (9600, 19200 or 57600) for communication between the instrument and the
PC. It is recommended to select 57600.
Step 7 After the baud rate is selected, please return to the communication setup page in
Fig 6-13. Press “F3” button to confirm the setup.
Please follow the steps below to setup the instrument address:
Step 8 On the communication setup page as shown in Fig 6-13, press the “F2” button to
enter the instrument address setup, as shown in Fig 6-15;
Step 9 On the communication setup page, press the number buttons to input the address
within the range of 1~247 for communication between the instrument and the PC;
Step 10 Press the “Enter” button to confirm the setup;
Step 11 After the instrument address has been configured, please return to the
communication setup page and press the “F3” button to activate the settings.