1-5
, !$ $ !"' ă
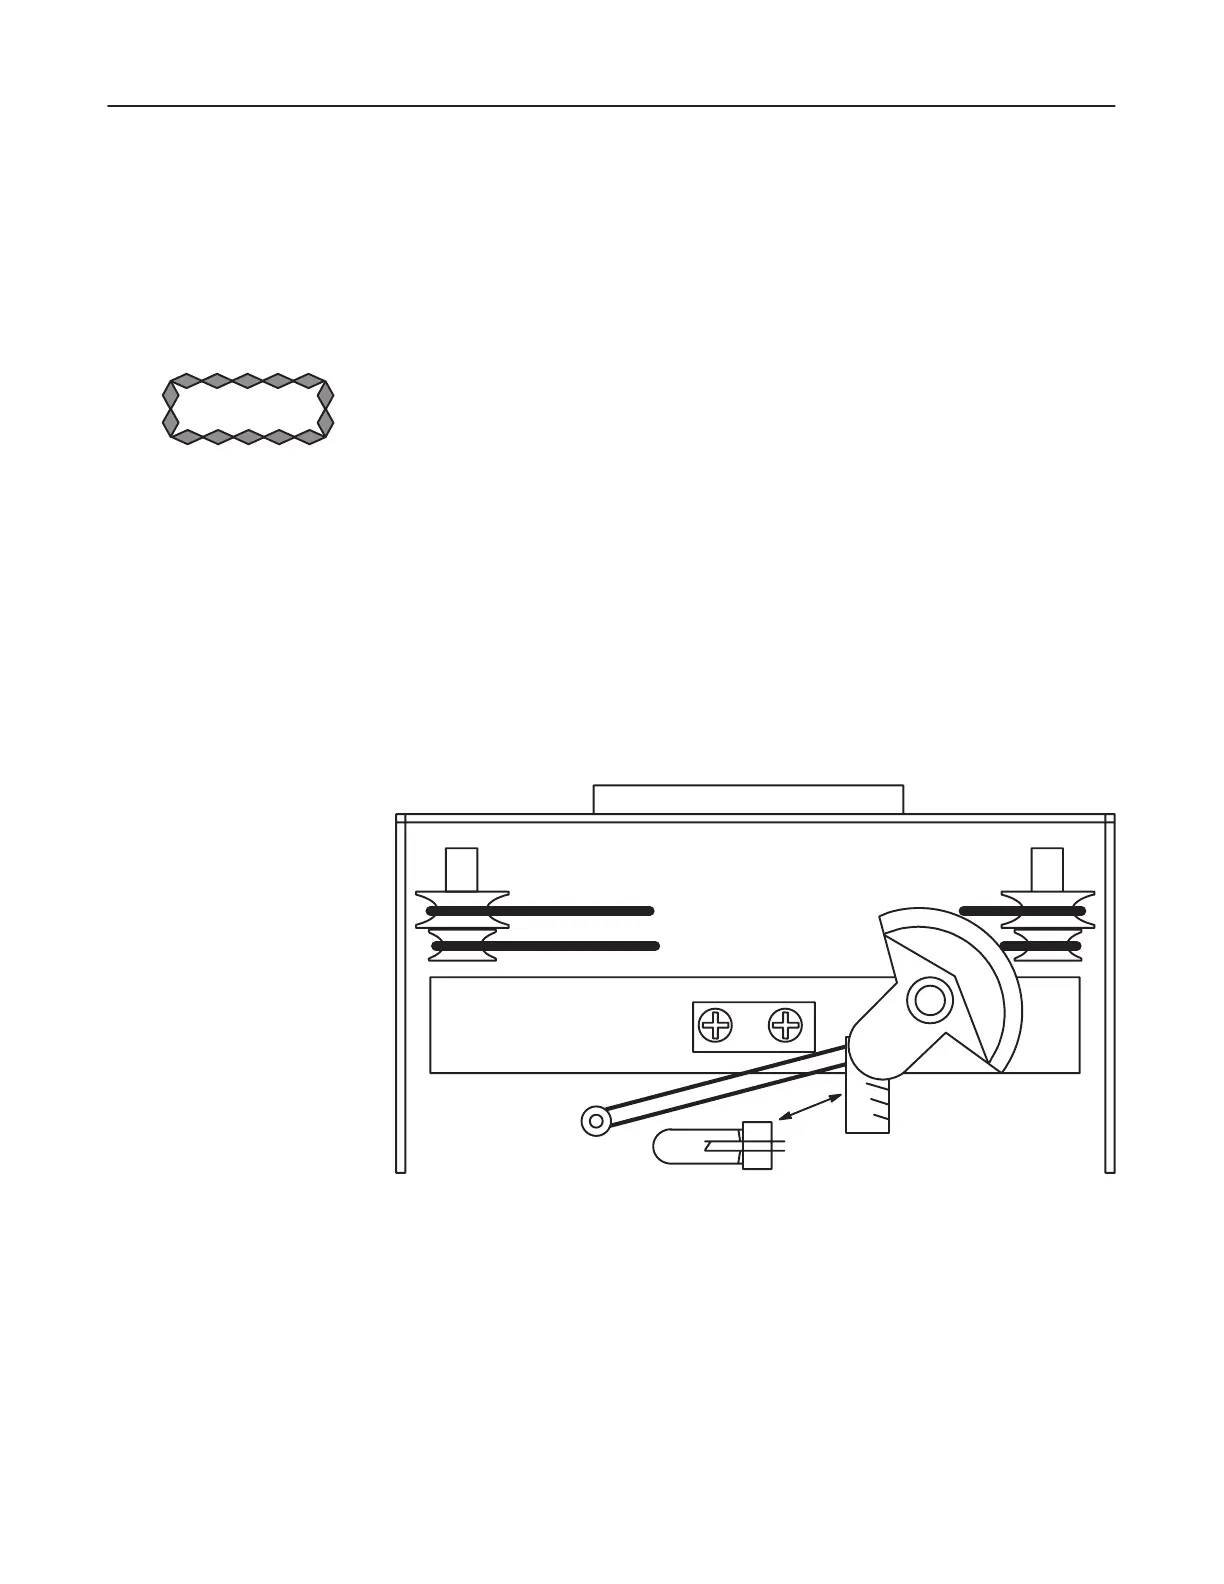
1. Remove the rear cover on the collimator by removing four metric Phillips
head screws holding it in place. Remove the cover. See Illustration 1-4.
2. Close the collimator blades. This makes it easier to reach the lamp for removal
and replacement.
!$ !
!$ &#( ")% '#( *' % "%& &" ! & #" &"
* ! !$ " %( '& (&( *+& (& #)& '&&( #% &#'
#' *" " " !$ #('& # ' !$ #!& #"'!"'
" *' &#' #' !$" " *'% $ %+ '% ""
3. Carefully remove the lamp by pulling it straight back and out of its receptacle.
Replace it with a new lamp. Refer to renewal parts listing for correct lamp.
4. Whenever a lamp is replaced the light field and x-ray field sizes must be checked
to be certain the difference between them does not exceed a specified maximum
tolerance. Refer to Section 1-4, Adjusting the Field Lamp, to make these measĆ
urements and any necessary adjustments.
ILLUSTRATION 1-4