7-2
Install Pads
1. Install the middle piece of the front bumper using 10-32 x 1.25 inch bolts and
flat washers. See Illustration 7-1.
2. Install each of the two corner pads with 10-32 x 1.25 inch bolts for each pad.
Bumper Switch Removal
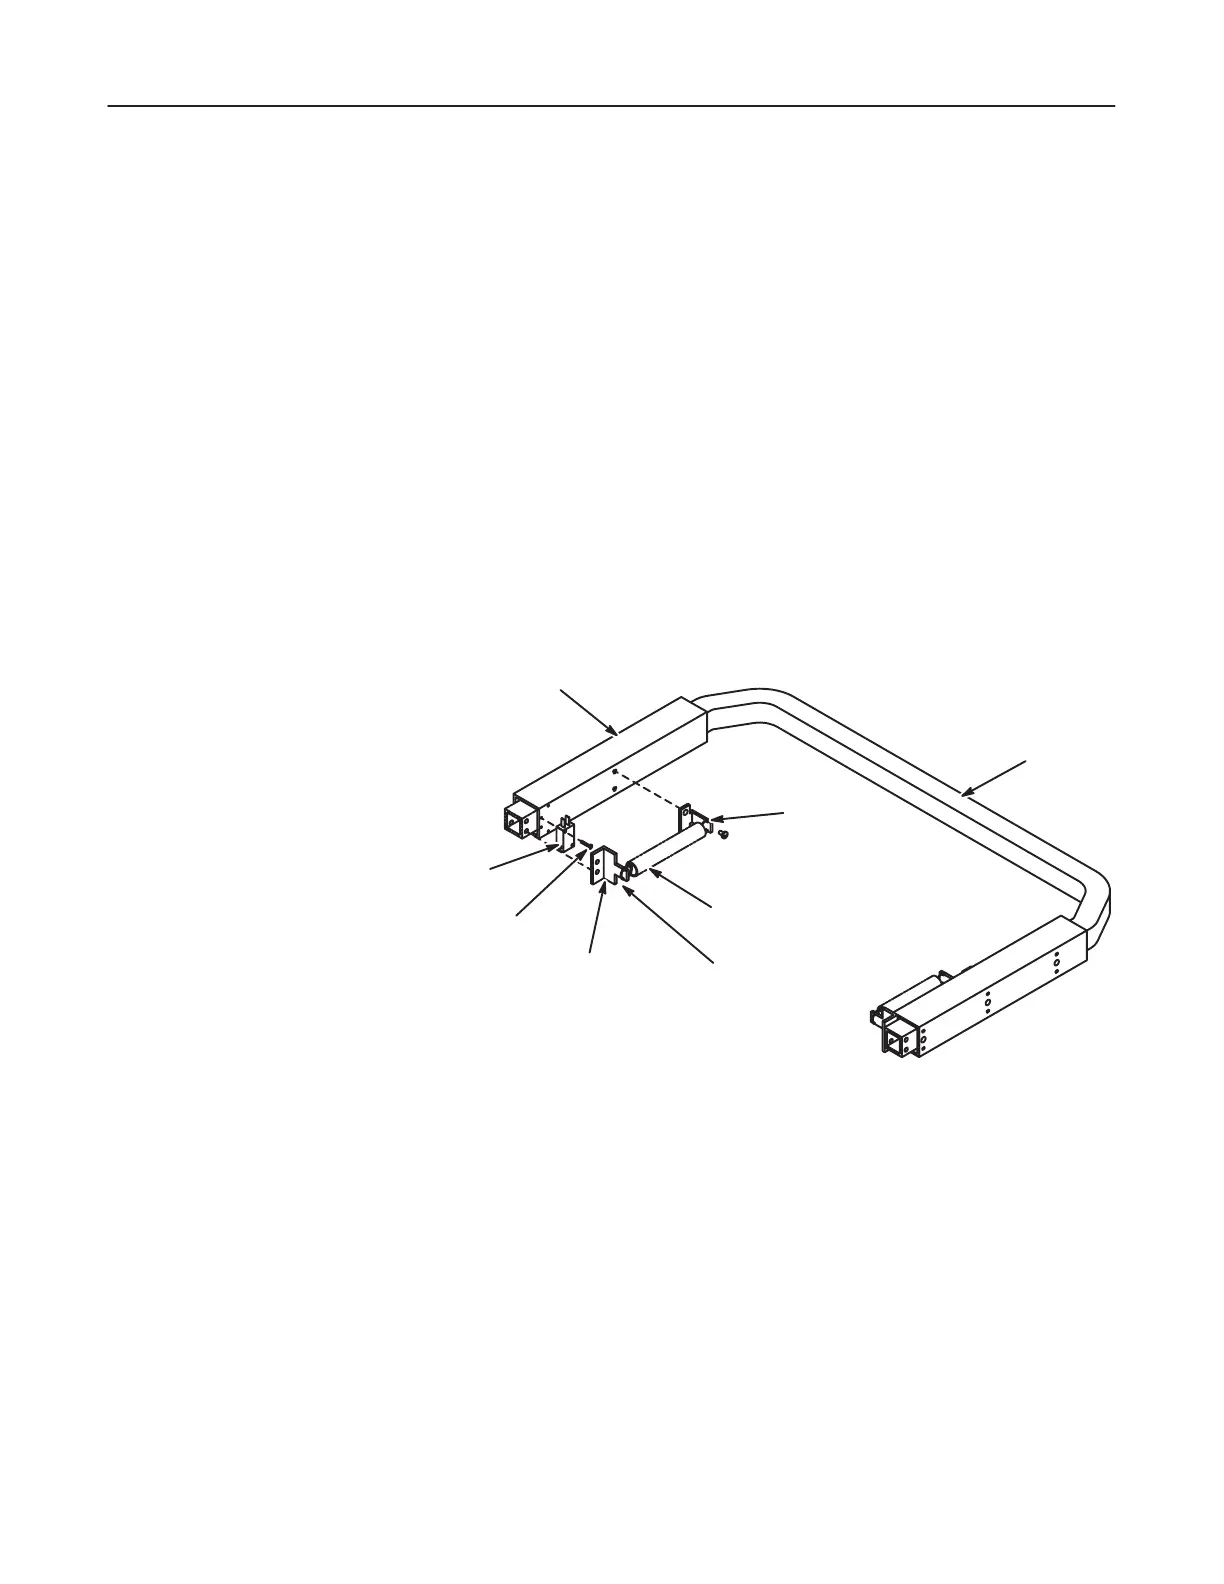
1. Remove pads. Refer to Section 7Ć1Ć1.
2. Remove actuator bracket to release tension on switch actuator. See IllustraĆ
tion 7-2.
3. Remove two binding head screws holding switch on end of bumper track.
4. Remove switch from bumper assembly.
ILLUSTRATION 7-2
Bumper Switch Installation
1. Shut off power.
2. Install switch on end of bumper track and secure with binding head screws. See
Illustration 7-2.
3. Install actuator bracket to place tension on switch actuator.
4. Verify that bumper switch is activated by spring tension on switch actuator
bracket.
5. Install bumper assembly. Refer to Section 6-4.