EasyManuals Logo

GE AMX 4+ Technical Manual

GE AMX 4+
132 pages
To Next Page IconTo Next Page
To Previous Page IconTo Previous Page
Page #30 background imageLoading...
Page #30 background image
 
        
REV 5 DIRECTION 2173225-100
1-12
!     
1. Place horizontal arm in lock position.
2. Shut power off.
3. Use a small screwdriver and very carefully pry the field light switch out of the colĆ
limator control panel. The switch press fits into the panel and will easily snap out
of the panel. A short length of two wires will be attached to the switch. Use care
not to scratch the panel during this procedure. See Illustration 1-2.
4. Unsolder the two wires.
5. Resolder two wires to the terminals on new replacement switch.
6. Carefully insert the switch and wires into the panel and press into place.
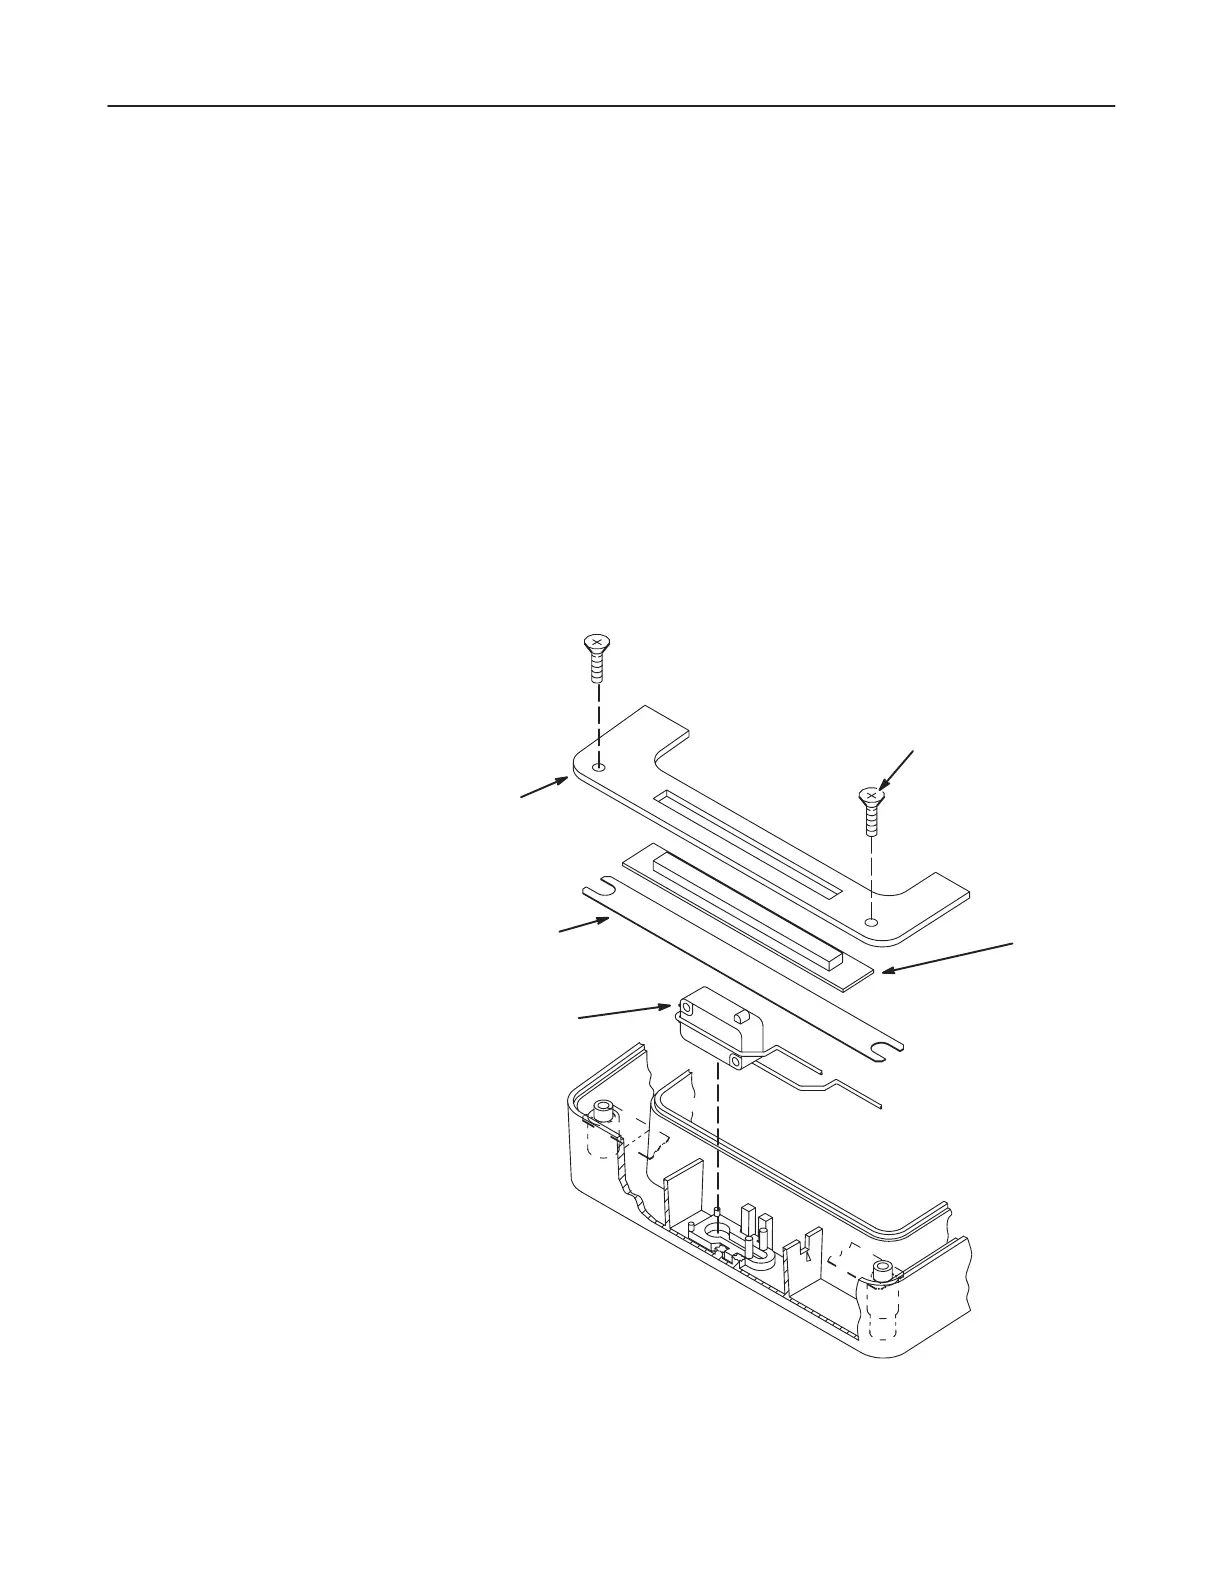
ILLUSTRATION 1-9
  
SWITCH
BUTTON
(2) PHILLIPS SCREWS
SWITCH RETAINING
PLATE
BUTTON RETURN
SPRING
MICRO
SWITCH

Table of Contents

Other manuals for GE AMX 4+

Questions and Answers:

Question and Answer IconNeed help?

Do you have a question about the GE AMX 4+ and is the answer not in the manual?

GE AMX 4+ Specifications

General IconGeneral
TypeMobile X-ray System
Maximum kVp125 kVp
CollimatorManual Collimator
BatteryRechargeable, lead-acid
Image Receptor CompatibilityCR and DR systems
Focal Spot Size1.2 mm
mAs Range0.04 - 320 mAs
X-ray TubeRotating Anode

Related product manuals