1-2
8. Cut ty-raps securing collimator cable to cathode cable and remove from Strap
Points G and N, and Clamp Points E and H.
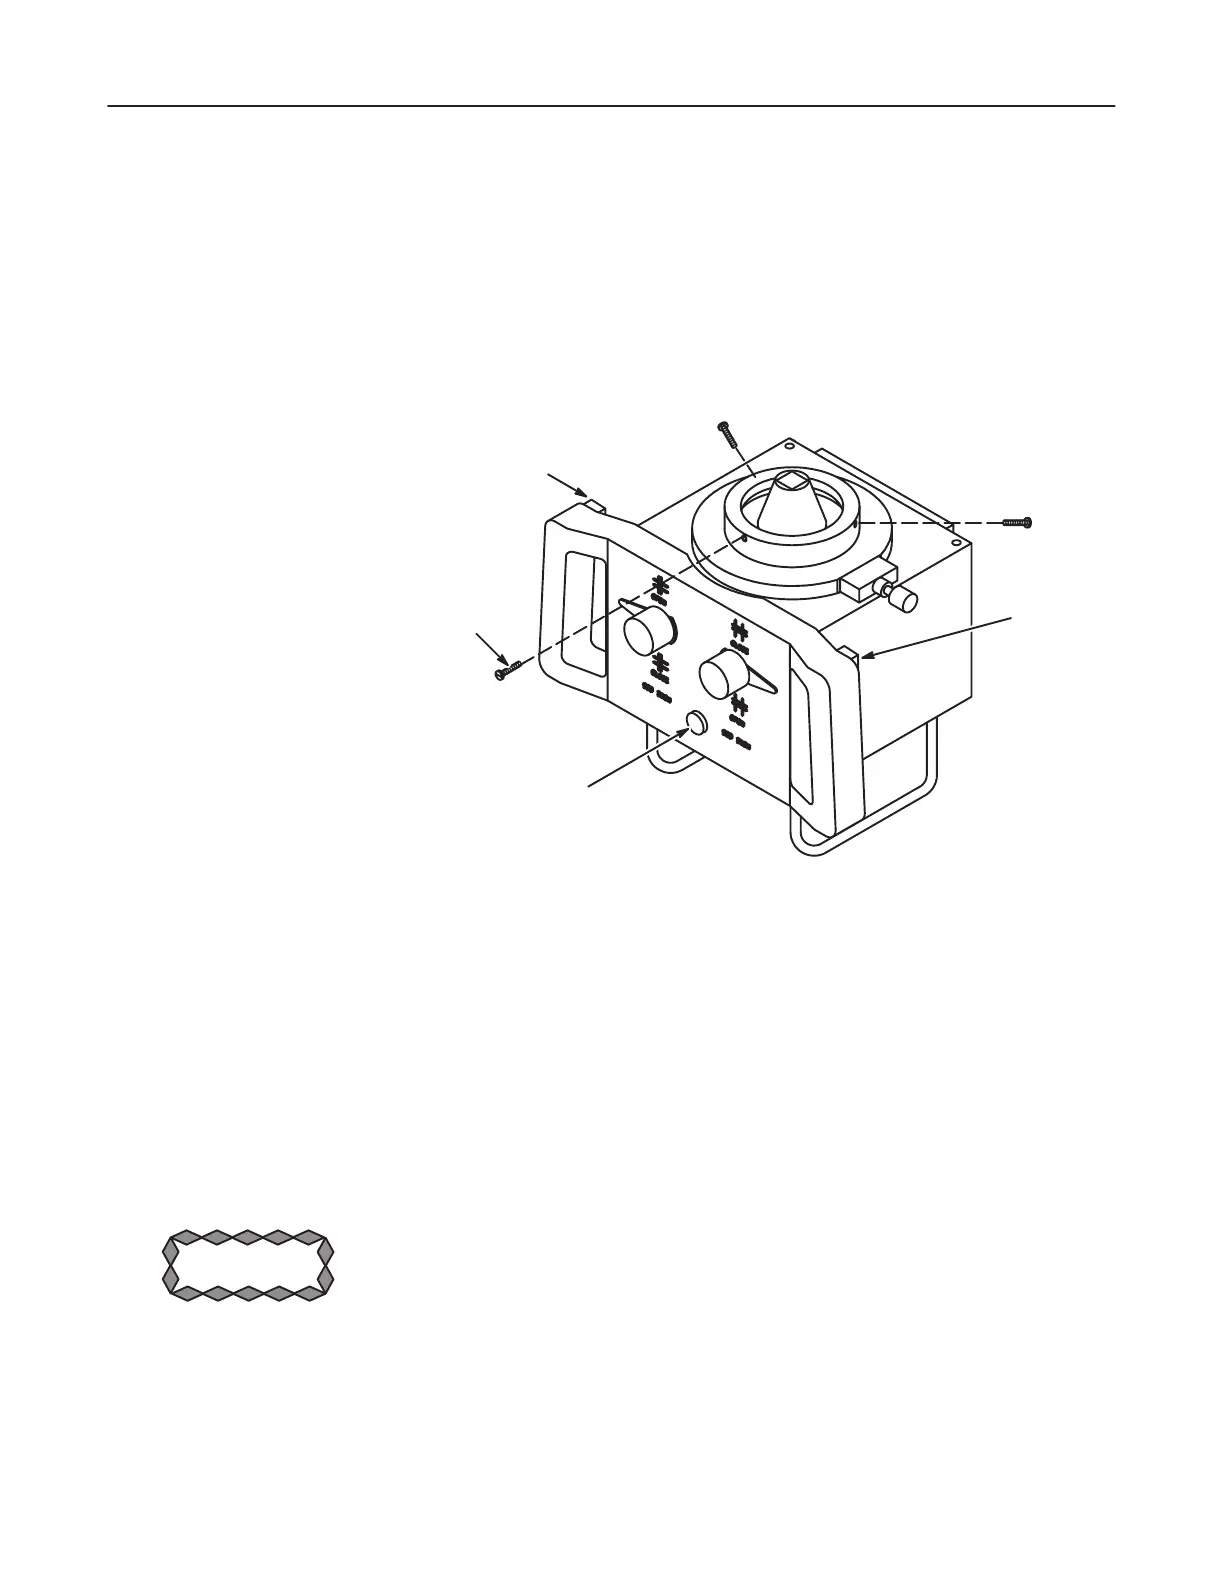
9. Remove three 10-24 0.75 hex socket head cap screws securing collimator asĆ
sembly to x-ray tube. See Illustration 1-2.
10. Remove collimator from interface plate.
ILLUSTRATION 1-2
COLLIMATOR
1Ć1Ć1 Collimator Interface and Port Plates Check
Note: The collimator interface plate for every new and reloaded tube from the GE
Reload Facility is factory aligned and should not be disturbed. If plate alignĆ
ment is altered, the plate will have to be re-aligned in the field.
1. Close collimator blades.
2. Rotate X-ray tube and collimator assembly so collimator crosshair window is
facing upward.
3. Place the horizontal arm assembly in park position on top cover of unit.
Equipment Damage!
Secure the horizontal arm before removing components from the arm. ReĆ
moving weight allows the counterweight to descend rapidly and the arm to asĆ
cend rapidly possibly causing damage to the unit and personal injury. Use
Counterweight Lift Tool 46-303491G1.
4. Shut off power by turning circuit breaker OFF.
5. Remove three 10-24 0.75 inch hex socket head cap screws securing collimator
assembly to x-ray tube. See Illustration 1-2.
CAUTION

 Loading...


