GE DRAFT VOLUSON™ P8/VOLUSON™P6
DIRECTION 5775469, R
EVISION 3 DRAFT (JULY 19, 2018) BASIC SERVICE MANUAL
Chapter 5 - Components and Functions (Theory) 5-69
5-17-5 Media Menu
1.) If system functionality allows it, collect vital system information as described in 5-17-3 "Before
Recovering or Initializing the Hard disk" on page 5-66.
2.) Insert the System DVD into the DVD/CD±R/RW Drive.
3.) In the “Voluson Maintenance System” main menu (Figure 5-37) select [Media].
The “Media Menu” with following functions appear:
NOTE: The “NewDisk” function is only available when booting from DVD.
5-17-5-1 Exit
Return to the “Voluson Maintenance System” main menu.
5-17-5-2 Restore
This function takes the image stored on the “System DVD” to replace the existing image of the “C”
partition. Additionally the (R:) Rescue image of (C:) is replaced by the “DVD image”.
The System “C” image contains:
• Windows 10 with patches
• Ultrasound Application Software [UIS]
• Image (Application) Settings [Backup]
• Electronic User Manual [EUM]
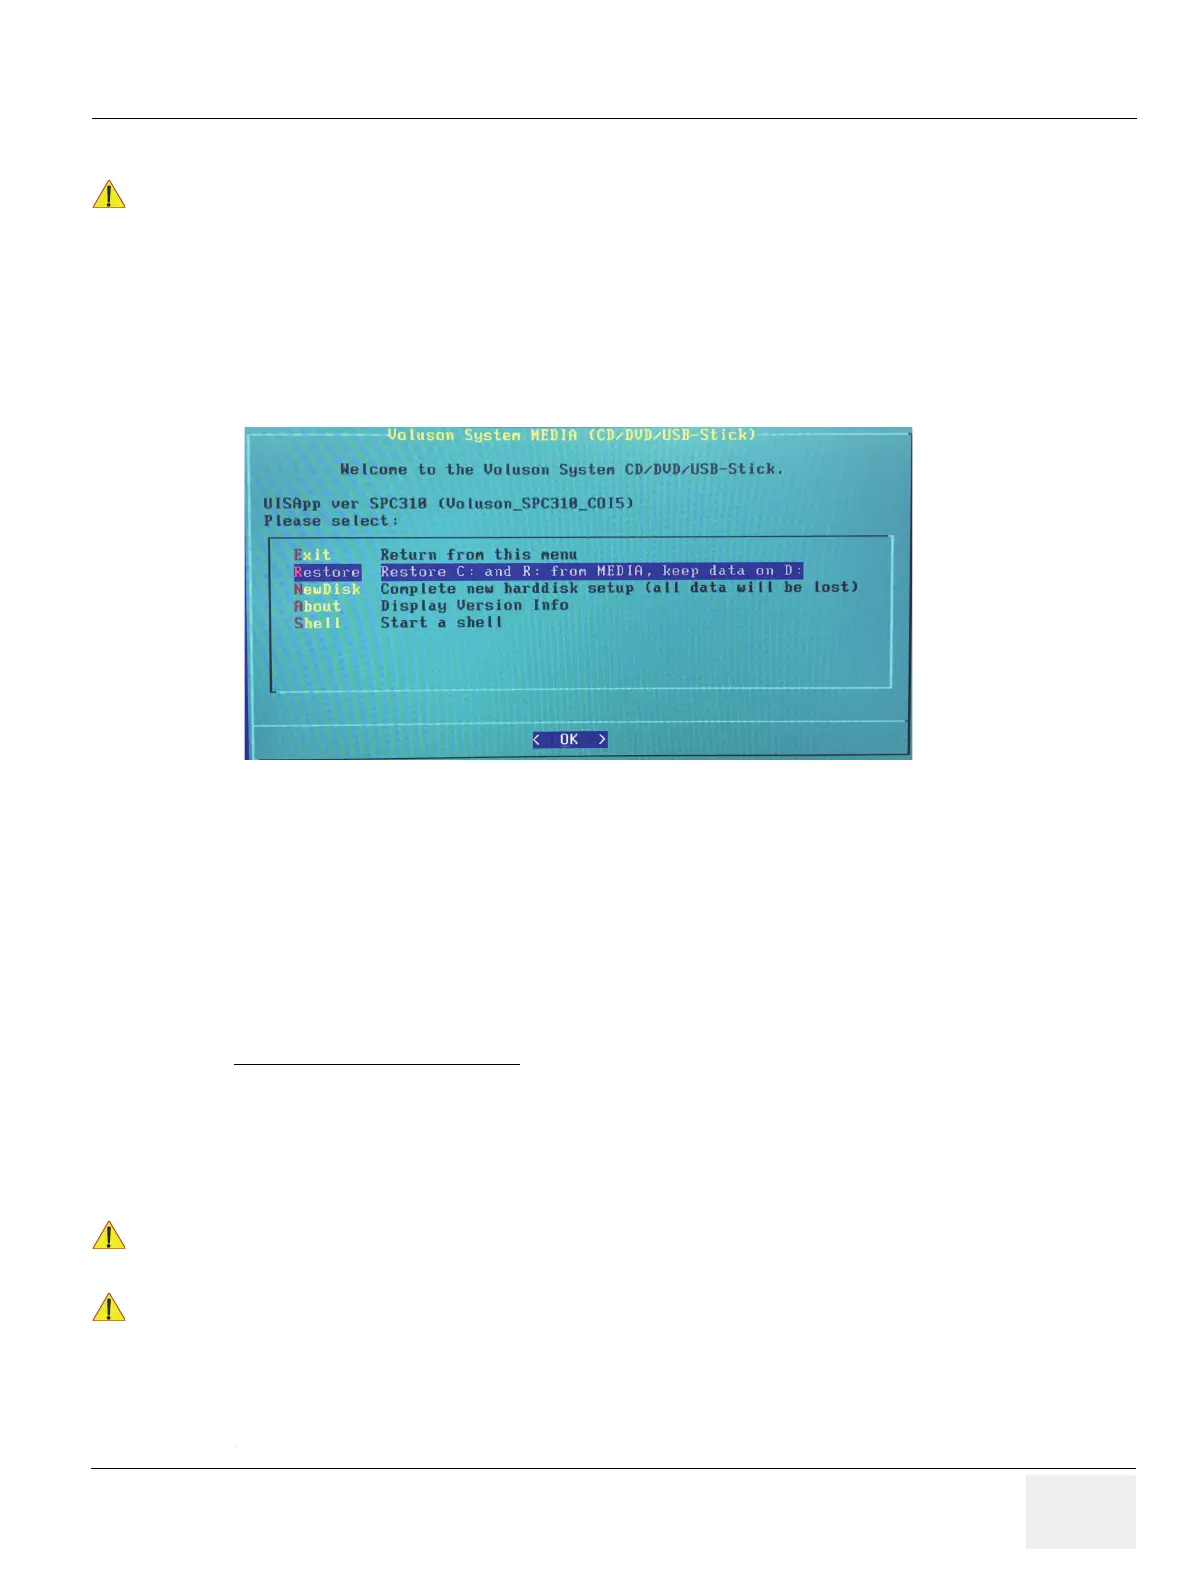
The “Media Menu” is only accessible if the System DVD (see: Table 9-13) is inserted into the system’s
DVD/CD±R/RW Drive
Figure 5-38 Media Menu (sample)
Data on the D: [User] partition (e.g., Patient Archive images, Service Database, Measurements,
Patient Data and Reports) will NOT be modified!
1. Press Utilites -Setup - Administration - Options tab and print out this page or write down the “
Permanent key”
2. Gather full system configuration by saving a “Full Backup” via Backup = System Configuration, as
described in Section "4-5-3 Save Full System Configuration (Full Backup)" on page 4-18

 Loading...


