6 – 19
Registration mark pattern 1 Registration mark pattern 2
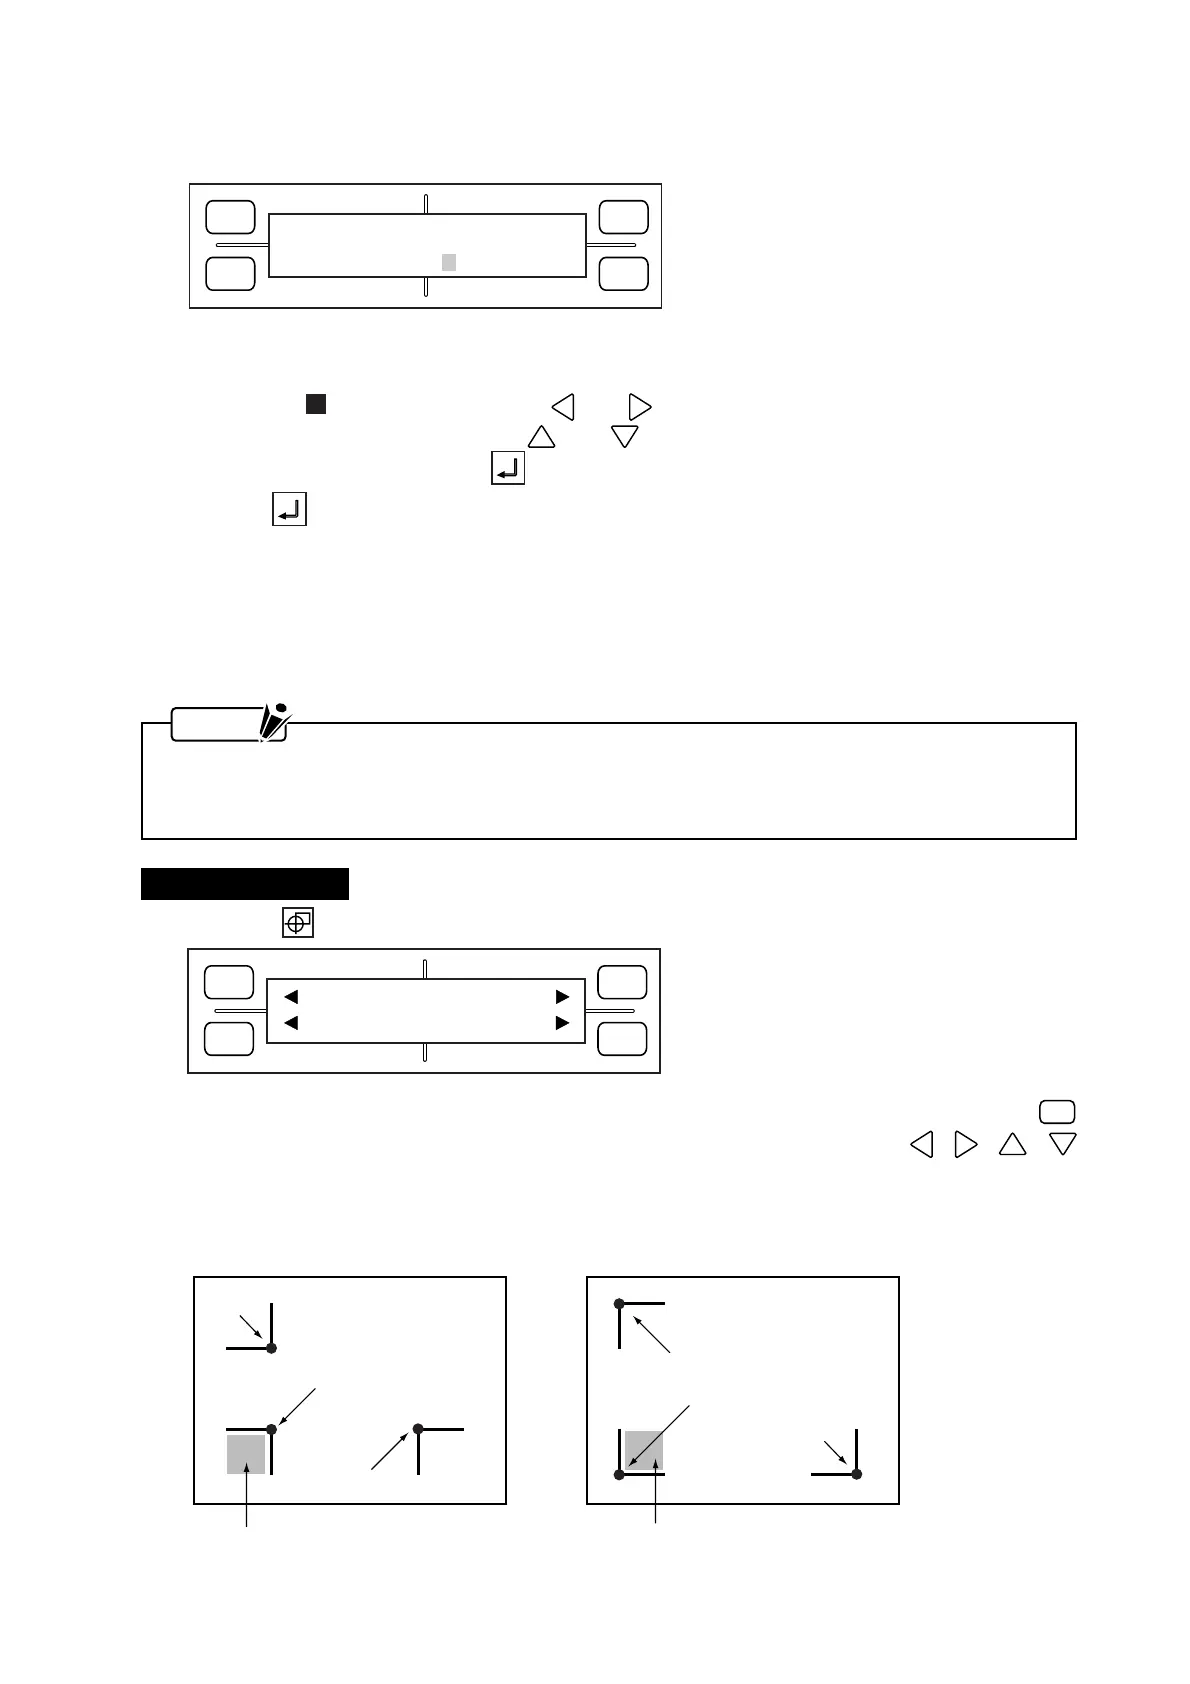
Desired origin (A)
Move the pen’s tip within this area
Desired origin (A)
Move the pen’s tip within this area
Point (B)
Point (C)
Point (B)
Point (C)
FORCE
SPEED
OFFSET
QUALITY
F1 F3
F4
F2
1 DEFAULT
2 SEL. MOVE LENG 3
(3) When the two points have been automatically recognized, the menu below appears (only when the
MARK DIST. ADJ. setting is MANUAL).
The display’s first line shows the distance between the points A and B as read by the plotter, so input
the actual distance in the second line.
To move the blinking cursor, use the and POSITION keys.
To change the numeric value, use the and POSITION keys.
To register your setting, press the ENTER key.
(4) After the ENTER key is pressed in Step (3), the plotter returns to READY status.
Specifying Three-Point (3 POINT) Recognition
This following procedure describes how to align the coordinate axes based on three points. In this mode,
the plotter reads the points at the right angles of three registration marks and then corrects the tilt in both
coordinate axes and adjusts the distance precision.
NOTE
When the MARK DIST. ADJ. setting is OFF, 1 mm (any value of 1 mm or less is rounded off) or 5 mm
(any value of 5 mm or less is rounded off), the menus for inputting corrective value shown in Step (3)
do not appear.
Setting Procedure
(1) Press the ORIGIN key to display the prompt below.
(2) To return the pen carriage to the initial point for starting registration mark detection, press the
F3
(DEFAULT) key. To adjust the position of the registration mark origin, use the , , ,
POSITION keys to move the pen’s tip within the area of the desired origin position (see the figures
below).
FORCE
SPEED
OFFSET
QUALITY
F1 F3
F4
F2
O-X M 260.0 mm
S 0260.0 mm