WR1000-UM-251–01–9380 3 – 28
3. DISASSEMBLY AND REASSEMBLY
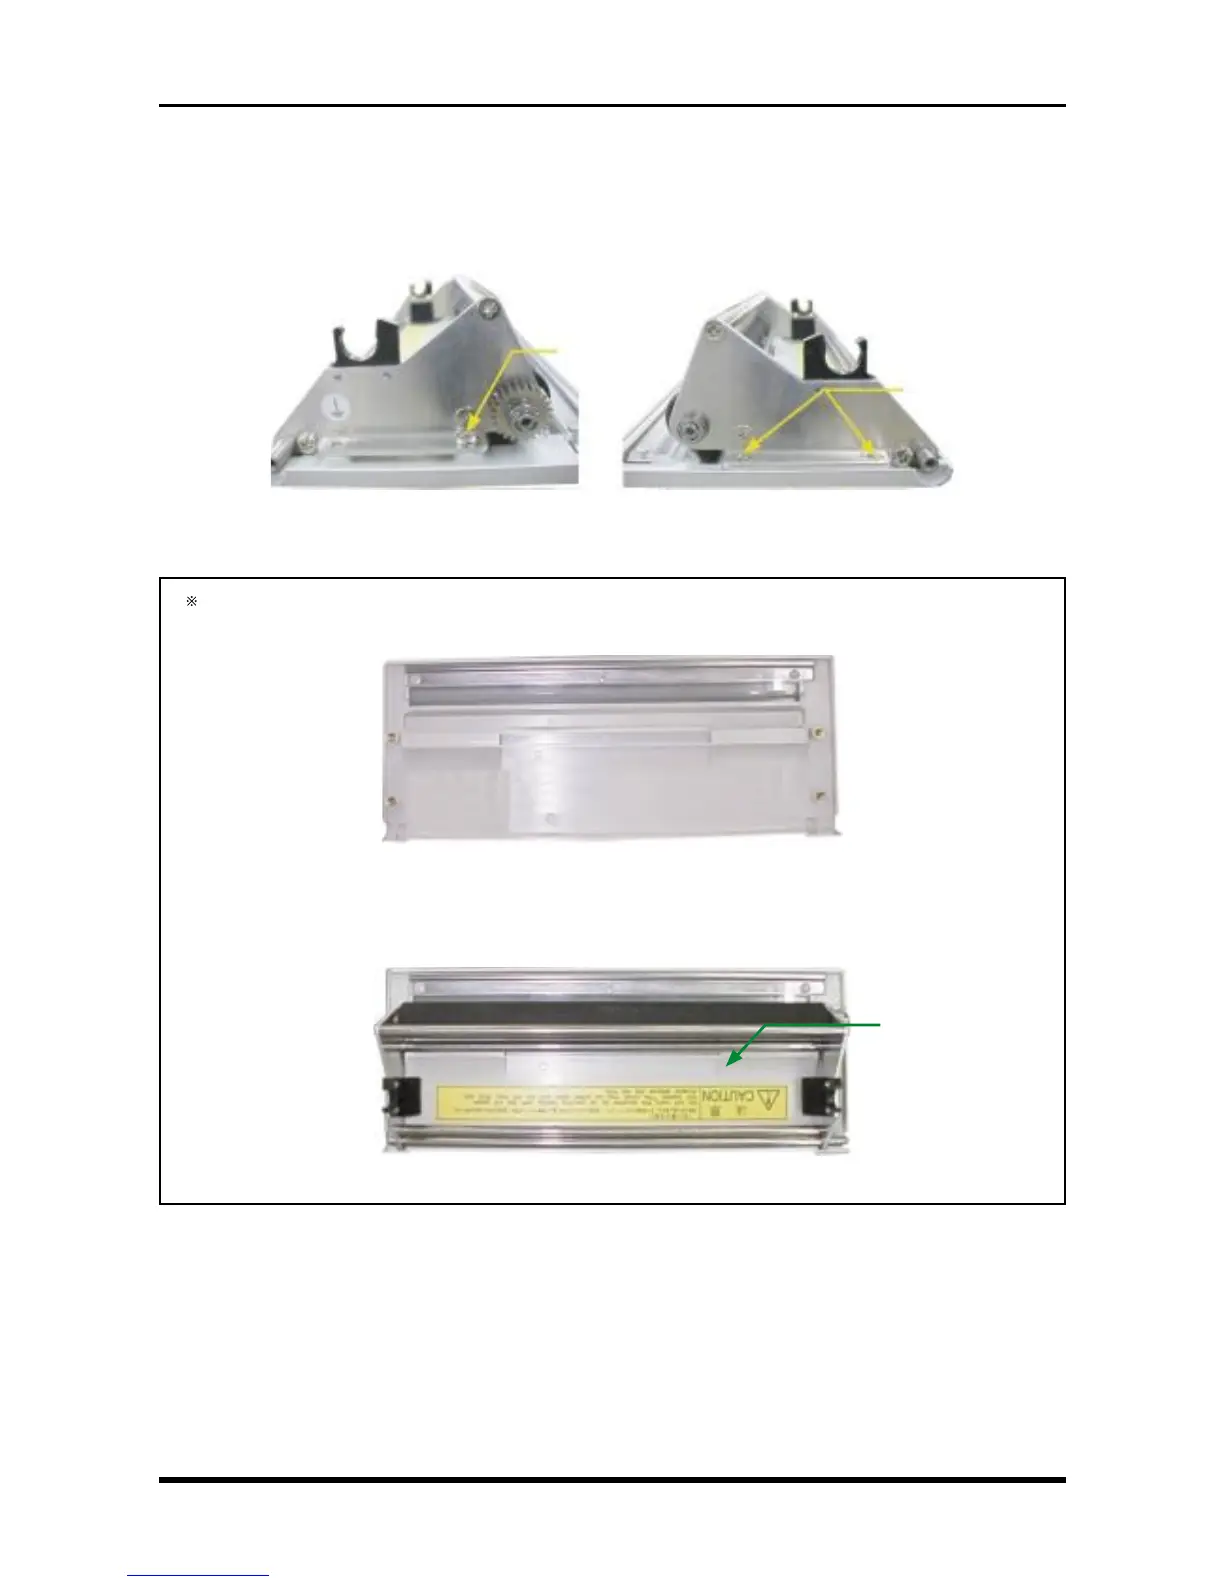
3.5.4 Replacing the Printer Cover
(1) Remove the printer unit (see Subsection 3.5.1, “Replacing the Thermal Printhead”).
(2) Remove the printer cover assembly from the printer unit (see Subsection 3.5.3, “Replacing the Platen”).
(3) Unfasten the three screws, remove the platen, then replace the printer cover.
Left cover side plate Right cover side plate
Fig. 3-5-18
The printer cover is referred to as the printer cover assembly, but it is simply a molded component as
shown below.
Fig. 3-5-19
To finish assembling the printer cover, mount the platen assembly from the printer cover assembly
that was replaced. The CAUTION seal must be separately ordered.
Fig. 3-5-20
CAUTION seal
M3L4 countersunk-
head screw
M3L4 binding-
head screw