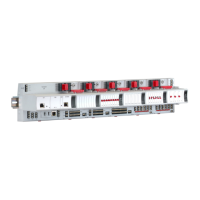
8. CABINET INSTALLATION
Two cabinets are available, an 8-way to accommodate the 8-way front
access rack and a 16-way to accommodate the 16-way front access
rack.
The cabinet must be secured to a wall, or other suitable vertical surface,
as follows:
(1) Knock out the bottom gland-plate entries as appropriate for the
system cablingandttheglandsbeforemountingthecabinet.
(2) Attach the four mounting brackets provided to the cabinet.
(3) Using the dimensions shown mark the position of the mounting holes
on the mounting surface.
(4) Drill and wall plug the mounting holes as necessary.
Note: The mounting brackets will accept up to a 10mm ( 0.4'' ) diameter
screw.
(5) Secure the cabinet in position using appropriate mounting screws.
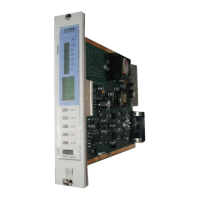
(6) Fit the System 57 Rack and AC to DC Power Supply Unit (if required)
into the cabinet in the positions as shown:
(7) Pass cables through the gland adjacent toeld terminal blocks,
where possible keeping the sensor cable(s) separate from the other
wiring.
(8) Prepare and connect the cable ends to Quad Relay Interface and
Expansion Relay Card terminals. For terminal identication see
Chapter 2.
(9) Ensure that the cabinet is properly earthed by connecting a suitable
earth cable to the earth stud located in the bottom panel of the
cabinet.
(10) Close and lock the cabinet.
CAUTION
Do not apply power to the System 57 until the commissioning
procedure has been read and understood. See Section 5.
 Loading...
