7-2 Removal and Replacement
Front Bezel
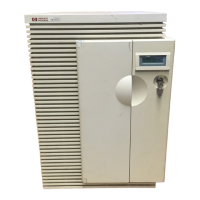
Removal: Refer to Figure 7-1
1. Remove the key from the keyswitch.
2. Reach under the bottom of the front bezel (each side) and press the two latch tabs (1) holding the
bezel in place.
3. Pull the bottom of the front bezel away from the chassis.
4. Pull the front bezel down and away from the chassis.
Figure 7-1 Front Bezel Tab
Replacement:
1. Angle the top of the bezel toward the chassis and slide it under the front edge of the top cap and push
up.
2. Swing the bottom of the bezel to the chassis until it snaps into place.
Note
Some new replacement boards no longer use extractor tabs. Be sure to remove the screws and clamp
brackets when installing a new board without extractor tabs. Instructions are provided with the replace-
ment boards.
All new boards are provided with connector covers. Check for and remove connector covers prior to
installing new boards.
 Loading...


