Removal and Installation
8-74
HP DesignJets 1050C and 1055CM Printers Service Manual
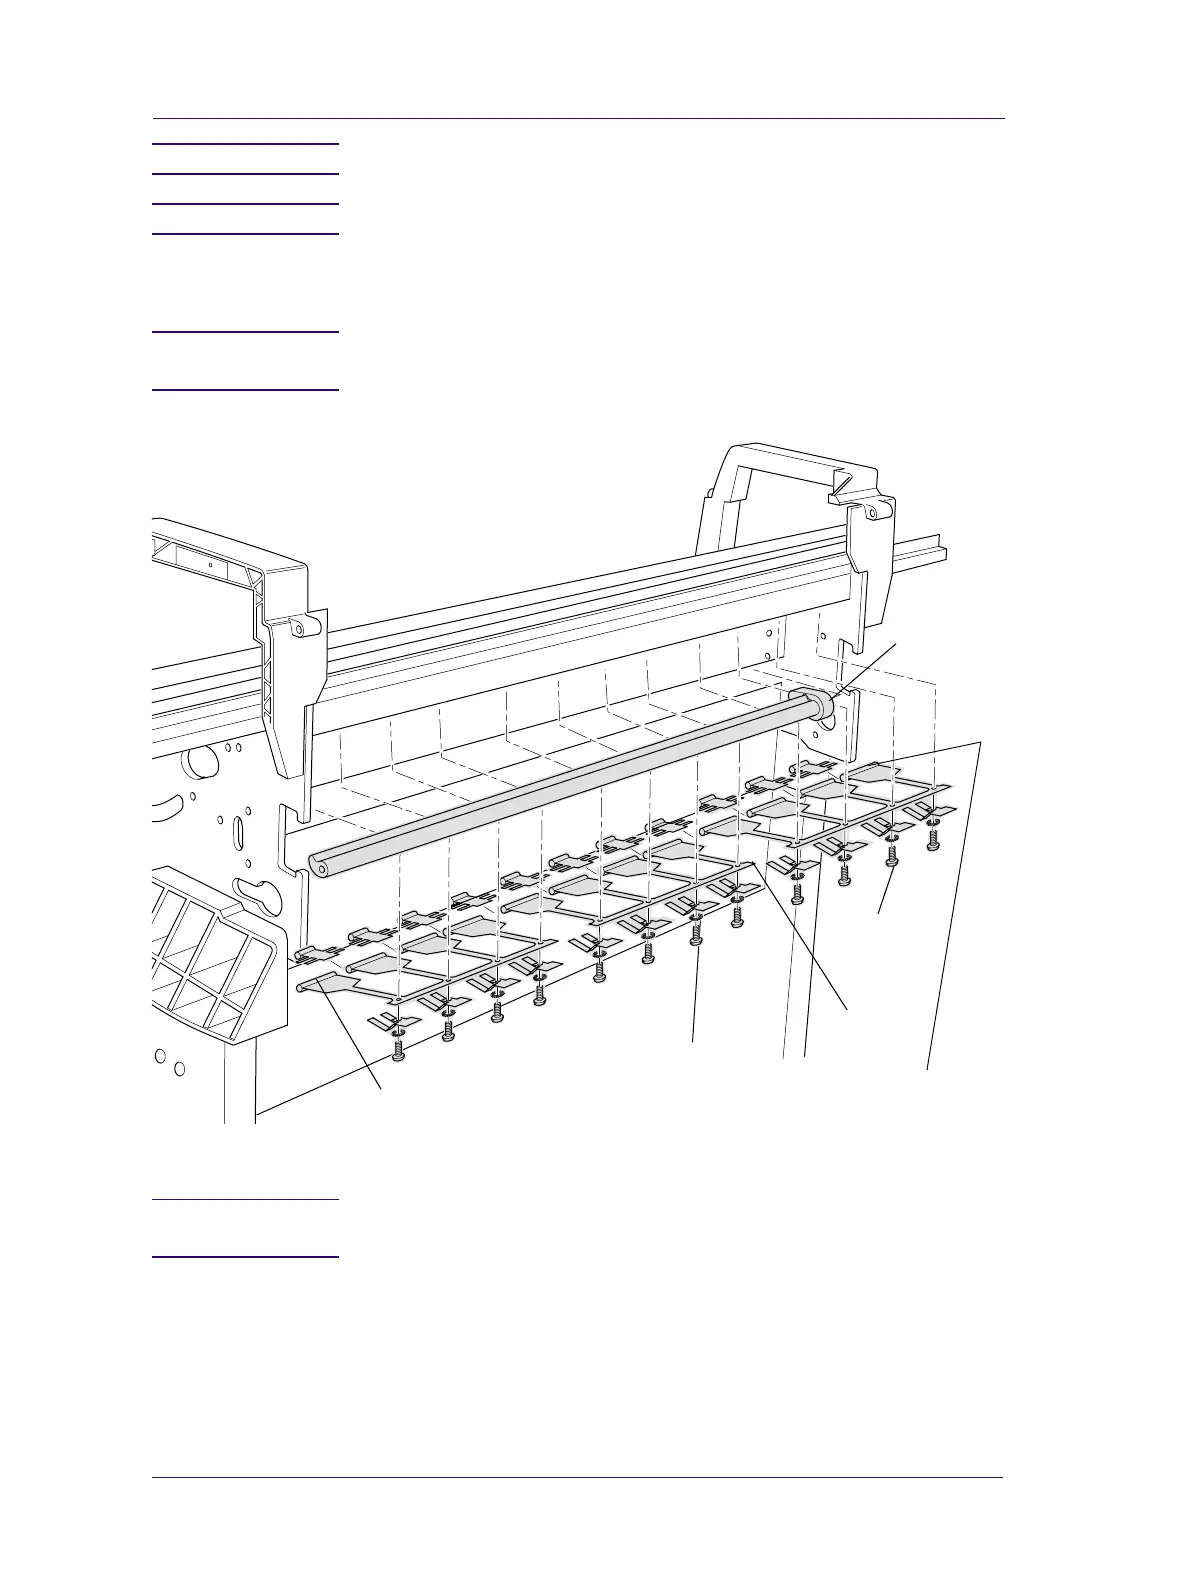
NOTE Working from the rear of the printer
NOTE For steps 3 and 4 refer to Figure 82.
3. Remove the twelve T-15 screws (item 1) securing the pinch-arm
assemblies (item 2) to the underneath of the scan axis.
NOTE The screws also secure the pinch-wheel cam to the printer.
Support the cam as the last of these screws are removed.
4. Remove the cam (item 3) from underneath the scan axis.
Figure 82: Pinch-arm Assemblies and Cam
NOTE During installation, make sure you install the Pinch Assembly
with the White Pinch Rollers at each end.
1
2
3
White Pinch Roller
White Pinch Roller
 Loading...
