Installing in an unconfigured serverInstalling in an unconfigured server
For server-specific procedures, see the server user guide.
ProcedureProcedure
1. Update the server firmware.
2. Select an available x8 or larger PCIe expansion slot.
3. Remove the slot cover.
Save the retaining screw, if one is present.
4. Slide the controller along the slot alignment guide, if one is present, and then press the board firmly into the expansion slot so that
the contacts on the board edge are seated properly in the slot.
5. Secure the controller in place with the retaining screw. If the slot alignment guide has a latch (near the rear of the board), close the
latch.
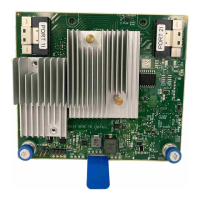
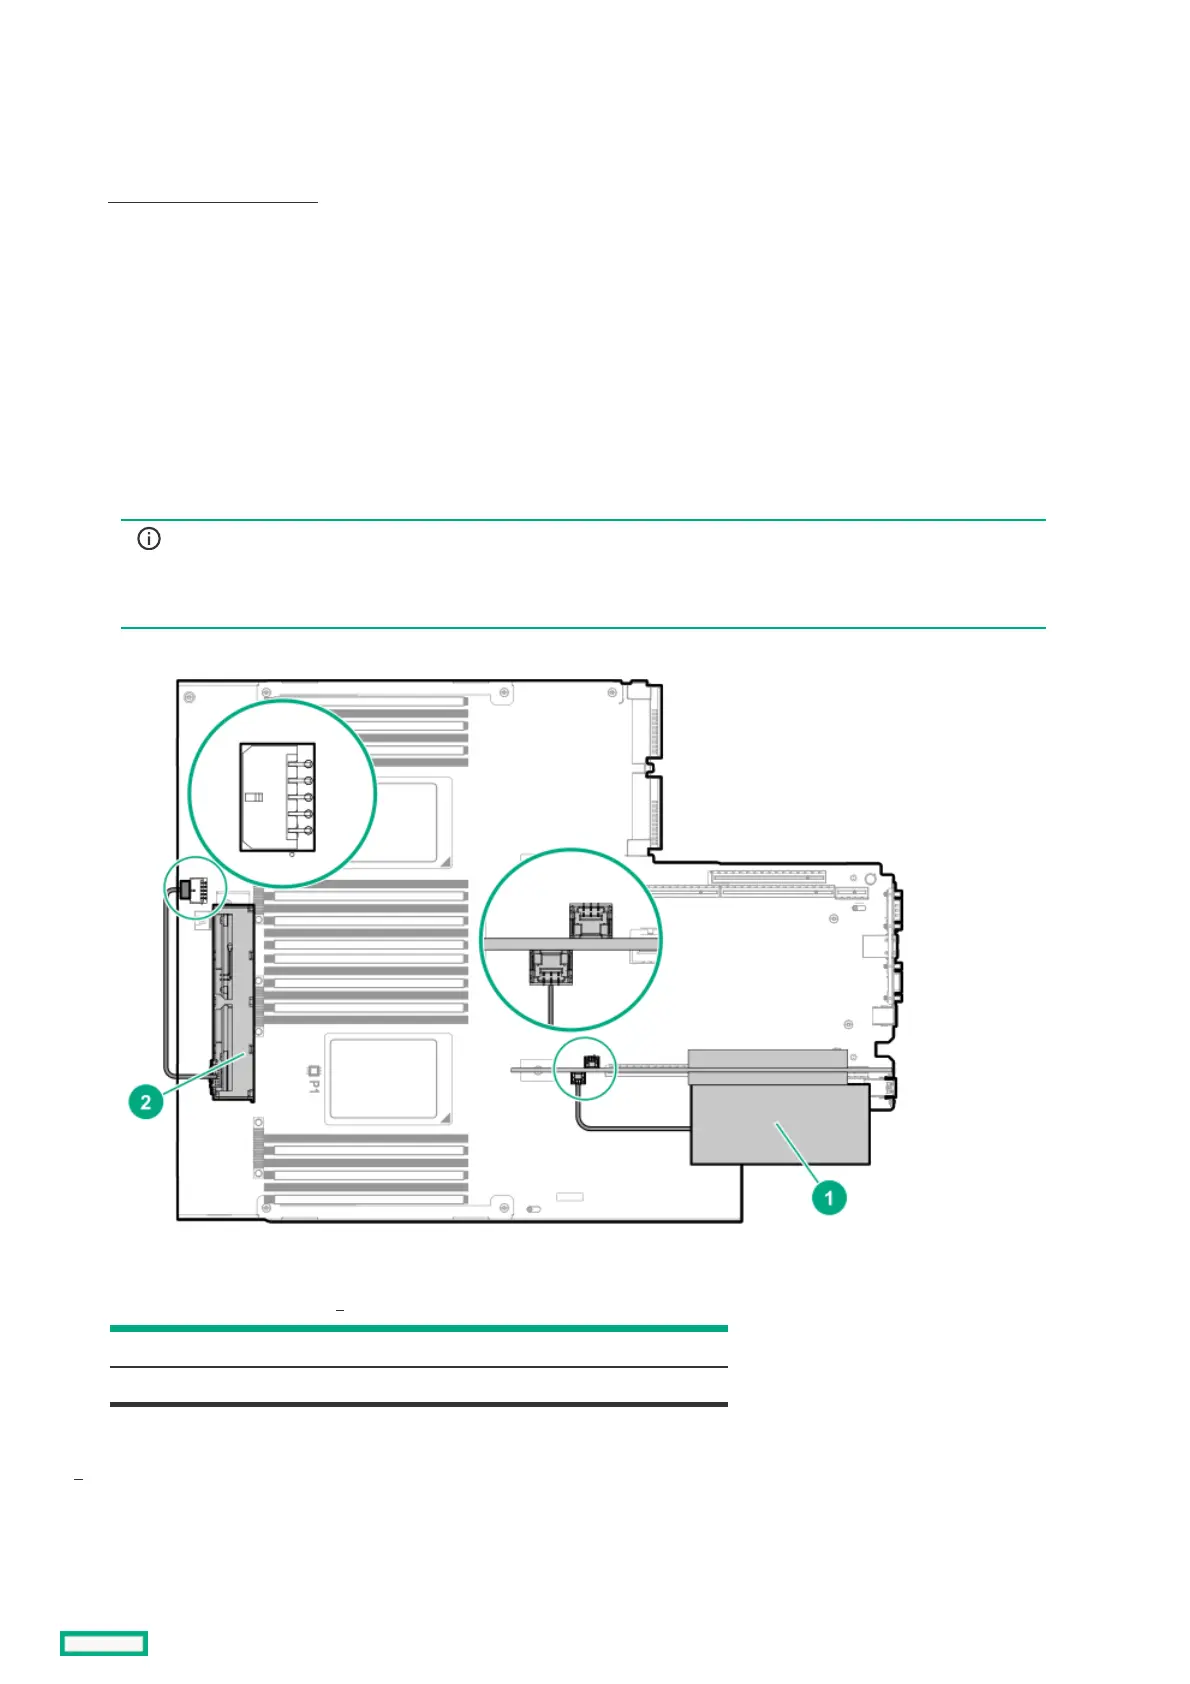
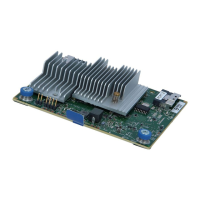
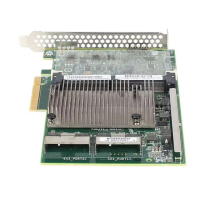
6. Optional. Applies only to MR416i-p. Connect the controller backup power cable.
IMPORTANT:IMPORTANT:
To enable flash-backed write cache (FBWC) on the storage controller, you must connect the controller backup
power cable from the controller to the system or riser board.
ItemItem DescriptionDescription
1 Controller connected to the controller backup power connector
2 Energy pack connected to the energy pack connector
Your server might appear different.
7. Install physical drives, as needed.
8. Connect drive backplane to the controller.
For cabling information, see the server user guide.
11
1