Removal and Replacement Procedures80
4.25 Optical Drive (Desktop Position)
To remove an optical drive:
1. Disconnect power from the system (section 4.2), open the access panel (section 4.9), and remove the front bezel
(section 4.12).
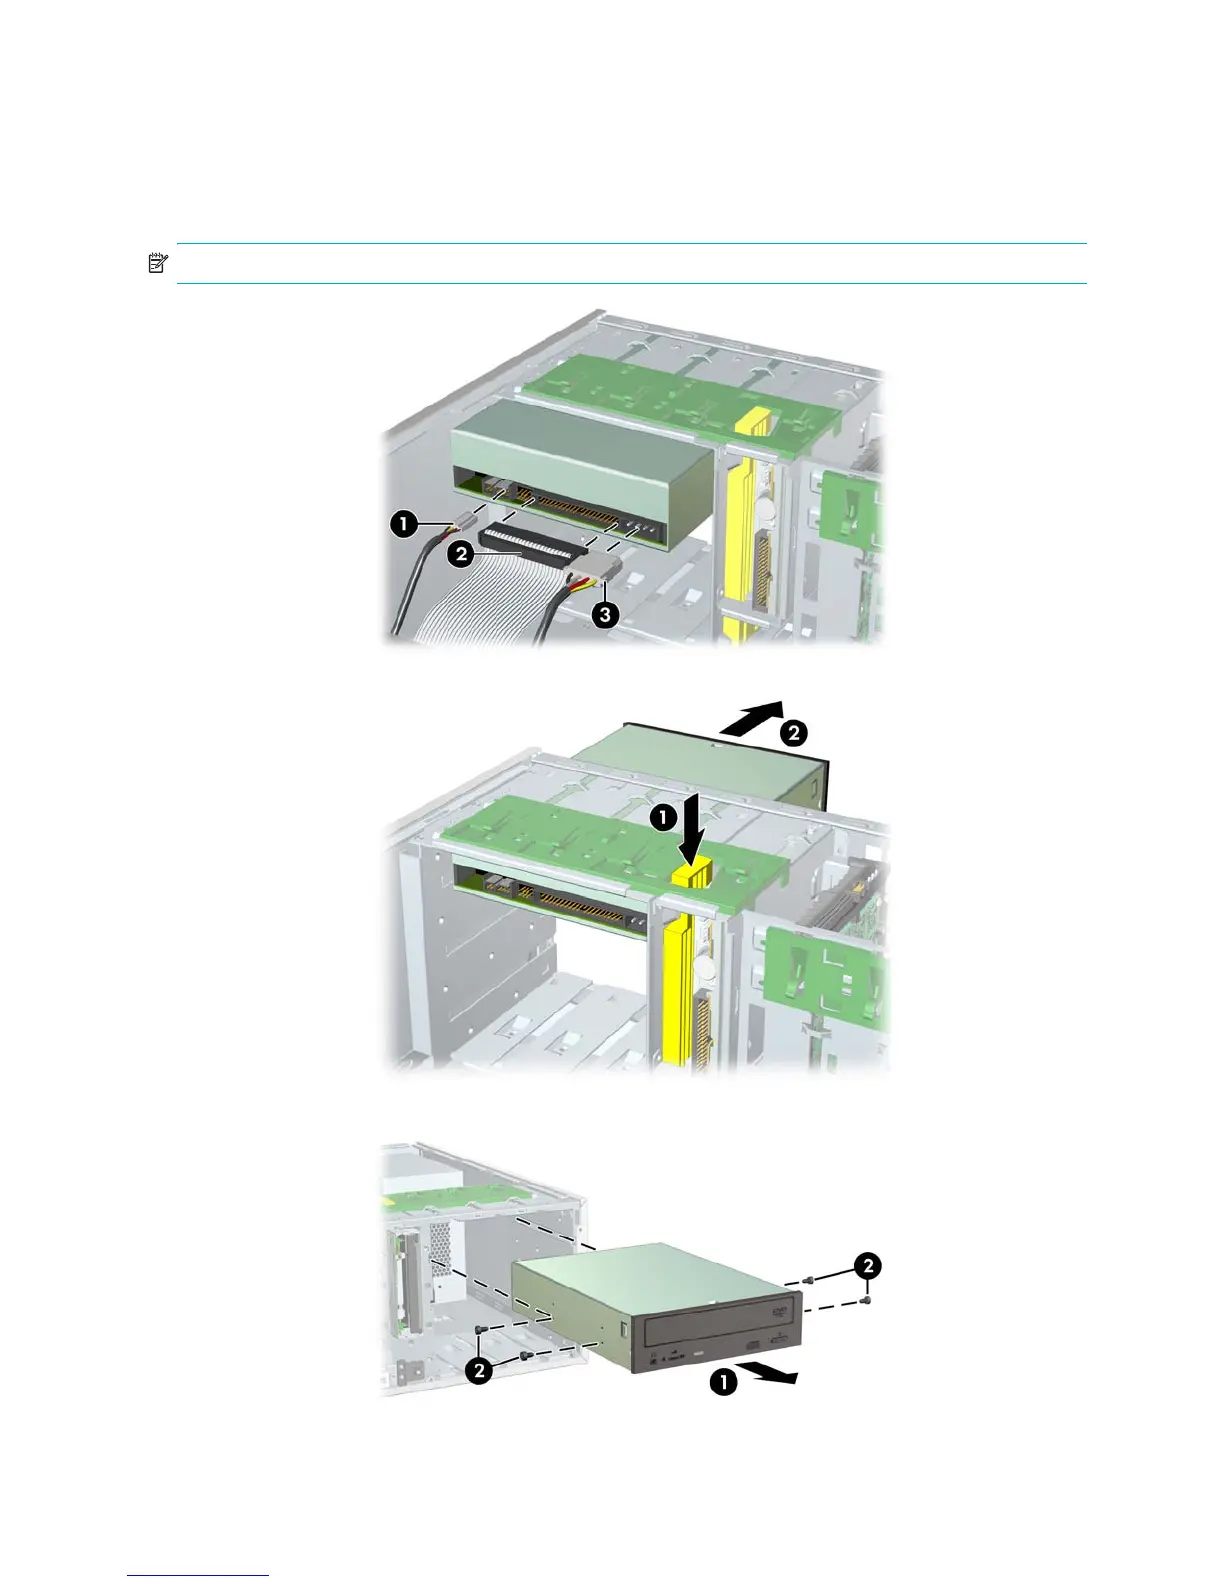
2. Disconnect the audio 1, data 2, and power 3 cables from the drive. The connector colors might be different
than illustrated.
NOTE: The audio cable is only required for Linux-based systems.
3. Press down on the yellow drivelock release lever 1 and gently slide the drive 2 out of the chassis.
4. After pulling the drive 1 out, remove the four guide screws 2 from the drive as shown in the illustration below.
Only remove the four guide screws if you plan to install another drive.
To install an optical drive:
1. Remove the front bezel and bezel blanks.
2. Insert the four guide screws into the drive.