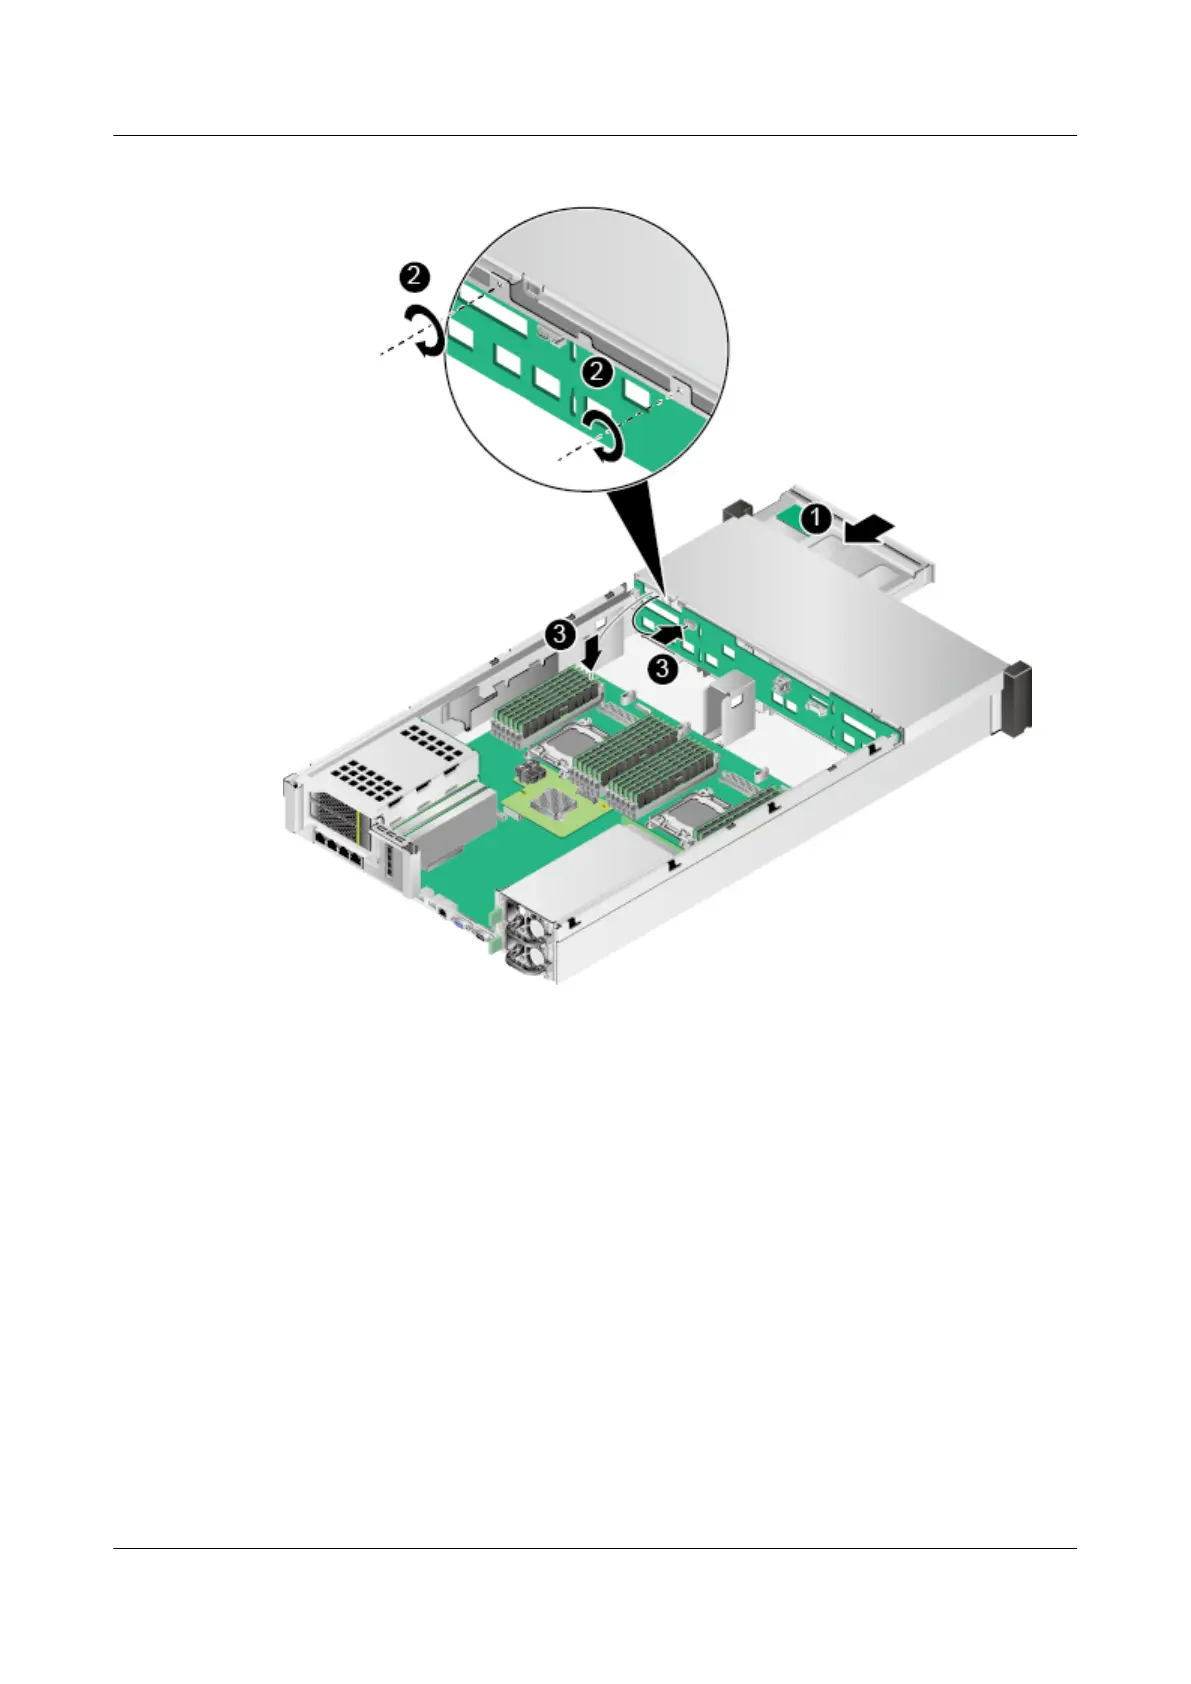
Figure 7-116 Installing the LCD tray
Step 6 Tighten the screws on the LCD using a Phillips screwdriver. See step (2) in Figure
7-116.
Step 7 Connect the cable between the LCD and the video graphics array (VGA) port. See
step (3) in Figure 7-116.
Step 8 Install the fan support.
Step 9 Install the fan modules. For details, see 7.16 Installing a Fan Module.
Step 10 Install the air duct. For details, see 7.14 Installing the Air Duct.
Step 11 Install full-height full-length riser cards if they are required. For details, see 7.20
Installing a Riser Card.
Step 12 Install the chassis cover. For details, see 7.12 Installing the Chassis Cover.
Step 13 Install the RH2288H V3. For details, see 3.4 Installing the Server.
Step 14 Connect all external cables such as power and network cables. For details, see 3.5
Connecting External Cables.
RH2288H V3 Server
User Guide 7 Replacing Parts
Issue 46 (2022-12-28) Copyright © Huawei Technologies Co., Ltd. 253

 Loading...


