How the Plasma Power Supply Operates
158 810430 Troubleshooting Guide Powermax65/85/105 SYNC
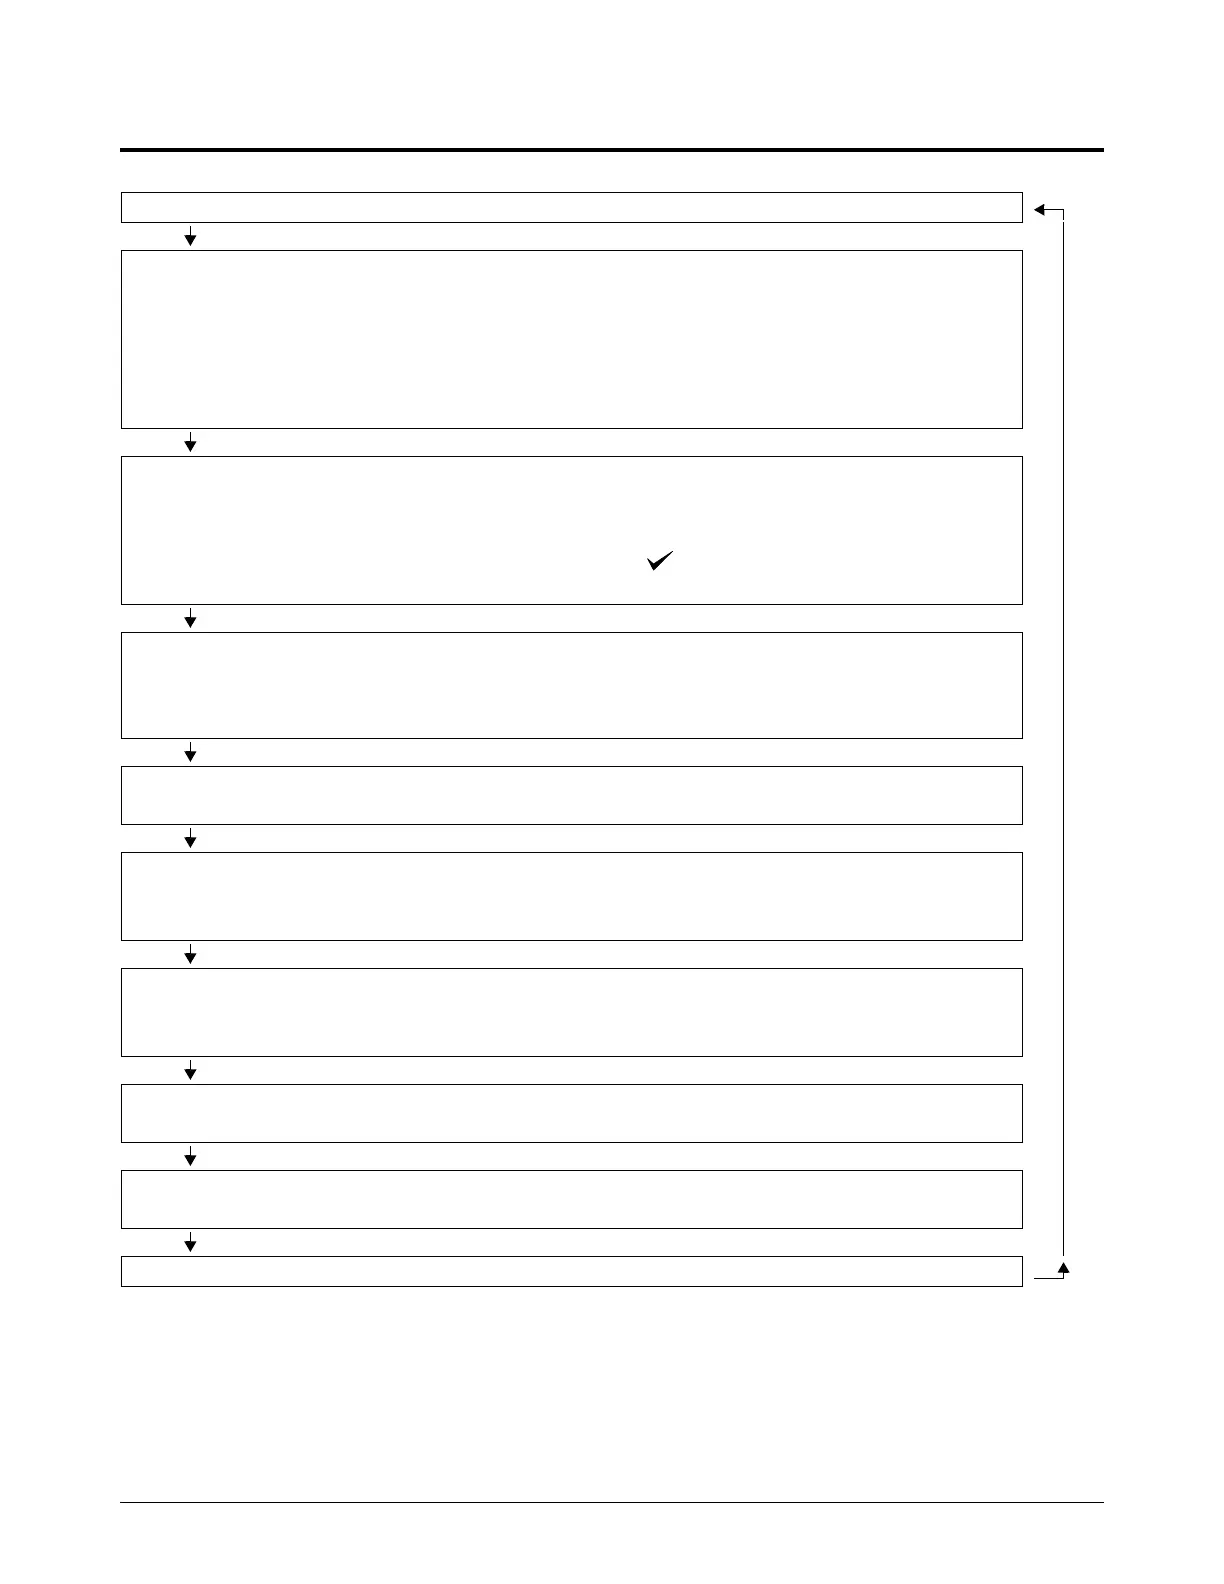
Sequence of operation
•Power OFF(O)
• Connect the gas supply to the gas fitting on the plasma power supply.
• Connect the work lead to the plasma power supply and workpiece.
• Connect the torch to the plasma power supply.
• Connect the plasma power supply to the power source.
• Make sure that incoming power is ON at the power source (for example, a line-disconnect box).
• Set the ON/OFF power switch to ON (I).
• The green power ON LED illuminates. The system is ready for operation.
• Set the torch-disable switch to the yellow lock (X) position.
• Install a cartridge on the torch.
• Set the torch-disable switch to the green “ready to fire” ( ) position.
• Make sure the yellow fault LED does not show on the front panel. Refer to page 39.
• The operating mode and the output current (A) automatically adjust to align with the cartridge
installed on the torch.
• The gas pressure automatically adjusts for optimal cutting to align with the system settings and the
torch and cartridge that are connected to the plasma power supply.
• Position the torch over the workpiece.
• Pull the plasma start trigger on the hand torch, or send a start signal to the machine torch.
• The gas solenoid valve opens.
• The gas flow starts.
• The plasma cutting arc starts.
• Pull the torch lightly across the workpiece to make a cut.
• The workpiece falls off after the cut.
• Release the plasma start trigger on the hand torch or the remote start switch for the machine torch.
• The plasma arc extinguishes.
• Gas postflow continues to decrease the temperature of the cartridge.
• The gas solenoid valve closes.
• The gas flow stops.
• Set the ON/OFF power switch to OFF (O).