Do System Tests to Identify Defective Components
128 810430 Troubleshooting Guide Powermax65/85/105 SYNC
Do a test of the torch
1. Connect the SmartSYNC torch to the plasma power supply.
2. Remove the left side of the torch shell.
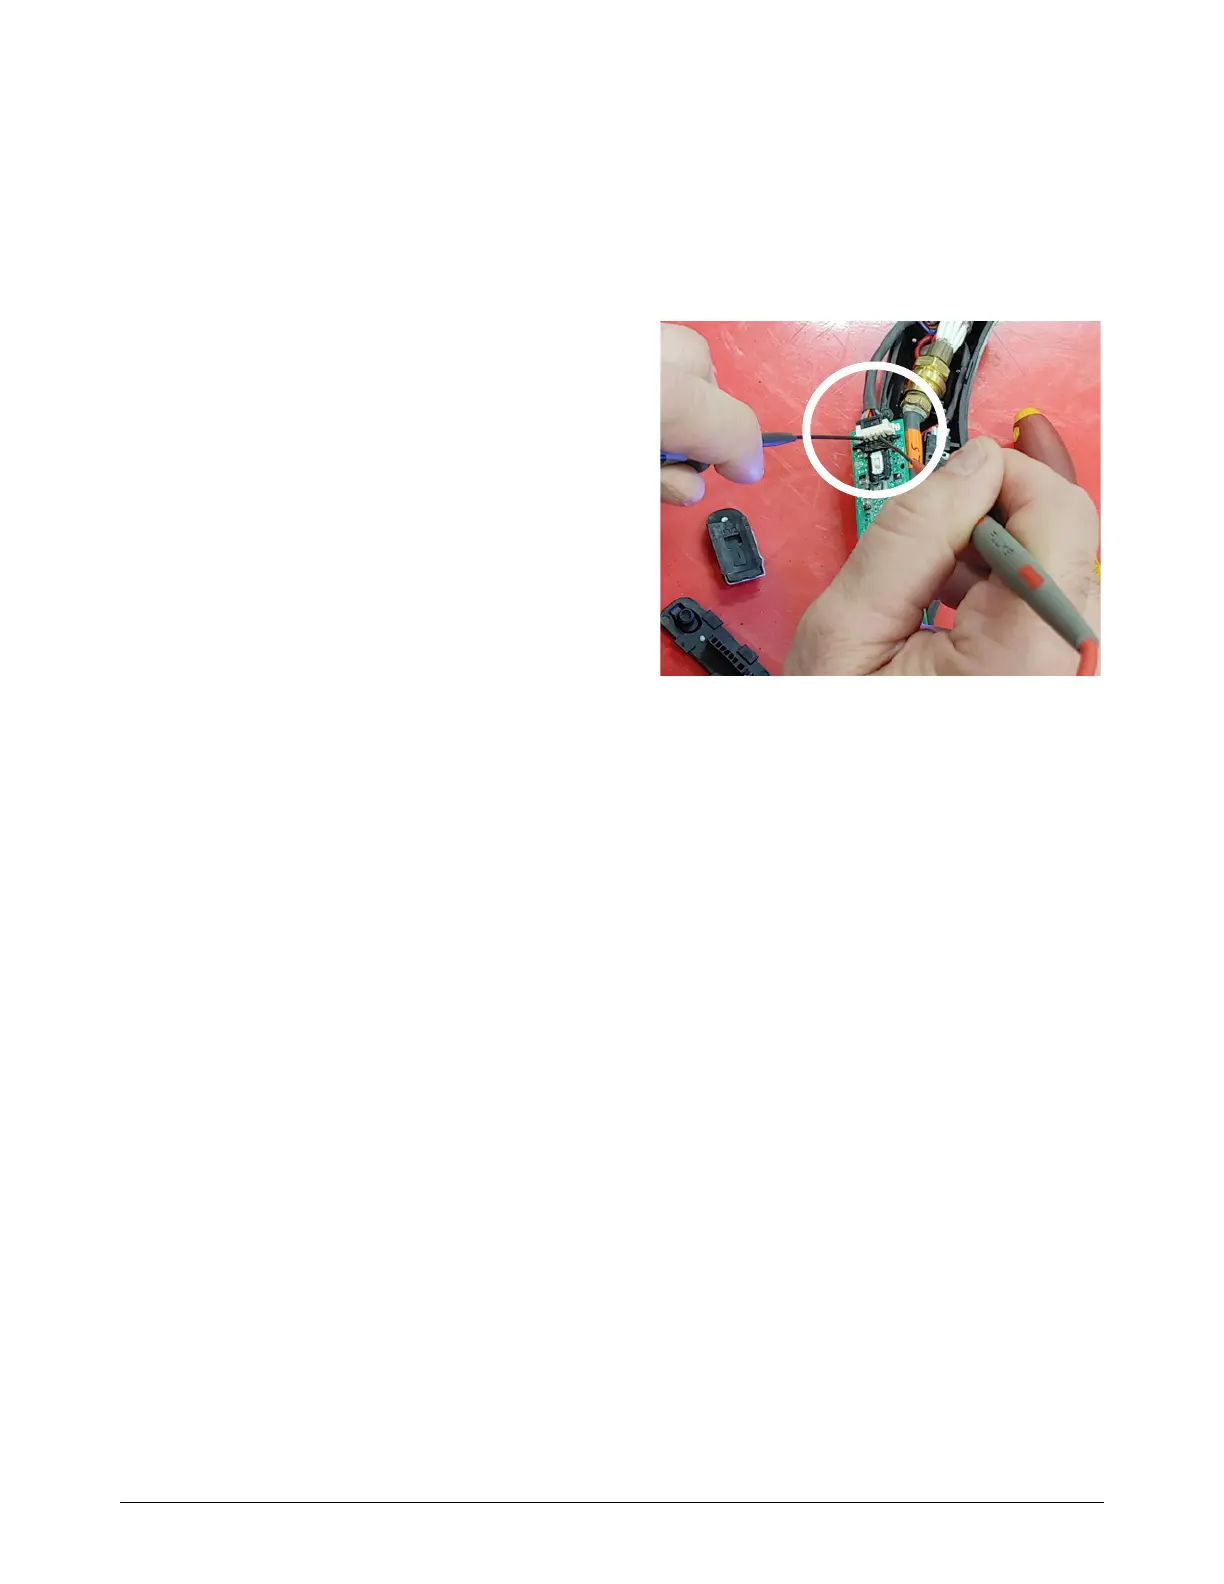
3. Make sure that all wires are correctly and securely connected to the torch PCB.
4. At the torch lead receptacle on the torch
PCB, measure the voltage between pin 3
(black wire) and pin 5 (orange wire). Keep
the wires from the torch connected, and
measure the voltage at the rear of the
receptacle, as shown. Is the voltage
approximately 18 VDC?
If yes, continue with the next step.
If no, continue with step 8.
5. Do a check for continuity between the torch
and the plasma power supply, as follows:
a. Do a check for continuity between pin 1
on the torch PCB (brown wire) and pin 7 at J20 (Powermax65/85 SYNC) or J17
(Powermax105 SYNC) on the power PCB. Refer to Figure 38 on page 130.
b. Do a check for continuity between pin 2 on the torch PCB (gray wire) and pin 8 at J20
(Powermax65/85 SYNC) or J17 (Powermax105 SYNC) on the power PCB. Refer to
Figure 38 on page 130.
c. If there is continuity between the pins, continue with step 10.
d. If there is not continuity between the pins, continue with the next step.
6. Disconnect the torch from the plasma power supply.
7. Do a check for continuity on the torch, as follows:
a. Do a check for continuity between pin 1 on the torch PCB and pin 9 in the torch connector.
This is the brown wire in the torch. Refer to Figure 39 on page 131.
b. Do a check for continuity between pin 2 on the torch PCB and pin 10 in the torch connector.
This is the gray wire in the torch. Refer to Figure 39 on page 131.
c. If there is continuity between the pins, continue with step 9.
d. If there is not continuity between the pins, replace the torch lead.