Do System Tests to Identify Defective Components
Powermax65/85/105 SYNC Troubleshooting Guide 810430 87
Measure the resistance
To get all resistance values, make sure that the power cord is disconnected from the power source
and all internal power supply wires are securely attached.
1. Set the power switch on the plasma power supply to OFF (O), and disconnect the power cord.
2. Wait for approximately 10 minutes for internal voltages to be fully released.
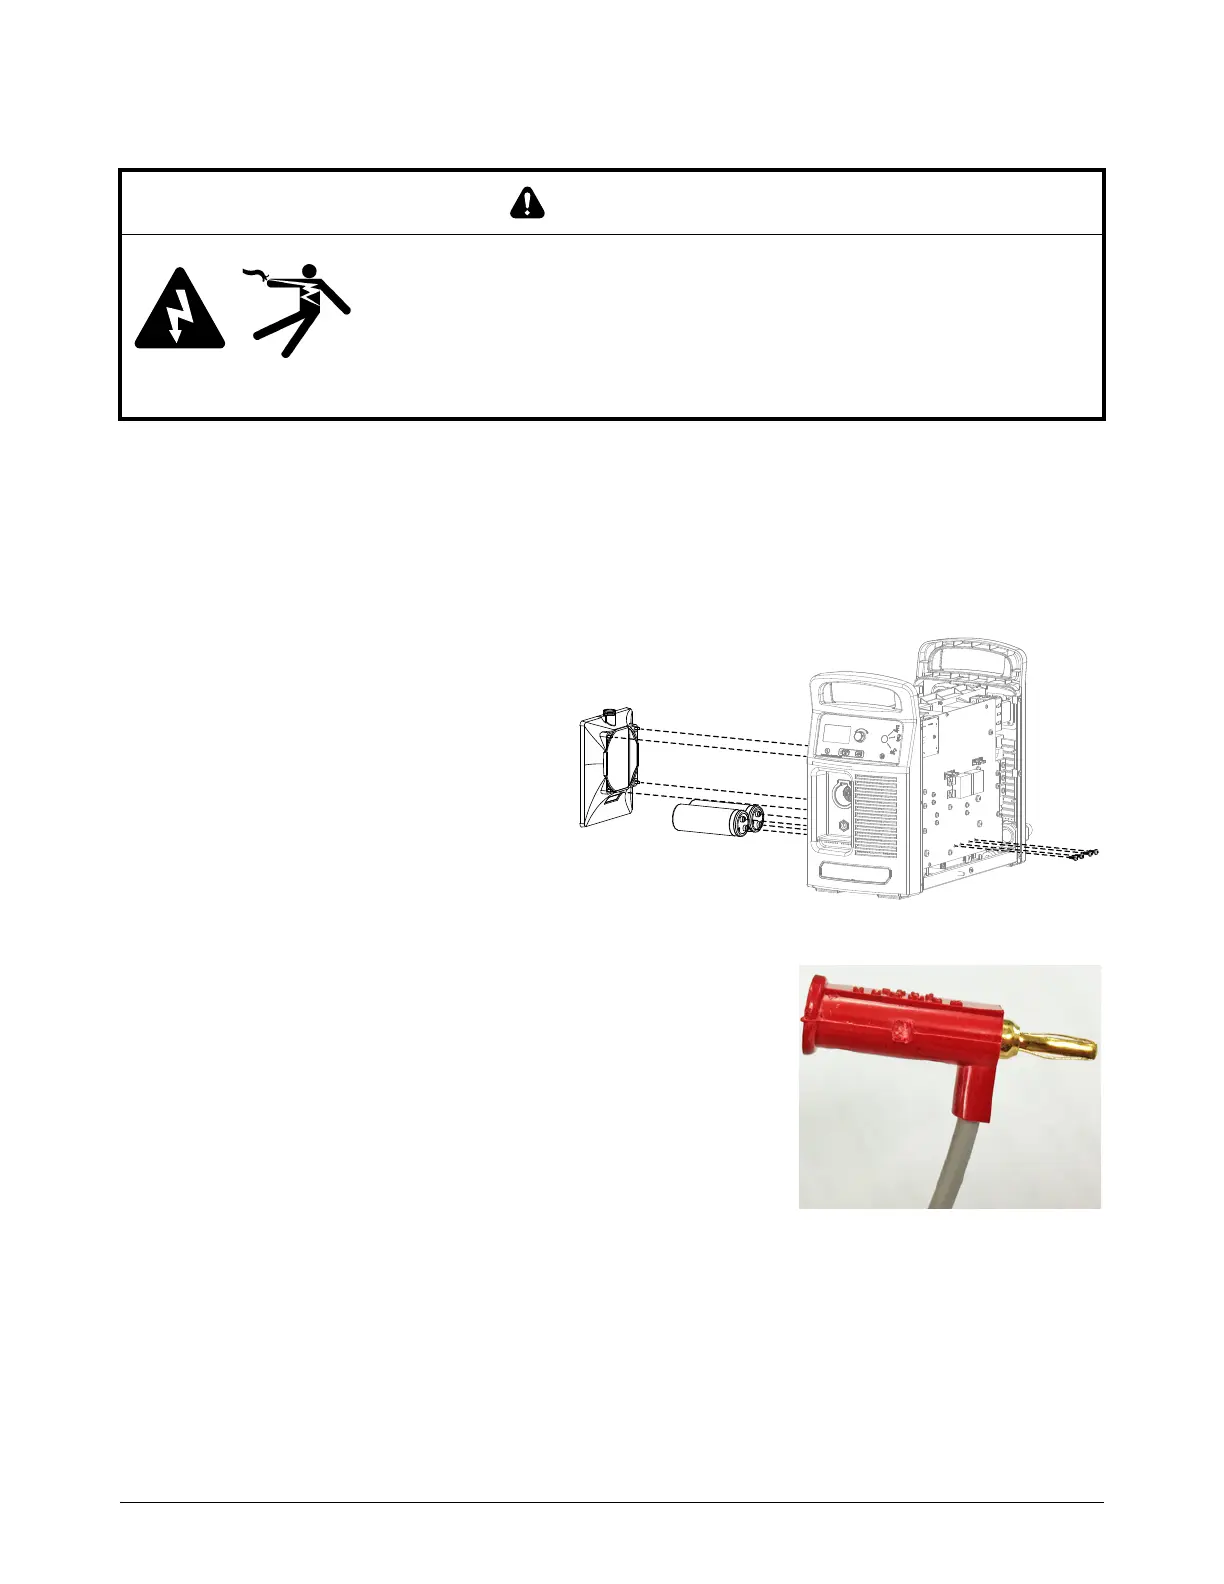
3. Remove the 2 bulk capacitors, as
follows:
a. From the power PCB side,
remove the 4 bulk capacitor
mounting screws.
b. From the fan side, remove the
2 bulk capacitors by pulling
them straight out of the
plasma power supply.
Remove the fan shroud from
the fan if necessary.
4. Measure the resistance between the test points (TPn)
on the power PCB as shown in Figure 14 on page 89
and Figure 15 on page 89. Use miniature banana plugs
(for example, Pamona
®
2945 plugs) to connect to the
test points.
If miniature banana plugs are not available, use
small test clips that you can attach to the copper
contacts in the test point openings on the power
PCB.
WARNING
ELECTRIC SHOCK CAN KILL
Wait for internal voltages to be fully released before you touch the bulk
capacitors.
The bulk capacitors can be charged for up to 10 minutes after the plasma
power supply is set to OFF (O).