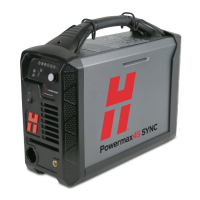
Prepare to Troubleshoot Internal Components
28 810430 Troubleshooting Guide Powermax65/85/105 SYNC
Do an initial resistance check
Make sure that you get all resistance values with the power cord disconnected and all internal
plasma power supply wires correctly attached. Before you do an initial resistance check, do the
steps in Do an internal inspection on page 21.
If resistance values are not close (±25%) to the values given in this section, isolate the problem by
removing wires attached to the resistance check points or component until you find the problem.
After you repair the problem, refer to Sequence of operation on page 158 to do a test of the plasma
power supply for correct operation.
Examine the power switch
1. Set the power switch on the plasma power supply to OFF (O), and disconnect the power cord.
2. Disconnect the torch from the plasma power supply.
3. Remove the plasma power supply cover and the component barrier.
4. Set the power switch on the plasma power supply to ON (I).
5. Measure the resistance across the input leads. Refer to Figure 1 on page 29. The leads have
the labels L1, L2, and L3 on the power switch.
CSA and 230 V – 400 V CE models: The resistance across the input leads =
650 kiloohms (k).
CCC and 400 V CE models: The resistance across the input leads = 400 kiloohms (k).
 Loading...


