EasyCoder PX4i and PX6i Service Manual 83
Chapter 8 — Print Unit
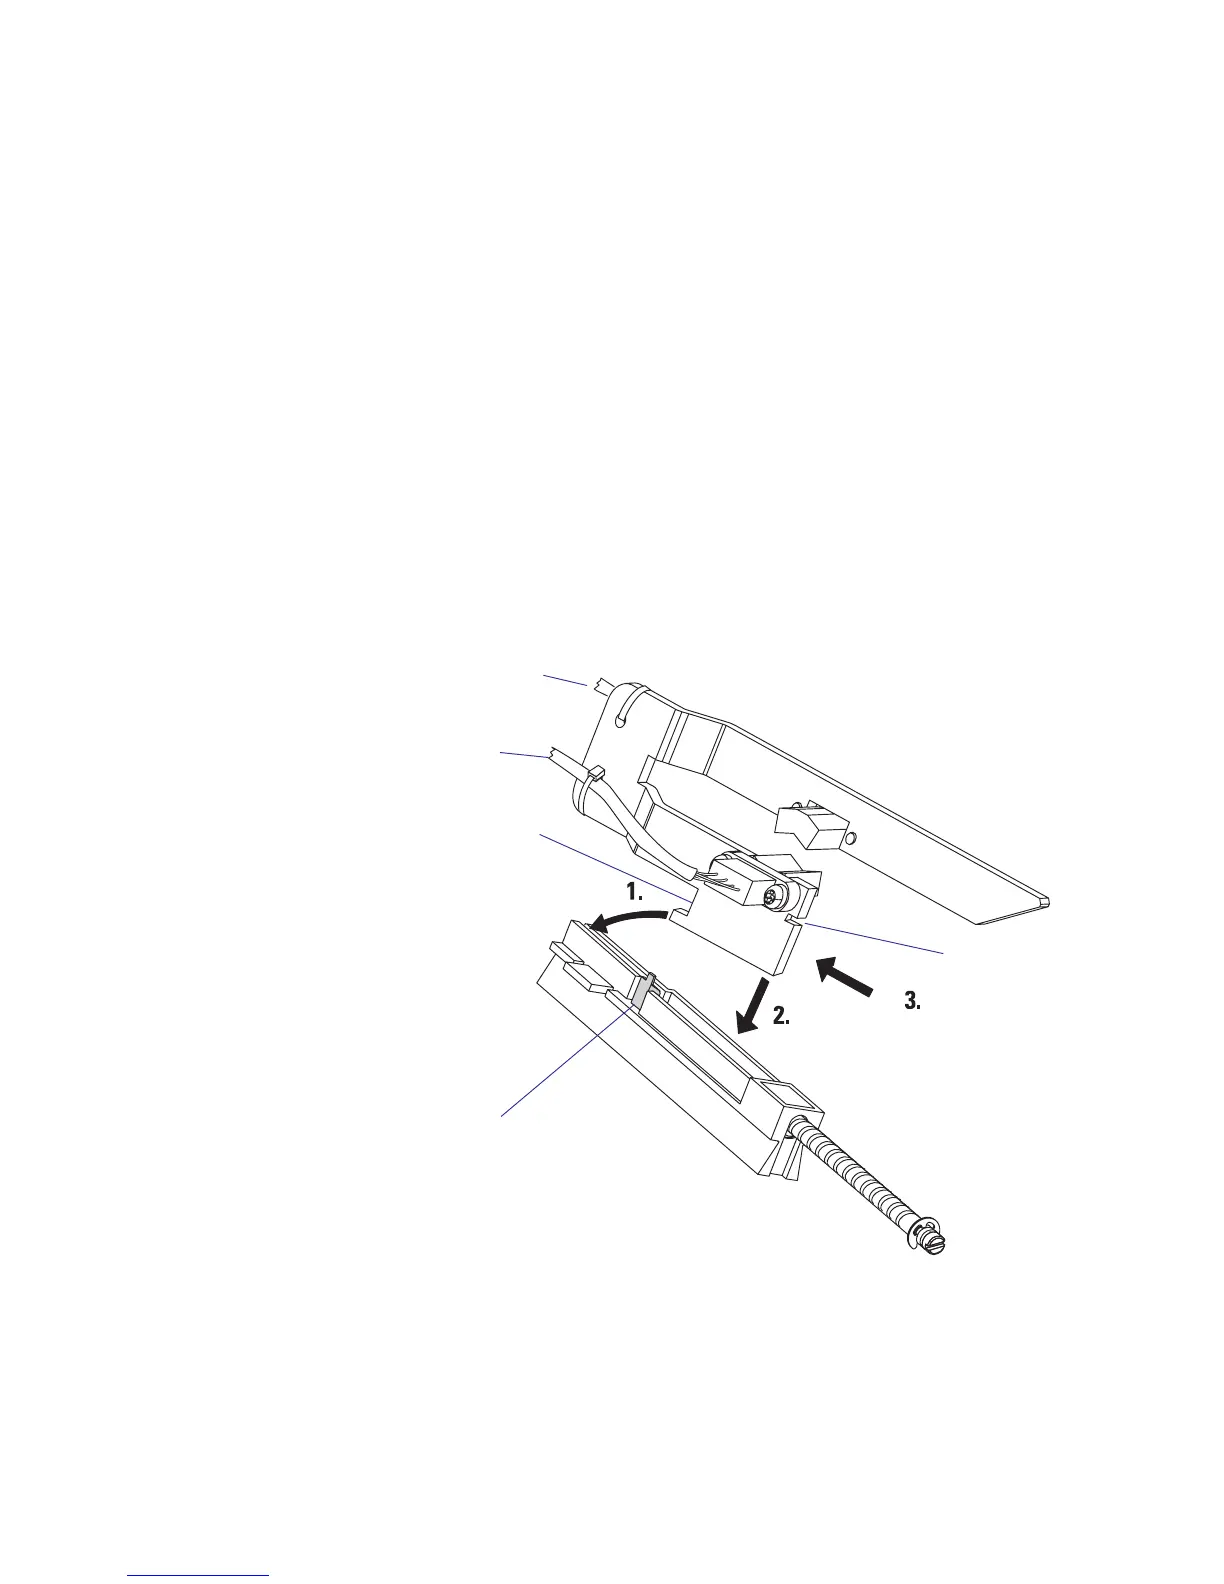
To reassemble the LSS, proceed as follows:
• Thread the cables through the hole in the inner gable.
• Place the inner, lower corner of the bracket into the groove in the car-
riage, almost at the innermost end.
• Tilt the bracket up at the outer end and push it inwards so the inner
notch in the bracket engages the carriage.
• Press down the outer end of the bracket, so the snap-lock engages the
outer notch.
• Press the bracket inwards as far as it goes and check that the bracket is
secured by the snap-lock.
• Connect the cable from the lower sensor to J54 (marked “GAP”) and
the cable from the upper sensor to J55 (marked “BM”) on the CPU
board.
• Put back the guide plates, the electronics compartment cover, and the
power cord.
• Adjust the lateral position of the LSS.
Snap-Lock
Inner notch
Outer notch
Connect to J55
on CPU board
Connect to J54
on CPU board