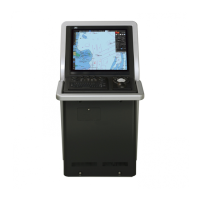
Section 19 Maintenance & Inspection 19-2
[1] [X] button
Click on this button to close the [Date/Time/Time Zone] dialog box.
[2] [Date]
Set the year, month and day on the calendar.
For the details of how to use the calendar, refer to "3.17 Setting a Date and a Time [Calendar
Operation)".
[3] [Time(LMT)]
Enter the time in the input box. The time entered will be reflected on the clock.
[4] [Time Zone]
Enter the time zone in the time zone input box.
A time zone can be selected between -13:30 and +13:30 from UTC.
[5] [Display Style]
From the list, select the style to display the date.
• YYYY-MM-DD (Japanese style)
• MMM DD,YYYY (North American style)
• DD MMM,YYYY (European style)
[6] [Synchronise with Time Source (Date/Time) ](synchronization of time with GPS)
When this item is checked, date and time are synchronized by using the time information (ZDA
sentence) from GPS.
[7] [Synchronise with Time Source (Time Zone) ](synchronization of time difference with GPS)
When this item is checked, time difference is synchronized by using the time information (ZDA
sentence) from GPS.
Note
When [Synchronize with Time Source (Date/Time)] is not checked, the time is reset to the initial
value at the start of power supply. Therefore, set a correct time manually.