b. Grasp the transceiver ejector lever and gently slide the transceiver approximately 0.5 in. (1.3 cm)
straight out of the port.
CAUTION: To prevent ESD damage to the transceiver, do not touch the connector
pins at the end of the transceiver.
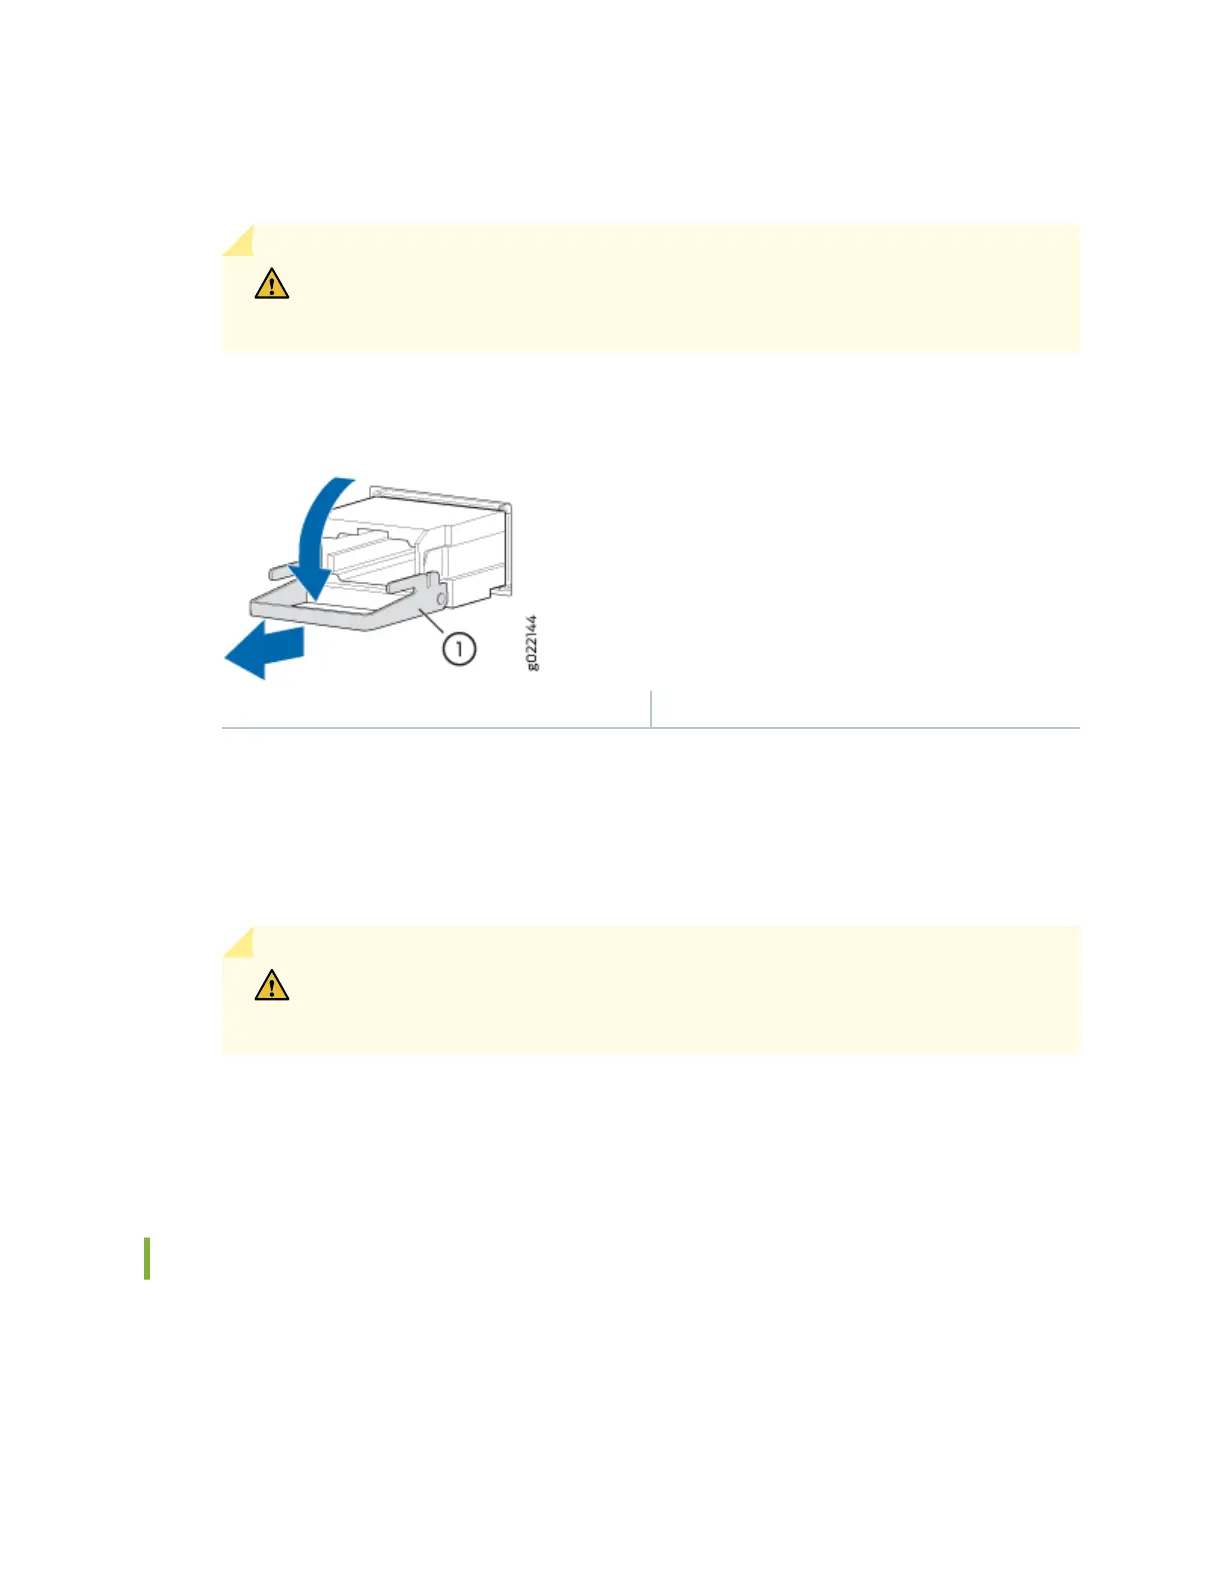
Figure 44: Remove a QSFP+ Transceiver
1— Ejector lever
To remove a CFP transceiver:
a. Using your ngers, loosen the screws on the transceiver.
b. Grasp the screws on the transceiver and gently slide the transceiver approximately 0.5 in. (1.3 cm)
straight out of the port.
CAUTION: To prevent ESD damage to the transceiver, do not touch the connector
pins at the end of the transceiver.
7. Using your ngers, grasp the body of the transceiver and pull it straight out of the port.
8. Place the transceiver in the anstac bag or on the anstac mat placed on a at, stable surface.
9. Place the dust cover over the empty port, or install the replacement transceiver.
Install a Transceiver
Before you install a transceiver in a device, ensure that you have taken the necessary precauons for
safe handling of lasers (see
Laser and LED Safety Guidelines and Warnings
).
Ensure that you have a rubber safety cap available to cover the transceiver.
108